19
PULSA PV
installation manual
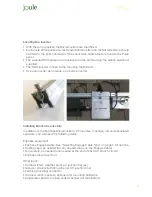
Locating the Inverter
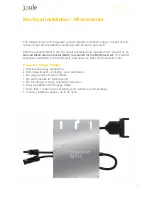
• With the rail in position the Microinverters are then fitted.
• Each Joule Pulsa panel requires its own Microinverter and the Microinverters should
be fitted to the right hand side of the connection cables that are fixed to the Pulsa
panel.
• The supplied M8 square nut is positioned in the profile using the plastic positioner
supplied.
• The Microinverter is fixed to the rail using the M8 bolt.
• Use one inverter per module, one bolt per iverter
Installing Branch Connectors
In addition to the Enphase Microinverters, PV modules, mounting rail, and associated
hardware, you will need the following items.
Enphase equipment:
• Enphase Engage Cable. See “Selecting Engage Cable Type” on page 5 for options.
• Sealing caps, as needed (for any unused drops on the Engage Cable)
• Terminators, as needed (one needed at the end of each AC branch circuit)
• Enphase disconnect tool
Other items:
• Outdoor-rated, weather-proof AC junction box(es)
• Gland or strain relief fitting (one per AC junction box)
• Earthing (bonding) conductor
• Torque wrench, sockets, spanners for mounting hardware
• Adjustable spanner or open ended spanner (for terminators)
Summary of Contents for Pulsa PV
Page 1: ...PULSA PV joule pulsa pv solar high performance ac solar module installation guide...
Page 2: ......
Page 4: ......
Page 10: ...Maximising Performance 10 Locating the Unit...
Page 11: ...Transportation and Installation Notes 11 PULSA PV installation manual...
Page 15: ...15 PULSA PV installation manual...
Page 29: ...29 PULSA PV installation manual...
Page 32: ...32 Locating the Unit Electrical Installation Microinverter Technical Specification...
Page 33: ...33 PULSA PV installation manual...
Page 42: ......
Page 43: ......


