25
PULSA PV
installation manual
• Place tie wraps on either side of the drop connector. Use one or two tie wraps, or
other support scheme to secure the Engage Cable between connectors.
• Remove and discard the temporary shipping caps from the Engage Cable.
• Connect the Microinverter and listen for two clicks as the two prongs engage. En-
sure that both latching mechanisms engage.
• The connector is not designed for repeated plugging and unplugging.
• Cover any unused connector with a sealing cap. Listen for two clicks as the con-
nectors engage. Ensure that both latching mechanisms engage.
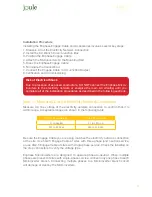
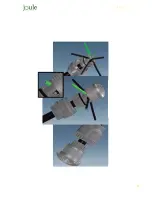
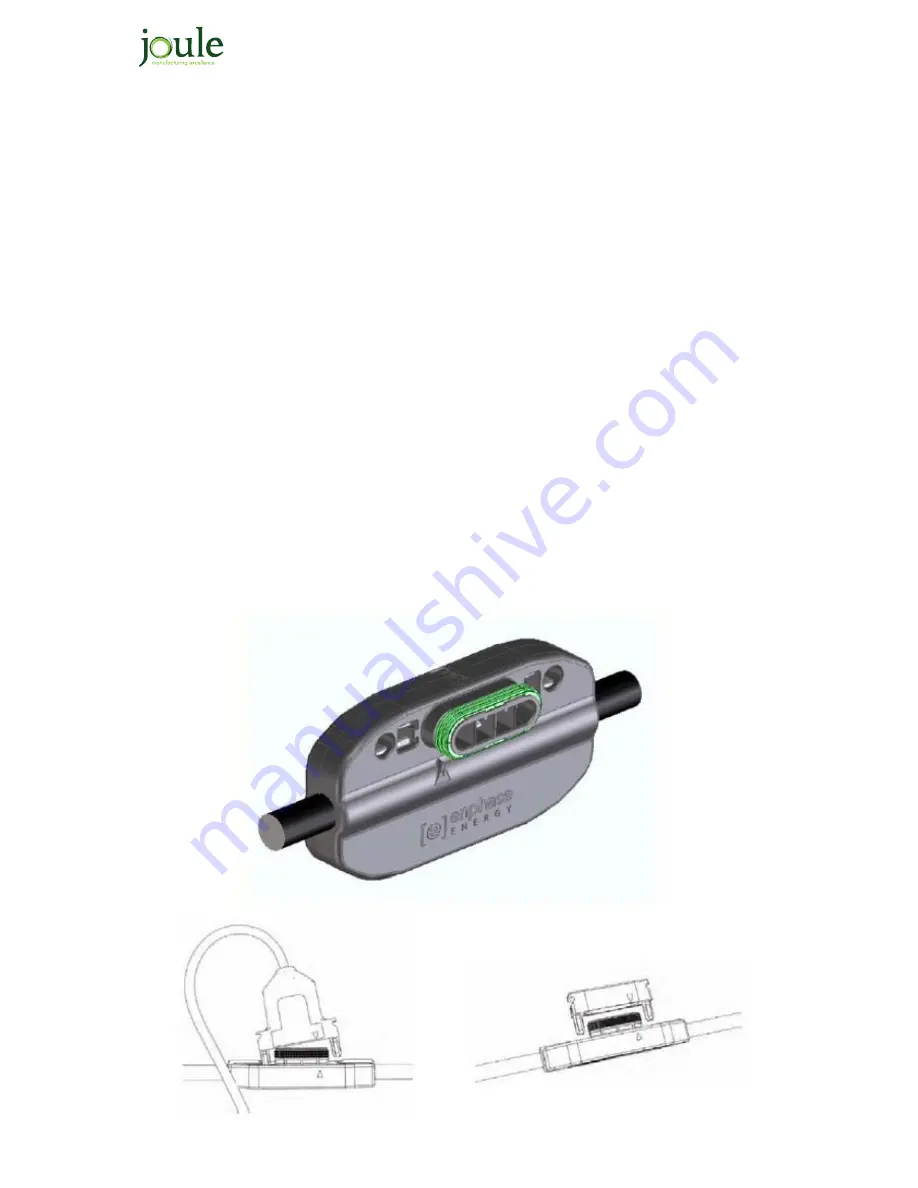
• Ensure the gasket seal is intact and fitted correctly to the drop connector before
connecting to the Microinverter.
If the gasket is not correctly in situ the system
will not have an IP67 rated connection.
AC Drop Connector
Gasket gives IP67 seal
Summary of Contents for Pulsa PV
Page 1: ...PULSA PV joule pulsa pv solar high performance ac solar module installation guide...
Page 2: ......
Page 4: ......
Page 10: ...Maximising Performance 10 Locating the Unit...
Page 11: ...Transportation and Installation Notes 11 PULSA PV installation manual...
Page 15: ...15 PULSA PV installation manual...
Page 29: ...29 PULSA PV installation manual...
Page 32: ...32 Locating the Unit Electrical Installation Microinverter Technical Specification...
Page 33: ...33 PULSA PV installation manual...
Page 42: ......
Page 43: ......


