28
Locating the Unit
Electrical Installation
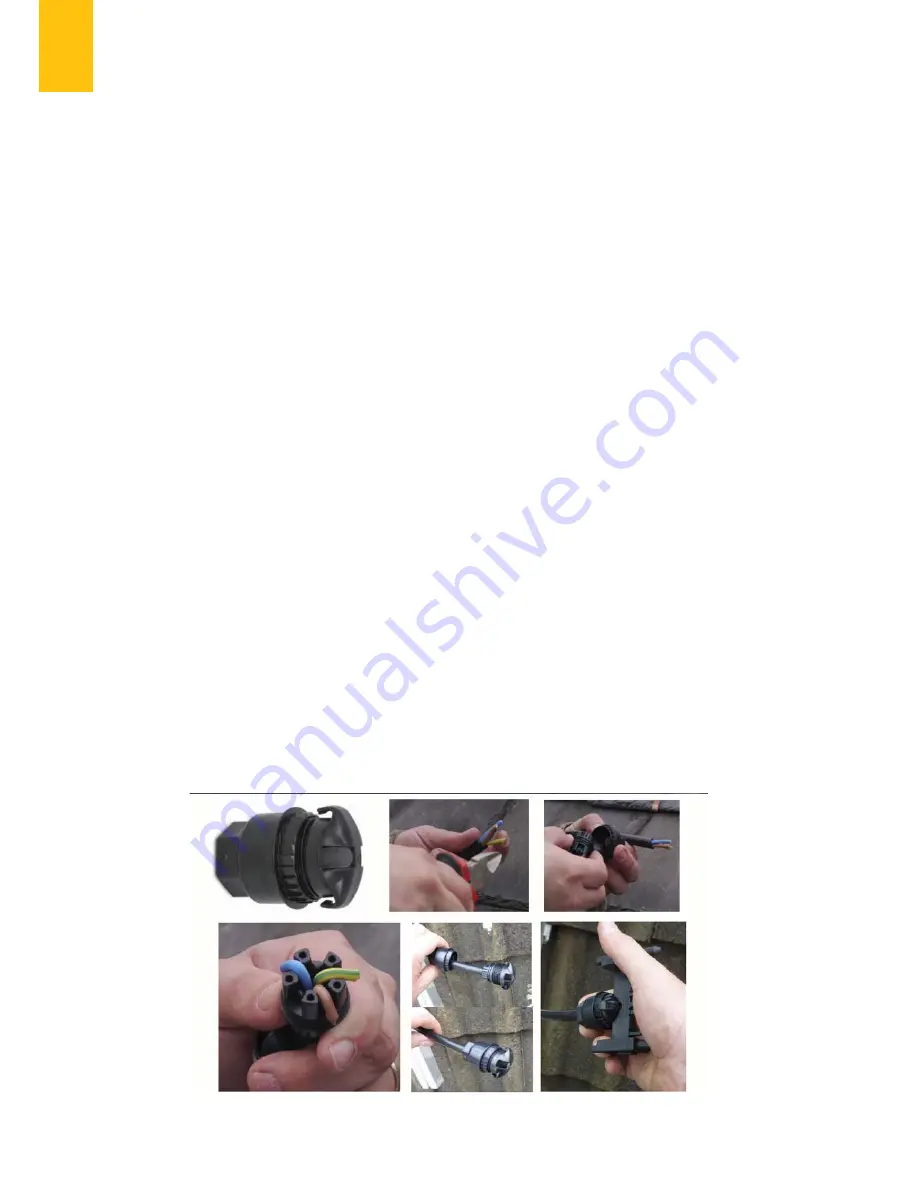
Replacing or Removing the Terminator
• If the terminator must be replaced or removed, observe the following.
• Risk of Electrical Shock. Be aware that installation of this equipment includes risk
of electric shock. Do not install the AC junction box without first removing AC pow-
er from the Enphase System. Never open, remove or replace the terminator while it
is connected to the power supply.
• Damage to the latching mechanism cannot be seen with the naked eye. Label the
opened terminator and dispose of it immediately to ensure that it cannot be reused
accidentally.
• The terminator is intended for one-time use only. If you open the terminator again
following the installation, this will destroy the latching mechanism, meaning that the
unit then cannot be used again.
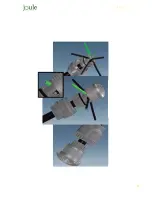
• Remove the terminator by cutting it off using a diagonal cutter set flush against the
end of the Engage Cable.
• Replace the terminator as described in the previous steps.
Step 7 – Connect the Engage Cable to AC Junction Box(es)
Perform the following steps in accordance with local standards.
• Connect the Engage Cable into the AC branch circuit junction box using an appro-
priate gland or strain relief fitting. It requires a strain relief fitting with an opening of
1.3 cm (0.5 inches) in diameter.
• Connect the Engage Cable into additional AC junction boxes as needed to transi-
tion to conduit between smaller sub-arrays. Remember to adhere to AC branch
circuit limits for the Microinverters being used.
Fitting Branch Termination Endcap
Summary of Contents for Pulsa PV
Page 1: ...PULSA PV joule pulsa pv solar high performance ac solar module installation guide...
Page 2: ......
Page 4: ......
Page 10: ...Maximising Performance 10 Locating the Unit...
Page 11: ...Transportation and Installation Notes 11 PULSA PV installation manual...
Page 15: ...15 PULSA PV installation manual...
Page 29: ...29 PULSA PV installation manual...
Page 32: ...32 Locating the Unit Electrical Installation Microinverter Technical Specification...
Page 33: ...33 PULSA PV installation manual...
Page 42: ......
Page 43: ......


