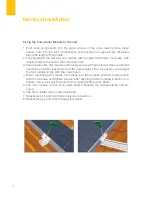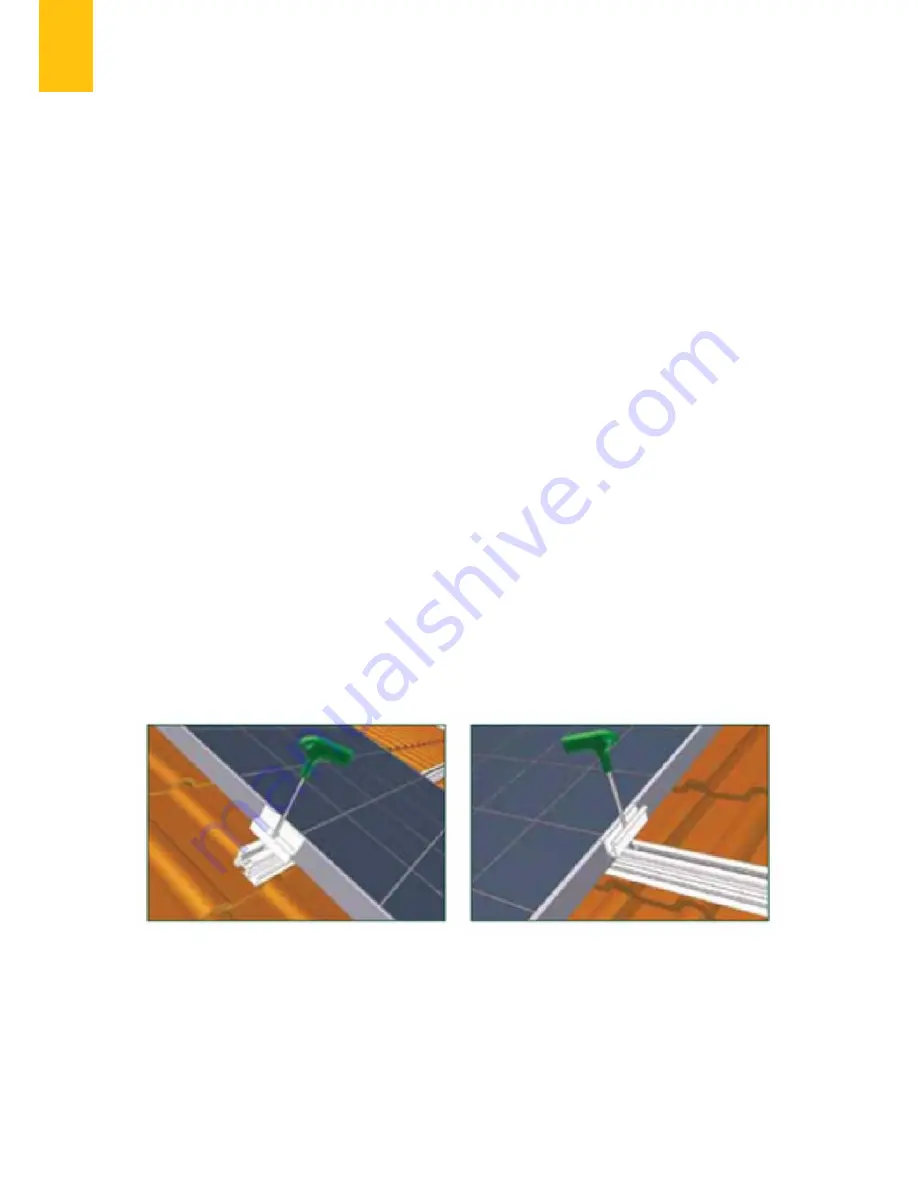
Fixing the Pulsa Solar Module to the rails
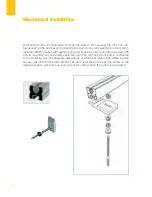
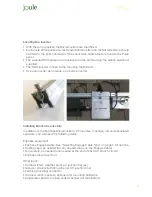
1. Push click components into the upper groove of the cross beam profile, insert
square nuts into the click components and distribute at approximate distances
along the length of the profile.
2. Loosely attach the first two end clamps with serrated M8 screws (or screws with
locking nuts) at the end of the cross beam rail.
3. Then position the first module and loosely secure with end clamps (the end clamps
should be placed at least 5mm from the outer edge of the cross beam). Now adjust
the first module in line with the cross beam.
4. When mounting with clamps, click these into the required position, arrange flush
with the modules and tighten screws. After aligning the first module in each row, a
middle clamp is loosely fastened to the corresponding cross beam.
5. The next module is then connected, shifted beneath the module clamp and se-
cured.
6. The first middle clamp is then tightened.
7. Repeat steps 5 and 6 until all panels are in position.
8. Repeat steps 2 and 3 for the edge last panel
30
Locating the Unit
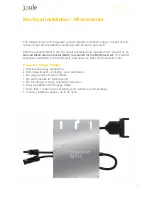
Electrical Installation
Summary of Contents for Pulsa PV
Page 1: ...PULSA PV joule pulsa pv solar high performance ac solar module installation guide...
Page 2: ......
Page 4: ......
Page 10: ...Maximising Performance 10 Locating the Unit...
Page 11: ...Transportation and Installation Notes 11 PULSA PV installation manual...
Page 15: ...15 PULSA PV installation manual...
Page 29: ...29 PULSA PV installation manual...
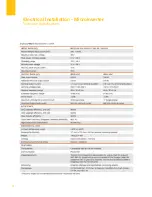
Page 32: ...32 Locating the Unit Electrical Installation Microinverter Technical Specification...
Page 33: ...33 PULSA PV installation manual...
Page 42: ......
Page 43: ......


