background image

6

QUICK SET-UP

Journey Toilet Lift

STEP 4 

    Remove Your Old Toilet Seat

To install your Journey Toilet Lift, you will need to remove your old toilet seat.

Not all seats are the same, but you may require a large flathead screwdriver and a 

pair of pliers.

Typically, you will remove two nuts from beneath the toilet.

There is usually one on each side. Once removed, the seat usually lifts right off.

STEP 5 

    Charge Your Battery

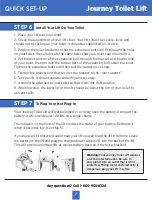
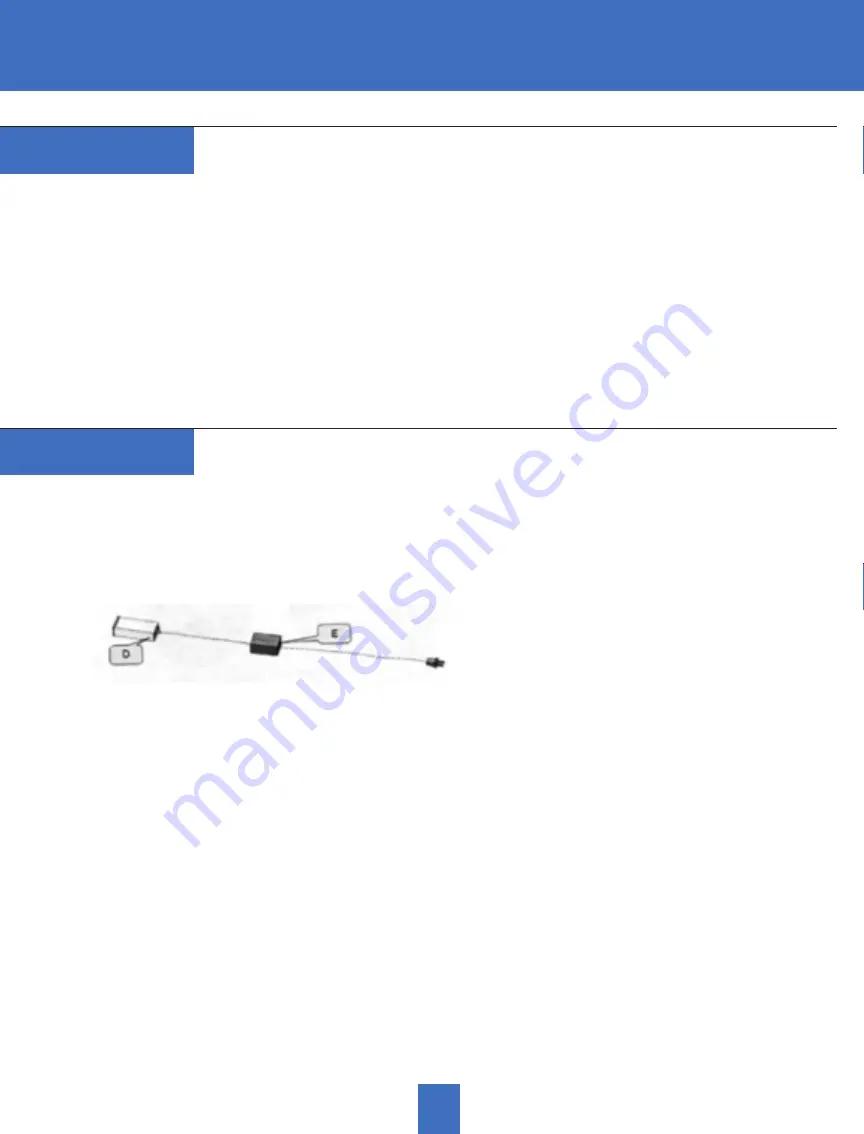
•  Your battery (D) should arrive with some charge. You will still want to charge it  

  before putting it into service.
•  Directly plug the power adapter into the power supply and the equipment can be  

  used (when the power is connected, the indicator light on the adapter will be on.) 


•  You can charge your battery two ways:

1.  Remove the battery from your lift (raise the lift halfway and pull up on the  

  silver handle).
2. Plug your battery into the charger/power supply (E).
3. If your battery is flat and cannot raise the lift enough to get the battery out,  

  plug the charger/power supply into the rear of the lift and then raise the seat.

•  Your battery will need to be plugged in for 8 hours to gain a full charge. You can  

  leave it plugged into the charger/power supply as long as you want after that.

Summary of Contents for Toilet Lift

Page 1: ...Journey Toilet Lift PRODUCT MANUAL...

Page 2: ...3 4 7 8 In The Box Quick Set Up Warranty 2 TABLE OF CONTENTS If you have any questions call us at our toll free number 1 800 958 8324 Journey Toilet Lift...

Page 3: ...e switch 1 Left Handle item C no switch 1 Power Supply Battery Charger item E 4 Allen head screws with washers for handles 2 Expansion bolt and toilet bracket assemblies used to attached the base to y...

Page 4: ...threaded collar so that they remain secure Push the buttons and the lift may move 4 The right handle should fit over the post now 5 Secure the handle with the two allen head screws Note Do not pull ha...

Page 5: ...needs to be installed down into the slot so that the bracket attaches to the bottom of the rear support It is difficult to install We suggest using the allen wrench to help guide the bolt down into t...

Page 6: ...before putting it into service Directly plug the power adapter into the power supply and the equipment can be used when the power is connected the indicator light on the adapter will be on You can ch...

Page 7: ...he lift It should operate smoothly and securely 7 It should be attached to your toilet so that it will not shift position 8 When lowered the lower lip of the lift should be below the rim of your toile...

Page 8: ...n or failure to follow instructions according to this Product Manual damage in shipment of the product claims must be presented to the carrier repair attempted repair or modifications made by anyone o...

Page 9: ...If you have any questions call us at our toll free number 1 800 958 8324 Journey Toilet Lift...

Reviews: