


Summary of Contents for JNSZ650DL
Page 39: ...WIRING DIAGRAM 38 ...
Page 40: ...39 ...
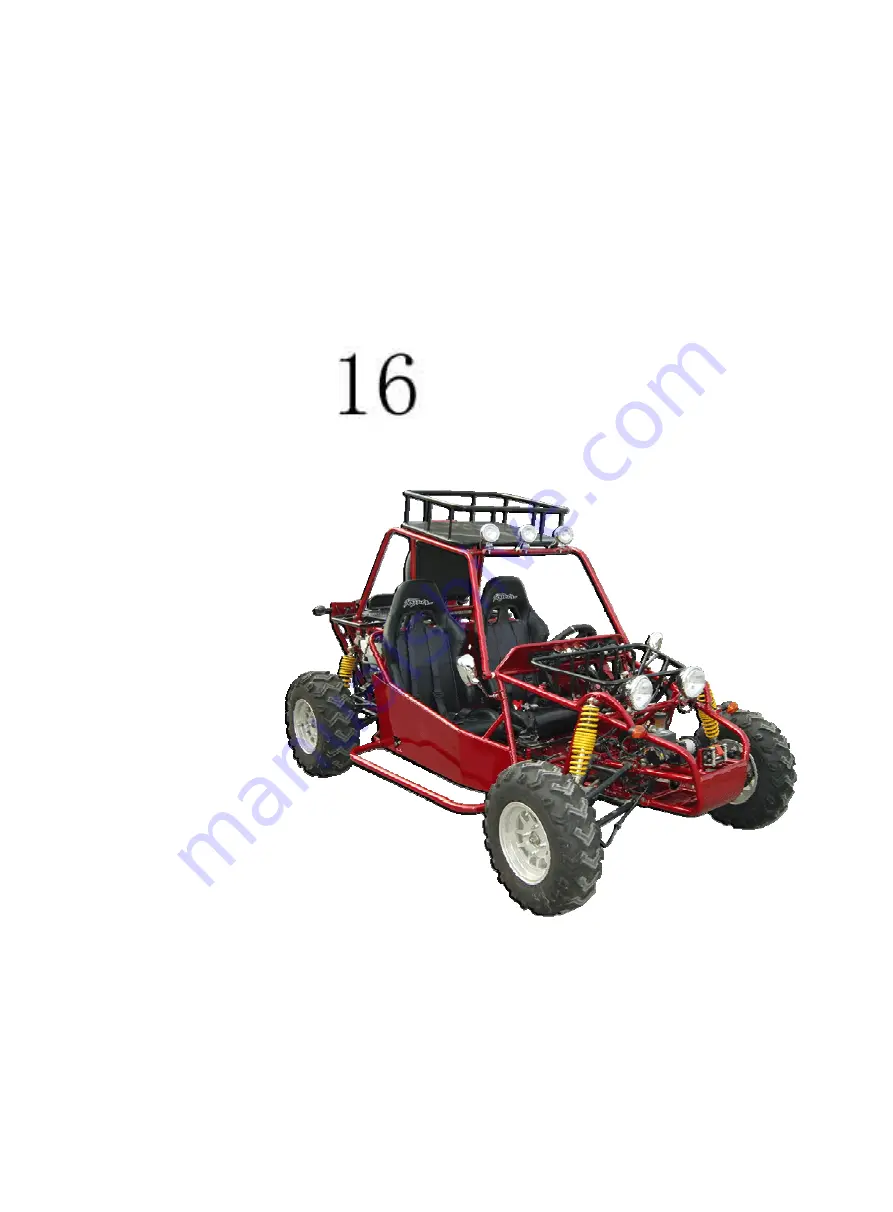
The Joyner JNSZ650DL Owner's Manual is an essential companion for every JNSZ650DL user. This comprehensive manual provides step-by-step instructions and valuable insights to ensure a seamless experience with your vehicle. Download it now for free at 88.208.23.73:8080 and unlock the full potential of your Joyner JNSZ650DL.
Page 39: ...WIRING DIAGRAM 38 ...
Page 40: ...39 ...


