


J
.P. SELECTA s.a.u.
Ctra. NII Km 585.1 Abrera 08630 (Barcelona) España
e-mail: selecta @jpselecta.es - website: http://www.jpselecta.es
Tel 34 937 700 877 Fax 34 937 702 362
MANUAL DE INSTRUCCIONES CODIGO 80219 REV E MAR/2017
(Sujetas a modificaciones sin previo aviso)
Pag.: 26
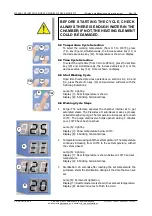
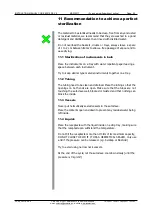
8.3
Temperature Cycle Selection
-
To select the working temperature (from 115 to 134ºC), press
«ºC» key (9) and, simultaneously, the increase value key (11) or
the decrease value key (12). Temperature is shown on display.
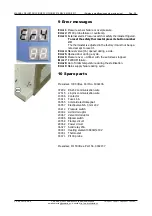
8.4
Time Cycle Selection
-
To select the cycle time (from 3 min to 99 min), press the set time
key (10) and, simultaneuosly, the increase value key (11) or the
decrease value key (12). Time is shown on display.
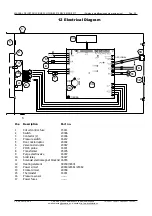
8.5
Start Working Cycle
-
Once time finished previous
operations on sections 8.2, 8.3 and
8.4, press the start on key (14) and autoclave will work with the
following indications:
Lamp (6): Lighting
Display (7): Real temperature is shown.
Display (8): 6 blinking horizontal lines.
8.6
Working Cycle Steps
1
Purge: The autoclave expulses the chamber internal air to get
saturated steam. The Presoclave II autoclaves makes a process
called atmospheric purge. The temperature increases up to reach
103ºC. The purge electrovalve holds opened during 3 minutes
once 103ºC have been reached.
Lamp (6): Lighting
Display (7): Show temperature below 103ºC.
Display (8): 6 blinking horizontal lines.
2
Temperature increasing until the set temperature: The temperature
continues increasing from 103ºC to the set temperature, with all
the valves closed.
Lamp (6): Lighting
Display (7): Real temperature is shown between 103ºC and set
temperature.
Display (8): 6 blinking horizontal lines.
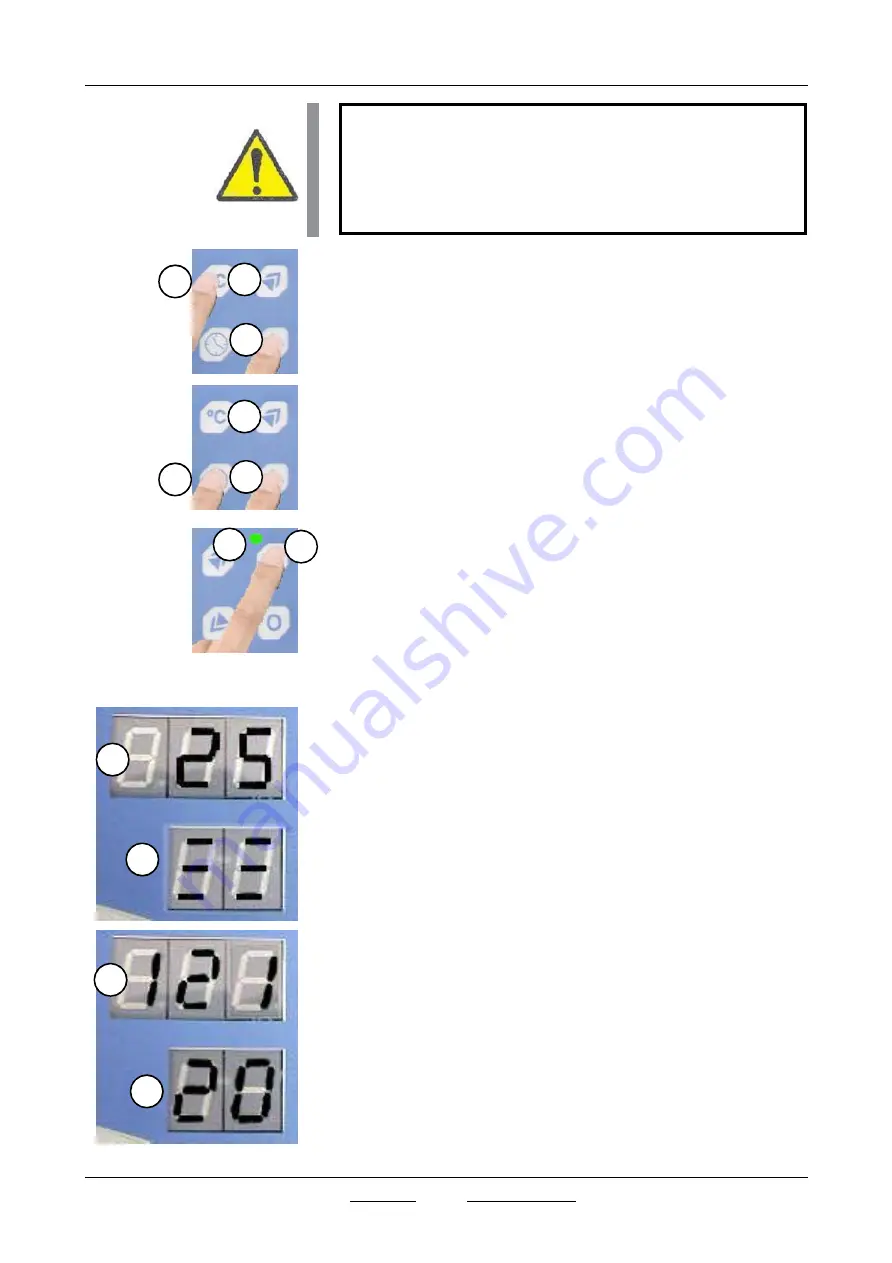
3
Sterilization: 20 seconds after reaching the set temperature the
autoclave starts the sterilization during all the time that we have
set.
Lamp (6): Permanent lighted on.
Display (7): Real temperature is shown, the same set temperature.
Display (8): Remain minutes to finish the
cicle.
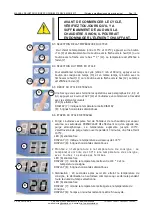
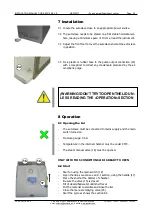
BEFORE STARTING THE CYCLE, CHECK
ALWAYS THERE IS ENOUGH WATER IN THE
CHAMBER; IF NOT, THE HEATING ELEMENT
COULD BE DAMAGED.
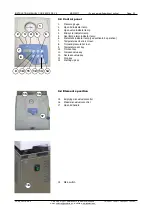
7
8
7
8
6
14
11
10
12
9
11
12