25
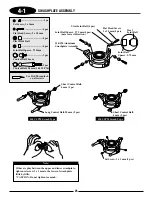
4-1
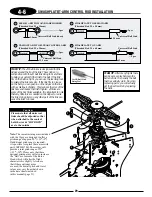
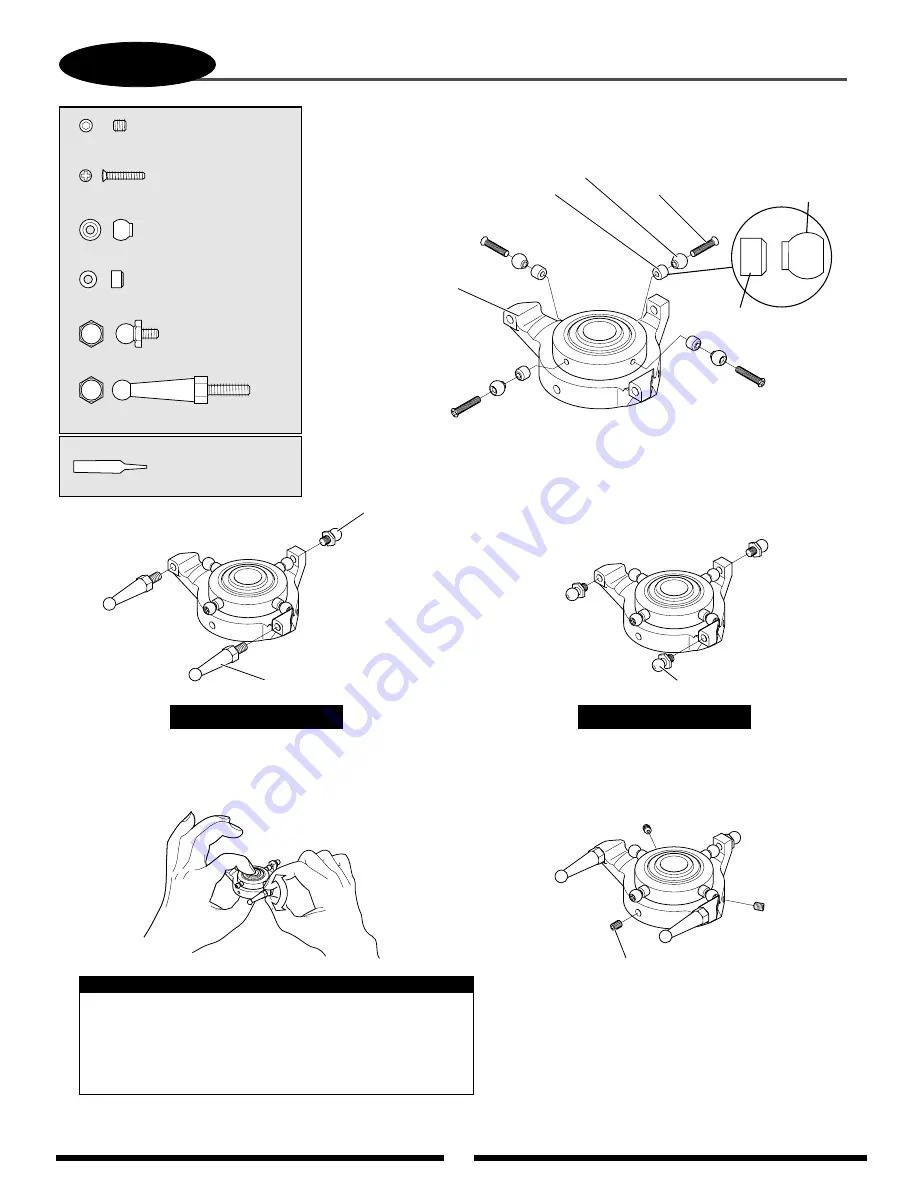
SWASHPLATE ASSEMBLY
.............................4 pcs
Flat Head Screw, 2 x 10 mm
.................................4 pcs
....................................4 pcs
..........................3 pcs
Steel Joint Ball
Joint Ball Spacer, 2.75 mm
Use Red Threadlock
on all screws
Set Screw, 3 x 3 mm (3 pcs)
Joint Ball
Spacer, 2.75 mm
Steel
Joint Ball
Flat Head Screw,
2 x 10 mm (4 pcs)
Joint Ball Spacer, 2.75 mm (4 pcs)
(note correct direction)
140/120 Aluminum
Swashplate Assembly
Steel Joint Ball (4 pcs)
140 CCPM Swash Type
Long Control Ball, 20 mm (2 pcs)
Short Control Ball,
4 mm (1 pc)
120 CCPM Swash Type
Short Control Ball,
4 mm (3 pcs)
Control Ball, 20 mm (140 CCPM)
Control Ball, 4 mm
...2 pcs
.....................................1 pc
Set Screw, 3 x 3 mm
If there is play between the upper and lower swashplate,
tighten set screw 3 x 3 mm to the lower of swashplate
little by little.
*CAUTION : Do not tighten too much.
Note:
Summary of Contents for Vigor CS
Page 64: ...64 E A C D G F DECAL PLACEMENT ...
Page 65: ...65 B 3 2 5 1 DECAL PLACEMENT ...

