63
8-3
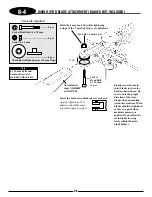
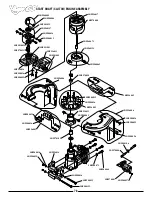
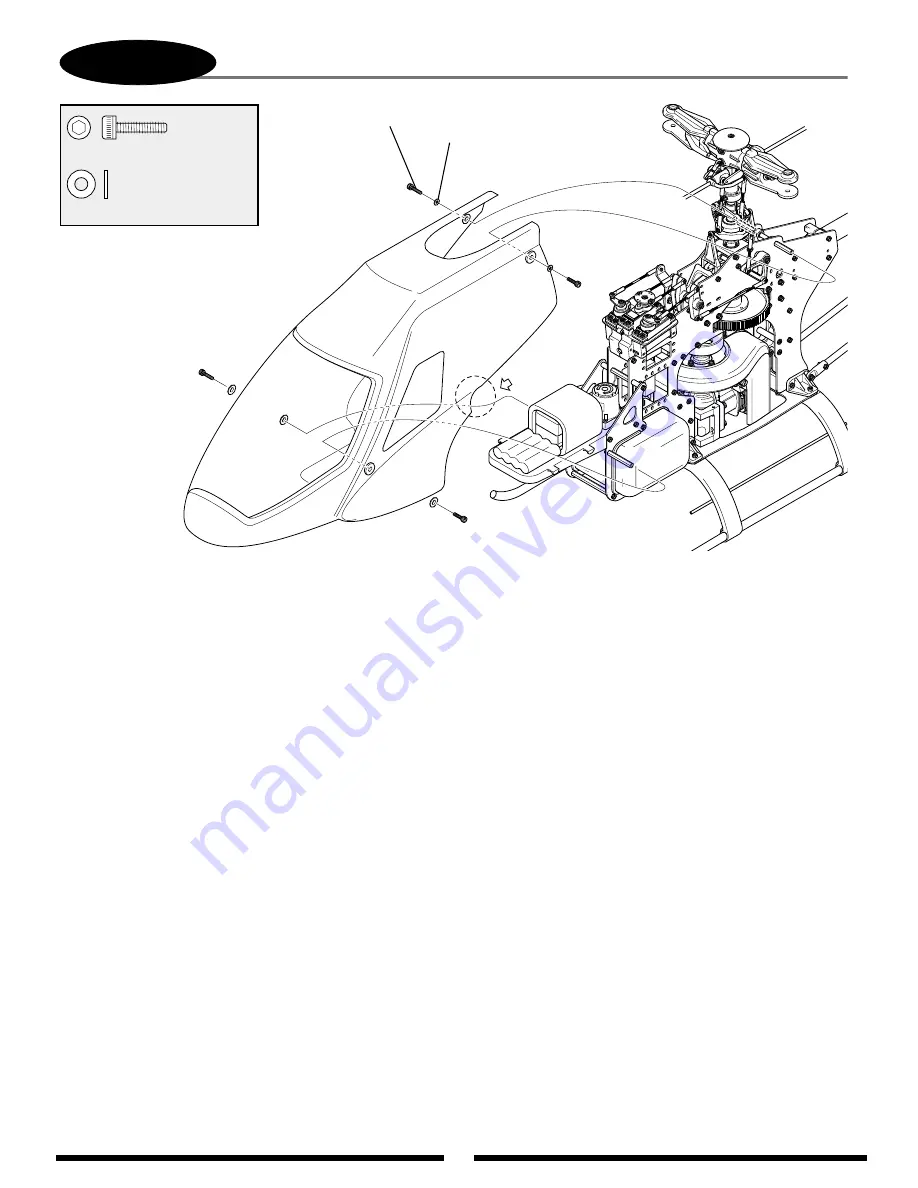
BODY ATTACHMENT & FINAL FITTING
Flat Washer, 3 mm
...................2 (or 6) pcs
Socket Head Bolt 3 x 12 mm
...2 (or 6) pcs
Flat Washer, 3 mm (2 pcs)
Socket Head Bolt, 3 x 12 mm (2 pcs)
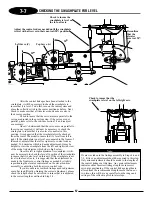
Check to insure the body does not come in contact with any portion of the main frame, muffler, servo, servo horns, etc. Trim for
clearance if necessary. Trim and remove a small portion of the canopy shown in the circle above as it is very close to the
cooling fan shroud (left side only).
Before sanding or painting the canopy, it is first suggested that the canopy be cleaned using Lacquer thinner, or rubbing
alcohol to remove any mold release agent that may still be present on the canopy.
Lightly sand the entire canopy using 180 to 220 grit sandpaper or "Scotchbrite" sanding material so that all areas of the
canopy have a dull appearance.
Clean the canopy again using rubbing alcohol to remove all sanding dust.
Apply a coating of primer to the canopy. Many modelers use a lacquer based automotive primer available in most automotive
supply stores.
Once the primer dries, check the canopy for any pinholes that may exist. These pinholes can be spot filled using either an
automotive "Glazing" putty, or a special pinhole filler like BVM (Bob Violett Models) BVM1925 pinhole filler.
Sand the spot filler and apply a fresh coat of primer. Repeat the filling procedure as needed until all of the pinholes have been
filled.
Clean the canopy again to remove any sanding dust and apply your favorite brand of Fuel Proof paint. Many pilots also use an
automotive based paint for color coats, although the automotive paint will need to be sealed using a fuel proof clear coat.
For a quick and attractive paint job, Goldberg Ultra Paint will also work well and is fuel proof for up to 15% nitro (direct
fuel contact).
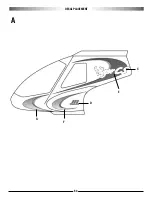
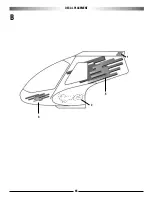
Once the canopy has been painted to the desired finish, apply the decals to the canopy as shown in the following pages.
CANOPY PREPARATION AND PAINTING
Summary of Contents for Vigor CS
Page 64: ...64 E A C D G F DECAL PLACEMENT ...
Page 65: ...65 B 3 2 5 1 DECAL PLACEMENT ...

