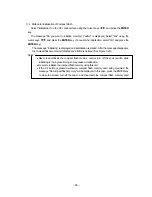
3.6 External Output Methods
This unit is equipped with functions for printing the screen to a special printer (option) and a function
for saving scan test data to a compact flash memory card.
The following explains how to use the functions:
3.6.1 Printer Output
(1) Setting of an output destination
Press the 4
SET
key on the scan test screen, and set "Printer (I)" for "External output" on the
parameter setting screen.
(2) Installation of the printer
Set up the printer so that the IrDA optical receiver faces the IrDA optical receiver on the front of
this unit at a distance of between 50 and 500 mm.
Note that if there is an obstacle between the radar and printer or the printer is not
installed at an angle of
±
15 degrees, the printer is unable to operate.
(3) Printing
Pressing the 13
OUTPUT
key enables printing to the printer.
Data in the range from 0 m (0 s) up to the currently displayed screen contents will be printed.
During output to the printer, "Date, Data No." as well as the message "Under printing" will be
displayed on the LCD screen.
Notes
●
Use the designated (recommended) printer.
‑ 54 ‑
Summary of Contents for Handy Search NJJ-95B
Page 1: ...Handy Search Instruction Manual...
Page 8: ...Appearance of the NJJ 95B vii...
Page 21: ...Rear view Units in trigonometry mm 9...
Page 24: ...8 14 15 Figure 2 2 Side View 16 17 14 18 Figure 2 3 Rear View 12...
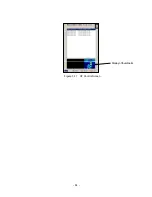
Page 73: ...Display of thumbnails Figure 3 17 CF Control Screen 61...
Page 83: ...B Terminals ACharge confirmation mark Figure 3 22 Battery Pack 71...
Page 85: ...Shutter Charge lamp Figure 3 23 Battery Charger 73...
Page 96: ...Concrete Rebar D 75mm L 75mm D 75mm Difficult to implement 84...
Page 103: ...Dimensions Weight About 149 W x 147 H x 216 D mm Approximately 1 1kg 91...


