4. Operation 13
Selecting Display Mode [MODE]
・
Each time you press the MODE key, the display mode changes.
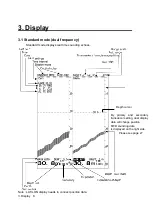
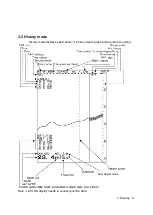
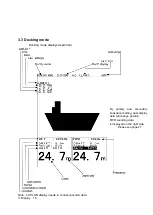
Single frequency
: Each time you press the MODE key, the display mode changes as follows.
Standard mode
History mode
Docking mode
Dual frequency
:
Each time you press the MODE key, the display mode changes as follows.
Single frequency standard mode (primary),
Single frequency standard mode (secondary),
Dual frequency standard mode,
Single frequency history mode (primary),
Single frequency history mode (secondary),
Docking mode
Notes:
1. There is not Dual frequency history mode.
2. At “Dual frequency standard mode” and “Docking mode”, each time you press the ENT
key, you can switch the settable receiver sensitivity between “primary” and “secondary”.
Selecting Day/Night Display Color [DAY/NIGHT]
・
Whenev
er the key is pressed, it changes with DAY1 → DAY2 → NIGHT1 → NIGHT2.
・
Each color "Image color and character color" of DAY1/DAY2/NIGHT1/NIGHT2 can be individually set by
the menu.
(Refer to 4.5 Initial Setting.)
Displaying Menu [MENU]
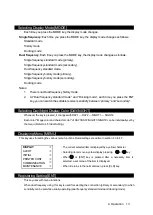
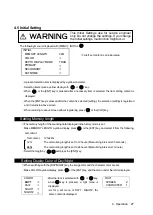
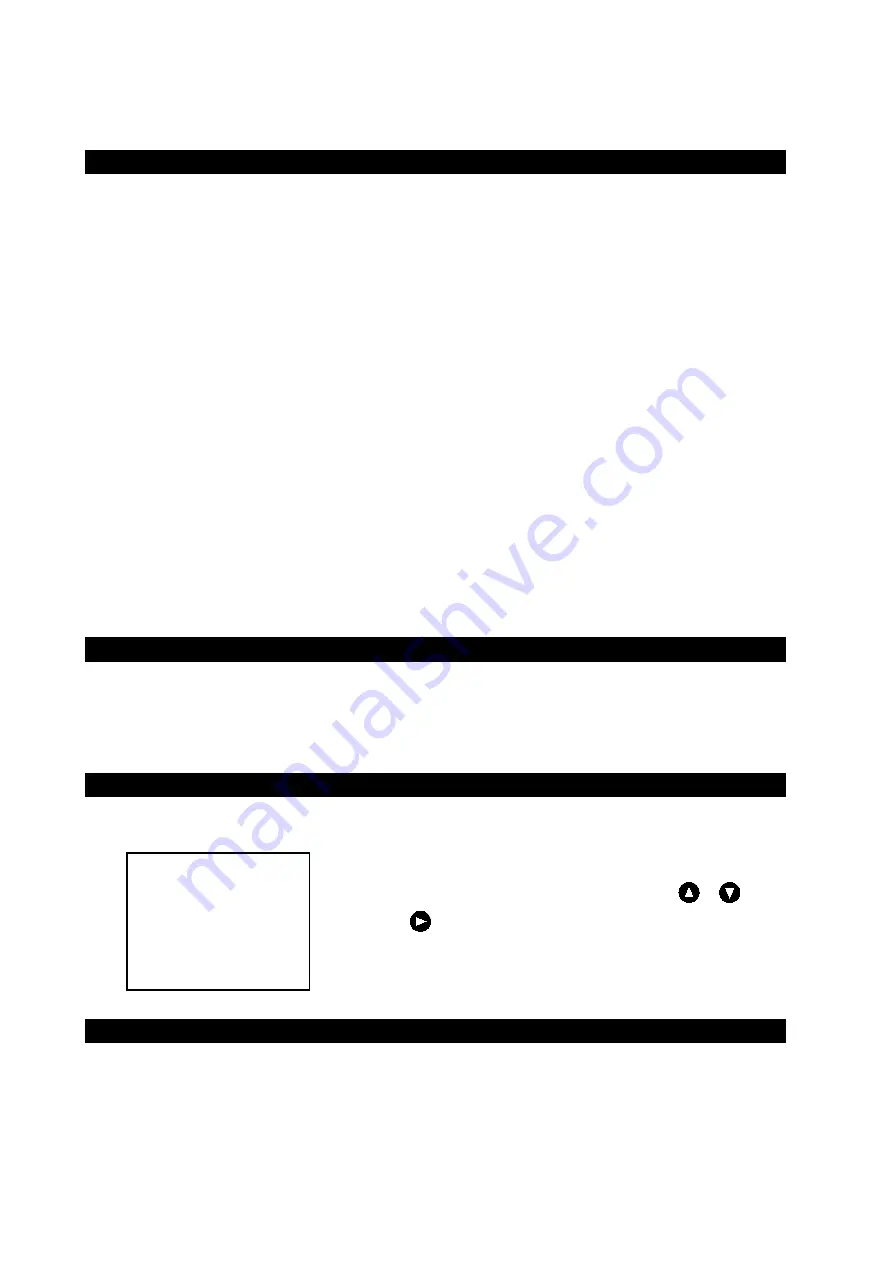
This key uses for setting the various menu functions. Detail settings are written in section 4.3 to 4.7.
DISPLAY
>
ALERT
>
INITIAL
>
PRINTER CONT
>
COMMUNICATION
>
MAINTENANCE
>
Registering Setting [ENT]
・
This key uses with menu functions.
・
When dual frequency using, this key is used for selecting the connection (primary or secondary) to which
sensitivity can be set while usually operating (dual frequency standard mode and docking mode).
・
The current selected item is displayed by a yellow character.
・
Selecting items move a yellow display pressing or key.
・
When or [ENT] key is pressed after a necessary item is
selected, a set menu of the item is displayed.
・
When it returns to the normal screen, press [CLR] key.
Summary of Contents for JFE-680 -
Page 2: ......
Page 9: ...External View External View vii NO ALERT ...
Page 18: ...1 5 System Configuration 1 Introduction 6 alert alert alert alert alert alert alert ...
Page 54: ...5 1 Installing the Recorder Unit Flush Mount Equipment Figure 3 1 5 Installation 42 Unit mm ...
Page 55: ...Wall Mount Equipment Figure 3 2 5 Installation 43 Unit mm ...
Page 57: ...NKF 345 5 Installation 45 ...
Page 58: ...NKF 392C 5 Installation 46 ...
Page 59: ...NKF 393 5 Installation 47 ...
Page 60: ...NKF 394 5 Installation 48 ...
Page 61: ...NKF 396 5 Installation 49 ...
Page 84: ......
Page 85: ......


