4. Operation 14
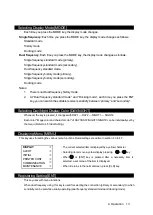
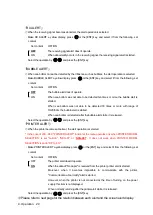
Cancelling Menu [CLR]
・
This key uses with menu functions.
・
When it keeps pressing the key while printing, the printer is canceled printing.
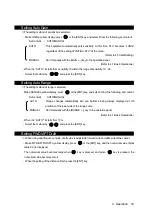
Printing [PRINT]
・
This key uses for print or the data output.
・
The printer setting is set on
“
PRINT MODE" menu.
(Refer to 4.6 Printer Control Setting.)
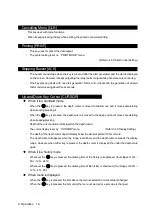
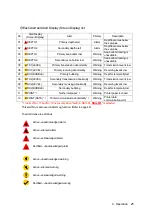
Stopping Buzzer [ACK]
・
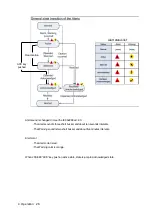
The buzzer sound stops when the key is pressed after the alert generated, and the alert is displayed
on the screen. However, it keeps outputting the relay contact output while phenomenon is continuing.
・
One key pressing deals with one alert generation factor. And, it deals with the generation of all alert
factor under pressing about three seconds.
Up and Down Key Cursor [CURSOR]
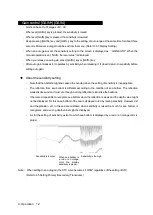
When it is a standard mode
・
When the key is pressed, the depth cursor is moved to shallow one and it moves accelerating
when keeping pressing it.
・
When the key is pressed, the depth cursor is moved to the deep end and it moves accelerating
when keeping pressing.
・
Depth at the cursor position is displayed on the depth cursor.
・
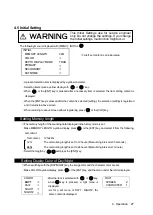
The cursor display is set by
“
CURSOR" menu.
(Refer to 4.3 Display Setting.)
・
The depth of the depth cursor doesn't display below the decimal point at 100m or more.
・
The depth cursor disappears when the range is switched, and the depth cursor exceeds the display
range. However, when either key is pressed, the depth cursor is displayed the under the depth scale
again.
When it is a history mode
・
Whenever the key is pressed, the drawing time of the history is lengthened. (four stages of 3hr
→
6hr
→
12hr
→
24hr)
・
Whenever the key is pressed, the drawing time of the history is shortened. (four stages of 24hr
→
12hr
→
6hr
→
3hr)
When menu is displayed
・
When the key is pressed, the item above the menu is selected or a set value is changed.
・
When the key is pressed, the item under the menu is selected or a set value is changed.
Summary of Contents for JFE-680 -
Page 2: ......
Page 9: ...External View External View vii NO ALERT ...
Page 18: ...1 5 System Configuration 1 Introduction 6 alert alert alert alert alert alert alert ...
Page 54: ...5 1 Installing the Recorder Unit Flush Mount Equipment Figure 3 1 5 Installation 42 Unit mm ...
Page 55: ...Wall Mount Equipment Figure 3 2 5 Installation 43 Unit mm ...
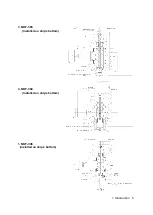
Page 57: ...NKF 345 5 Installation 45 ...
Page 58: ...NKF 392C 5 Installation 46 ...
Page 59: ...NKF 393 5 Installation 47 ...
Page 60: ...NKF 394 5 Installation 48 ...
Page 61: ...NKF 396 5 Installation 49 ...
Page 84: ......
Page 85: ......


