4. Operation 31
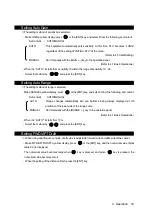
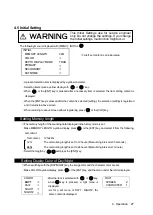
Setting Adjustment of Date and Time
◎
Date/Time/Time difference/GPS synchronization is set.
・
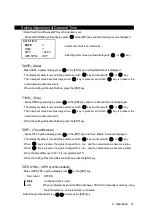
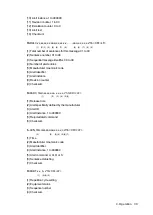
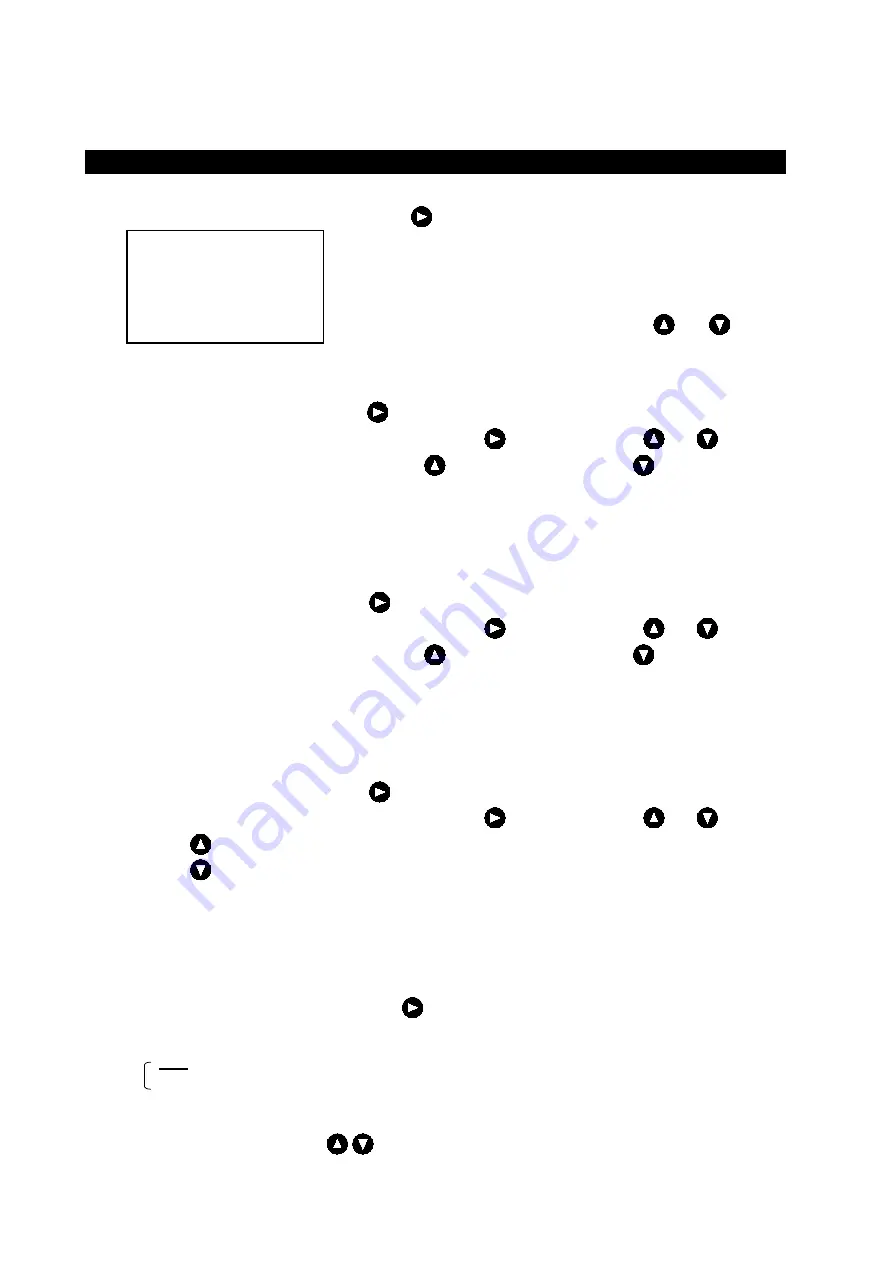
Make DATE/TIME a yellow display, press or the [ENT] key, and the following menu is displayed.
DATE/TIME
DATE
>
TIME
>
DIFF
+00:00
GPS SYNC
OFF
「
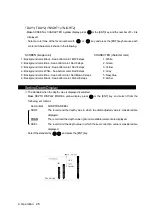
DATE
」
(Date)
・
Make DATE a yellow display, press or the [ENT] key, and Day/Month/Year is displayed.
・
The display of yellow is moved to the position set with key, and it sets with or key.
・
The numerical value becomes large when key is pressed, and when key is pressed, the
numerical value becomes small.
・
When the setting at the date finishes, press the [ENT] key.
「
TIME
」
(Time)
・
Make TIME a yellow display, press or the [ENT] key, and Hour: Minute: Second is displayed.
・
The display of yellow is moved to the position set with key, and it sets with or key.
・
The numerical value becomes large when key is pressed, and when key is pressed, the
numerical value becomes small.
・
When the setting at the time finishes, press the [ENT] key.
「
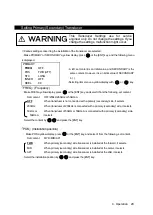
DIFF
」
(Time difference)
・
Make DIFF a yellow display, press or the [ENT] key, and Hour: Minute: Second is displayed.
・
The display of yellow is moved to the position set with key, and it sets with or key.
・
When key is pressed, the sign is changed from - to + , and the numerical value become a large.
・
When key is pressed, the sign is changed from + to - , and the numerical value become a small.
・
When the time difference is “±0", it is recognized as UTC.
・
When the setting of the time difference finishes, press the [ENT] key.
「
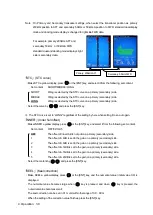
GPS SYNC
」
(GPS synchronization)
・
Make GPS SYNC a yellow display, press or the [ENT] key.
Set content
:
OFF/ON
OFF
:
An internal clock is used.
ON
:
When an internal clock and the ZDA data have shifted for 30 seconds or more by using
the ZDA sentence, an internal clock is corrected.
・
Select the synchronization by and press the [ENT] key
・
A left, set content is an initial value.
・
Selecting items move a yellow display with or key.
Summary of Contents for JFE-680 -
Page 2: ......
Page 9: ...External View External View vii NO ALERT ...
Page 18: ...1 5 System Configuration 1 Introduction 6 alert alert alert alert alert alert alert ...
Page 54: ...5 1 Installing the Recorder Unit Flush Mount Equipment Figure 3 1 5 Installation 42 Unit mm ...
Page 55: ...Wall Mount Equipment Figure 3 2 5 Installation 43 Unit mm ...
Page 57: ...NKF 345 5 Installation 45 ...
Page 58: ...NKF 392C 5 Installation 46 ...
Page 59: ...NKF 393 5 Installation 47 ...
Page 60: ...NKF 394 5 Installation 48 ...
Page 61: ...NKF 396 5 Installation 49 ...
Page 84: ......
Page 85: ......


