4. Operation 36
4.7 Communication Setting
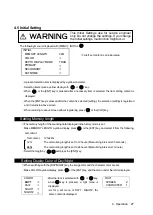
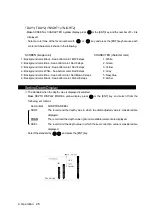
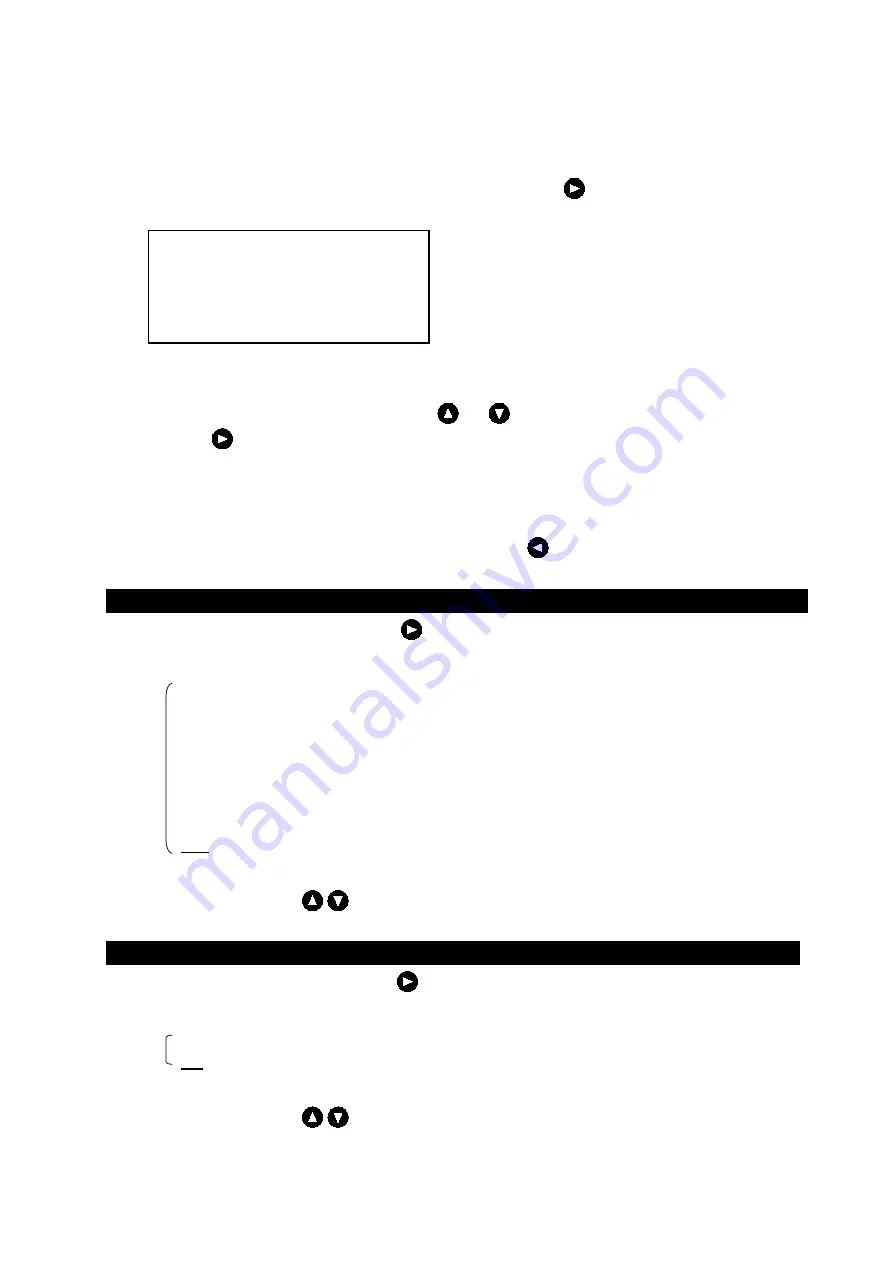
The following menu is displayed with [MENU]
・
COMMUNICATION .
COMMUNICATION
DEPTH
ALL
ALERT
ON
SYSTEM
ON
PRINTER PORT OUT
PRINTER
・
A present selection item is displayed by a yellow character.
・
Selecting items move a yellow display with or key.
・
When or the [ENT] key is pressed after a necessary item is selected, the item setting content is
displayed.
・
When the [ENT] key is pressed after the content is selected (setting), the selection (setting) is registered
and it returns to above screen.
・
When returning to above screen without registering, press or the [CLR] key.
Setting Depth Output
・
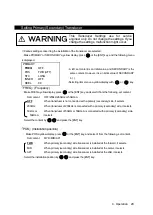
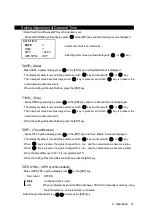
Make DEPTH a yellow display, press or the [ENT] key, and select it from the following, set content.
Set content
:
Ver1.5/Ver2.3/ALL
Ver1.5
:
Setting of DEPTH DISPLAY MODE in “INITIAL" of the menu;
Only
“
SDDBS" is output for
「
SURF
」
.
Only
“
SDDBT" is output for
「
TRAN
」
.
Only
“
SDDBK" is output for
「
KEEL
」
.
Ver2.3
:
“
SDDPT" is output.
Ver5.0
:
Alert serial data change to meet IEC61162-1ed5
ALL
:
Both content of “Ver1.5" and “Ver2.3" are output at the same time.
・
“
PJRCU" is output as for each setting of “Ver1.5/Ver2.3/ALL".
・
Select the content by and press the [ENT] key.
Setting Alert Output
・
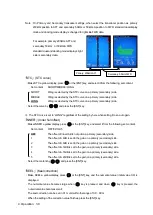
Make ALERT a yellow display, press or the [ENT] key, and select it from the following, set content.
Set content
:
OFF/ON
OFF
:
When warning starts, the ALR sentence is not output. (Data as the history remains.)
ON
:
“
SDALR" is output for all items of alert setting “ON" in the alert setting menu by a
period for one second.
・
Select the content by and press the [ENT] key.
※
A left, set content is an initial value.
Summary of Contents for JFE-680 -
Page 2: ......
Page 9: ...External View External View vii NO ALERT ...
Page 18: ...1 5 System Configuration 1 Introduction 6 alert alert alert alert alert alert alert ...
Page 54: ...5 1 Installing the Recorder Unit Flush Mount Equipment Figure 3 1 5 Installation 42 Unit mm ...
Page 55: ...Wall Mount Equipment Figure 3 2 5 Installation 43 Unit mm ...
Page 57: ...NKF 345 5 Installation 45 ...
Page 58: ...NKF 392C 5 Installation 46 ...
Page 59: ...NKF 393 5 Installation 47 ...
Page 60: ...NKF 394 5 Installation 48 ...
Page 61: ...NKF 396 5 Installation 49 ...
Page 84: ......
Page 85: ......


