3 Operating procedures
3-20
3
Entering values
3.2.4
The menu items in which numbers are entered are highlighted when they are in the number
input mode.
To input numbers, you can use the number keys, arrow keys, or MULTI knob.
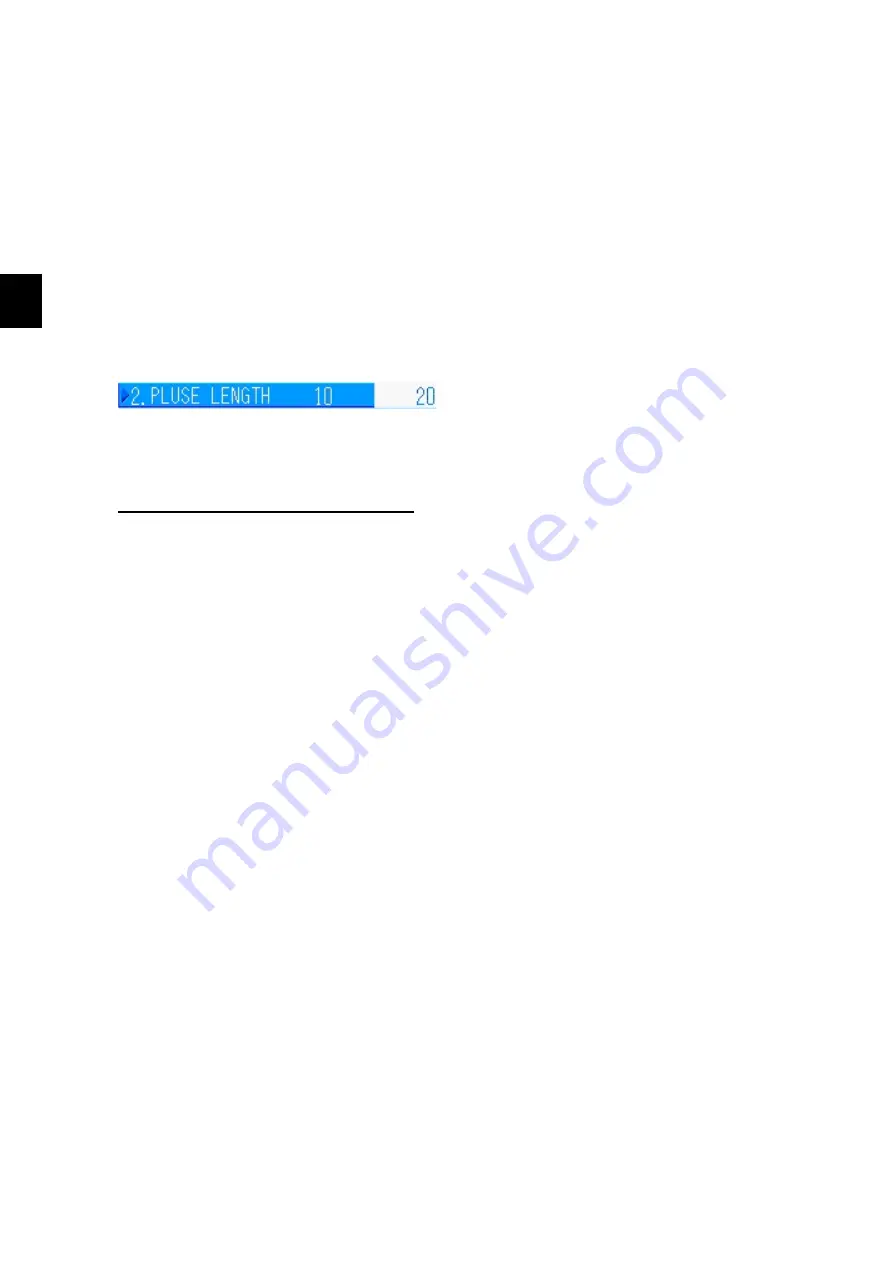
The number input mode is indicated by highlighting, as in the following example, which shows
the item name and the item value. The right side of the item value appears white and the inside
the item value and the same value are shown.
The various methods to input numbers can be used to change the numbers.
Number input mode example
Item names
Item value
(value before change)
Item changed value
(value that you intend to change)
Inputting numbers with the MULTI knob
(1)
While a "Menu" is open, turning the [MULTI] knob highlights the selected items. Select
the item you want, and press the [MULTI] knob or press the [ENT] key to activate
number input mode.
(2)
Turn the [MULTI] knob to the right to increase the value one step. Turn it to the left to
decrease the value one step.
(3)
If the number exceeds the upper or lower limits, a buzzer sounds and the value does
not change. For items with specified input values, if the value is outside the upper or
lower limits, the operation cannot be done. When this happens, a buzzer sounds to
indicate the value is outside the upper or lower limit.
(4)
For items in which negative numbers can be input, turn the [MULTI] knob to the left to
reduce the value one step at a time in the negative direction.
(5)
To redo a setting, press the [CNCL] key to return to the initial value and the status to
step (1).
(6)
When the value reaches the desired value, press the [MULTI] knob or the [ENT] key to
set the value and reflect it.
(7)
Turning the [MULTI] knob while inputting values with the number keys does the status
operations (2) to (6) using the values that are currently input.
(8)
Each time a value is changed the screen reflects the change, depending on the
item. However, if you do not do step (6), the values are not set.
Summary of Contents for JFS-280
Page 2: ......
Page 3: ...A General Information Before you begin 7ZPNA2401...
Page 4: ......
Page 34: ......
Page 36: ......
Page 38: ...1 Overview of the equipment 1 2 1...
Page 43: ...1 7 1 Overview of the equipment 1 Diagram 1 1 Exterior view of the NWZ 207 display unit...
Page 44: ...1 Overview of the equipment 1 8 1 Diagram 1 2 Exterior view of the NCH 578 keyboard...
Page 47: ...1 11 1 Overview of the equipment 1 Diagram 1 5 Exterior view of the NKF 2800 hoisting device...
Page 50: ...2 Names and Functions of Parts 2 2 2...
Page 90: ...3 Operating procedures 3 28 3...
Page 148: ...5 Adjusting How Images Appear 5 34 5...
Page 267: ...7 33 7 Other Items 7...
Page 274: ...7 Other Items 7 40 7 7 6 2 Test Ring Number 7 6 3 Reservation Settings...
Page 282: ...8 Maintenance and inspections 8 2 8...
Page 288: ...8 Maintenance and inspections 8 8 8...
Page 290: ...9 Malfunctions and after sales service 9 2 9...
Page 294: ...9 Malfunctions and after sales service 9 6 9...
Page 296: ...10 Disposal 10 2 10...
Page 298: ...10 Disposal 10 4 10...
Page 300: ...11 Specifications 11 2 11...
Page 306: ...11 Specifications 11 8 11...
Page 308: ...12 Other 12 2 12...
Page 309: ...12 3 12 Other 12 12 1 List of Menus...
Page 310: ...12 Other 12 4 12...
Page 311: ...12 5 12 Other 12...
Page 312: ...12 Other 12 6 12...
Page 313: ...12 7 12 Other 12...
Page 314: ...12 Other 12 8 12...
Page 315: ...12 9 12 Other 12...
Page 316: ...12 Other 12 10 12...
Page 317: ...12 11 12 Other 12...
Page 318: ...12 Other 12 12 12...
Page 319: ...12 13 12 Other 12...
Page 320: ...12 Other 12 14 12 12 2 Setting the Colors of the Sonar Display...
Page 321: ...12 15 12 Other 12...
Page 322: ...12 Other 12 16 12 12 3 Setting the Colors of the Fish Finder Display...
Page 323: ...12 17 12 Other 12 12 4 Sonar Range and Initial Setting Values for the Fish Finder Range...
Page 326: ...12 Other 12 20 12...
Page 327: ......


