6-20
6.4.6 Setting the key assignment
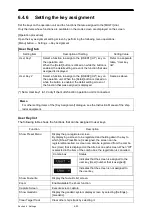
Set the keys on the operation unit and the functions that are assigned to the [MULTI] dial.
Only the items whose functions are available on the mode screen are displayed on the screen.
[Operation procedure]
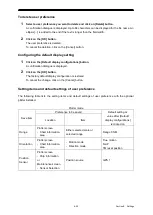
Open the key assignment setting screen by performing the following menu operations.
[Menu] button
→
Settings
→
Key Assignment
[User Key] tab
Setting Item
Description of Setting
Setting Value
User Key1
Select a function to assign to the [USER1] (U1*) key on
the operation unit.
When the [Detail] button is clicked on while the button is
enabled, the detail setting screen of the function that was
assigned is displayed.
Refer to a separate
table, “User key
list”.
User Key 2
Select a function to assign to the [USER2] (U2*) key on
the operation unit. When the [Detail] button is clicked on
while the button is enabled, the detail setting screen of
the function that was assigned is displayed.
Same as above
(*) Set a User key1 to 10 only if the multi-function operation unit is connected.
Memo
For other setting items of the [Key Assignment] dialogue, see the Instruction Manual of the ship
radar equipment.
User Key list
The following table shows the functions that can be assigned to user keys.
Function
Description
Show Preset Menu
Display the pre-registered screen.
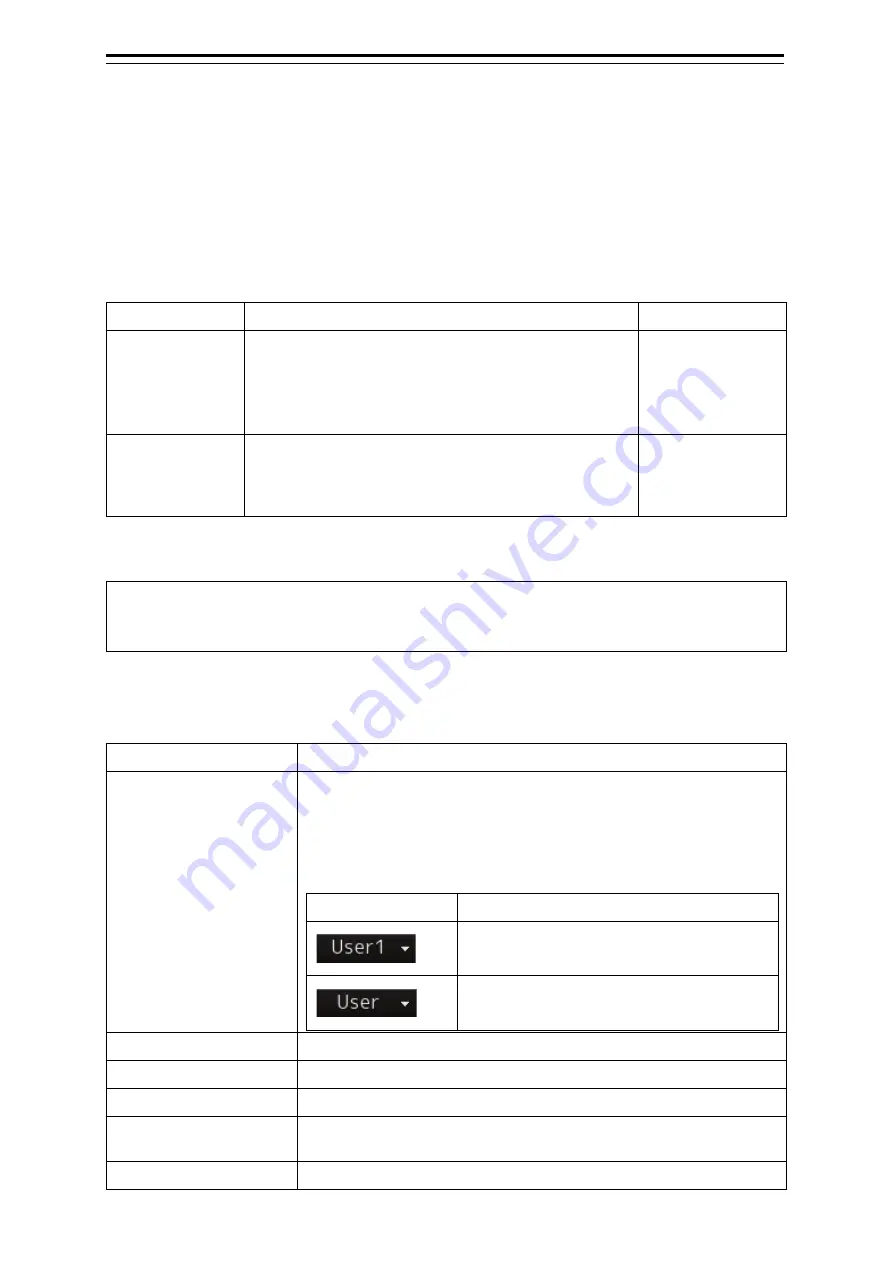
By displaying a screen to be registered and holding down the key to
which [Show Press Menu] is assigned, the screen can be
registered/cancelled. A screen can also be registered from the combo
box (User) that is displayed on the title bar on each screen. When “Off”
is selected in the item of the combo box, the registration is cancelled.
Combo box
Status
Indicates that the screen is assigned to the
user key (User [number that is assigned])
Indicates that the screen is not assigned to
the user key.
Show Favourite
Display the favourite list screen.
Zoom
Enable/disable the Zoom function.
Capture Screen
Execute screen capture.
Show Geodetic
Display the geodetic system display screen by selecting [Settings] –
[Geodetic].
Clear Target Track
Clear other ship’s track by selecting it.
Summary of Contents for JMR-5400 Series
Page 2: ......
Page 58: ...Section 2 Basic Operations and Mode Screen 2 32 ...
Page 86: ...Section 4 Route Planning 4 18 ...
Page 96: ...Section 5 Route monitoring 5 10 ...
Page 124: ...Section 7 Specifications 7 2 ...
Page 205: ......

