background image


SafeTY WaRNING:

Do not pick up the Orion when the rotors are spinning. When turning the Orion on, be careful 

to keep long hair away from the rotors.

WaRNING: NOT SUITable fOR chIldReN UNdeR 14 YeaRS Old.

Take Off Instructions:

Connect the Orion’s power, and place on level ground.
The LEDs will flash several times quickly. Turn on the remote control. Push the left stick fully 
forwards, and then backwards. You will hear a beep. Then push both sticks to the bottom 
right. The control light will become steady, and the Orion LED’s will flash. The Orion is now 
ready to be controlled.
The Orion’s controls are sensitive. To take off, gradually move the left stick forward, this will 
increase the power to the rotors. Once off the ground the direction is controlled using the 
right stick.
If the Orions does not fly straight or level, it may need to be trimmed. Use the trim switches to
adjust the flight until it is level and stable.

control advice:

The Orion has very sensitive controls. With practice, it can be made to perform
lots of tricks, but to start, it is important to be gentle with the controls.
The left stick controls the Orion going up and own, or spinning around.
The right stick controls the Orion’s flying direction.

flYING INSTRUcTIONS

Operating Notes:

Do not attach anything to the Orion. This will affect the Orion’s balance, and its flying stability.

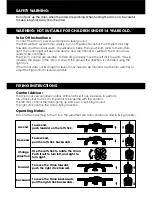
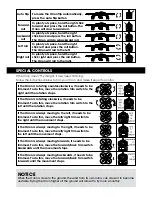
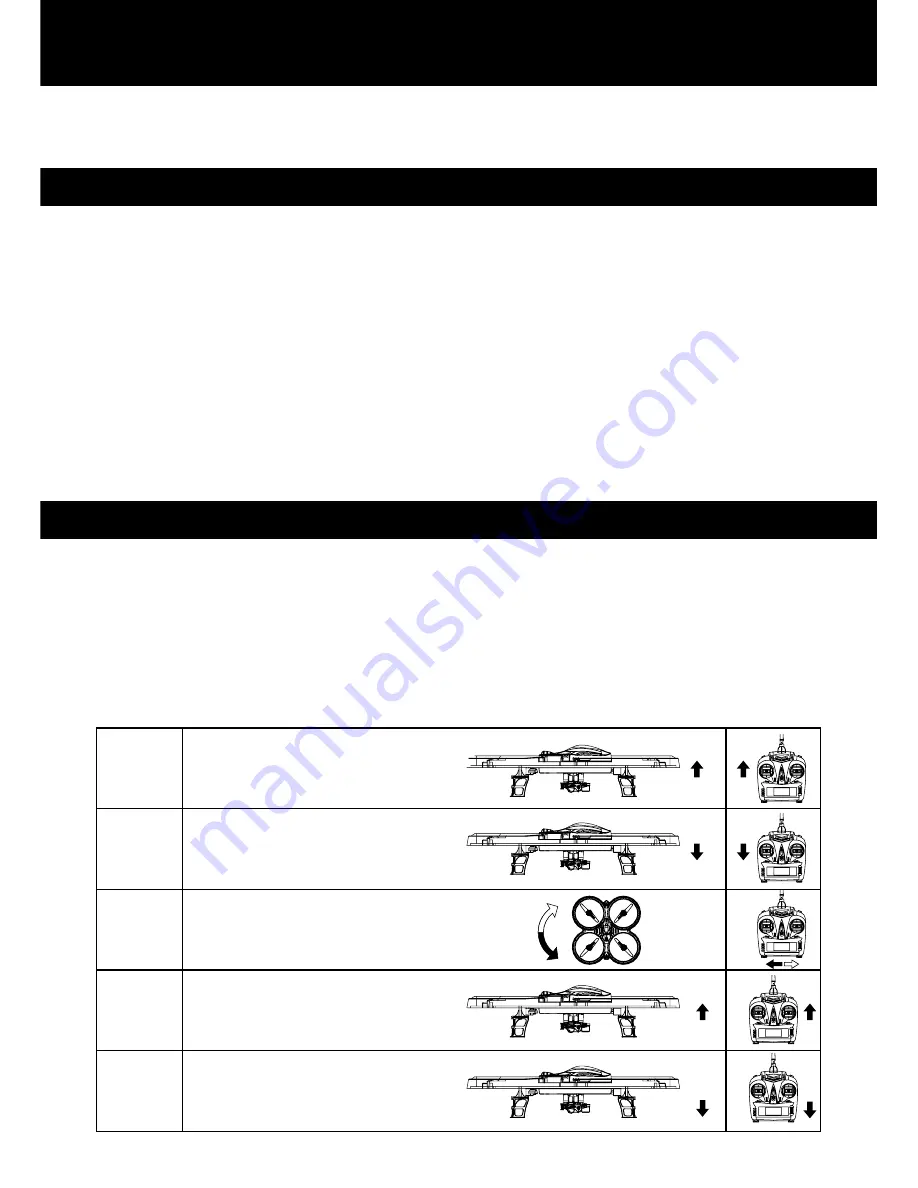
To ascend,

push forward on the left stick.

ascend

descend

change

direction

forward

backward

To descend,

pull the left stick backwards.

Use the left stick to rotate the Orion.

Push it left to turn left, and right to

turn right.

To move the Orion forward,

push the right stick forward.

To move the Orion backwards,

pull the right stick backwards.

Summary of Contents for Orion 4

Page 1: ...stable flight The Orion can complete several manoeuvres A 6 axis gyro and integrated altitude control ensures fine control in the air Please read the instructions carefully before use Please keep the...

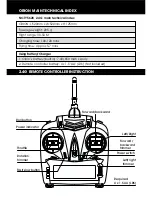
Page 2: ...ORION main technical index Using Battery Charger 1 Orion s battery built in 7 4V 650 mAh Li poly 2 Remote controller battery 4 x 1 5 AA LR6 Not included 2 4G REMOTE CONTROLLER INSTRUCTION Forward back...

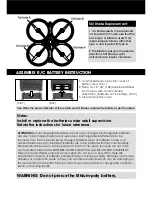
Page 3: ...Batteries are to be inserted with the correct polarity Exhausted batteries are to be removed from the toy The supply terminals are not to be short circuited RECYCLING BATTERIES WASTE ELECTRICAL and EL...

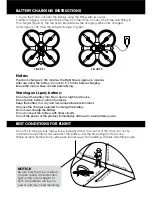
Page 4: ...es Keep the battery in a dry and low temperature environment Only use the charger supplied to charge the battery Do not over charge the battery Do not connect the battery with other circuits Turn off...

Page 5: ...ntrolled using the right stick If the Orions does not fly straight or level it may need to be trimmed Use the trim switches to adjust the flight until it is level and stable Control Advice The Orion h...

Page 6: ...this move the rotation trim switch to the right until the rotation stops If the Orion is rotating clockwise it needs to be trimmed To do this move the rotation trim switch to the left until the rotati...

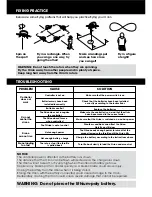
Page 7: ...could cause damage to the Orion Deliberately crashing the Orion could cause severe damage that cannot be repaired PROBLEM Controller does not work Can not control the drone Drone can not rise Drone la...

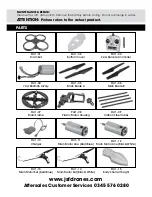
Page 8: ...G Remote Controller Part 04 7 4v 650mAh Li Poly Part 05 Main Blade A Part 06 Main Blade B Part 07 Main Frame Part 08 Plastic Motor Housing Part 09 Carbon Fiber Tubes Part 10 Charger Part 11 Main Motor...

Reviews: