– 5 –
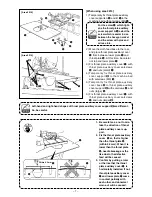
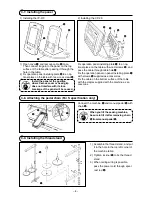
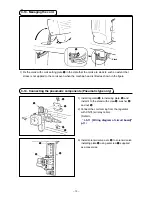
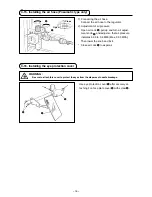
3-4. Installing the drain receiver and the head support rubber
1) Fx dran recever
2
n the nstallng hole of
table
1
wth two setscrews
3
.
2) Screw n dran bn
4
to dran recever
2
.
3) Insert sewng machne dran ppe
5
nto dran
bn
4
.
4) Insert head support rubbers
6
to machne bed
7
.
5) Bundle the cables wth clp bands
8
as shown
in the figure. (Excluding air tube)
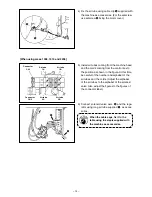
1. Insert drain pipe
5
until it will
go no further so that it does not
come off drain bin
4
when tilting
the machine head.
2. Remove the tape fixing drain pipe
5
.
1
2
4
6
6
6
6
3
6
5
7
6
8
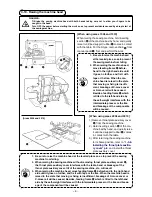
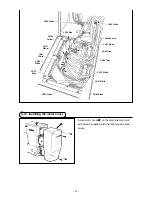
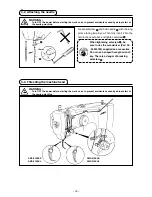
3-5. safety switch
1
Remove tape
2
fixing the lever section of safety
swtch
1
.
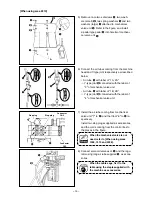
1. When using the safety switch
without removing tape
1
, it is
very dangerous since the sewing
machine works even in the state
that it is tilted.
2. In case error 302 occurs when
the sewing machine works after
setup, loosen the safety switch
2
fitting screw with a screwdriver,
and lower the switch to the down-
side of the sewing machine.
2


