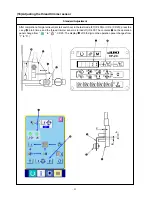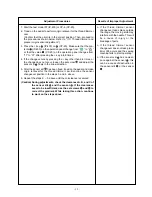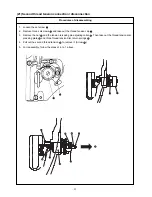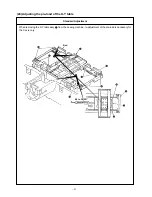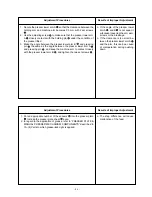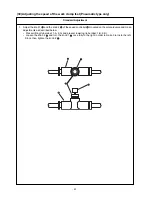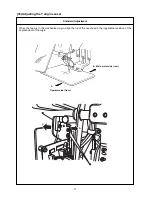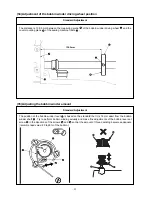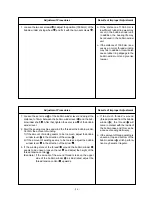
1. Move the race table
to the left end (in the direction of the arrow).
2. Tighten the adjusting screw
and fix the nut
so that the load
point makes a warp of 4mm when a load of 7.84N (800gf) measured
by a spring balance is applied to the timing belt
.
3. Tighten the set screw
and check the amount of deflection again.
– 44 –
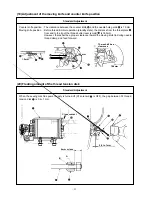
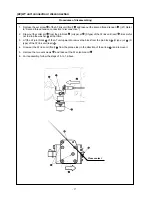
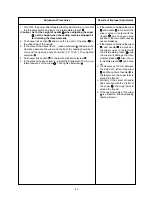
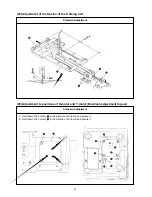
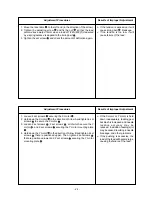
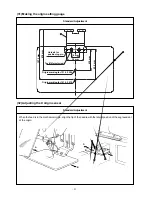
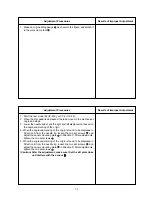
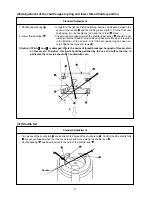
1. Loosen 4 set screws
securing the X motor
.
2. Hold down the X motor
in the direction of Arrow A and tighten 4 set
screws
to secure the X motor
.
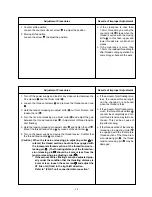
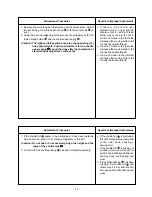
3. Loosen 2 set screws
, 2 set screws
, all of which secure the Y
motor
, and 2 set screws
securing the Y motor mounting plate
.
4. Hold down the Y motor
in the direction of Arrow B and tighten 2 set
screws
that are positioned upper. Then, tighten 2 set screws
that are positioned lower and 2 set screws
securing the Y motor
mounting plate
.
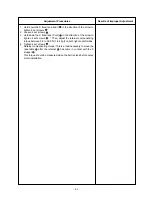
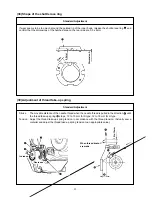
o If the X motor or Y motor is held
down inadequately, feeding gear
backlash is increased and needle
l o c a t i o n a c c u r a c y m a y b e
reduced. In addition, feeding error
may be caused resulting in needle
breakage, and other problems.
o If the pushing is excessive, the
load of the feed will become large,
causing the failure of the feed.
Adjustment Procedures
Results of Improper Adjustment
Adjustment Procedures
Results of Improper Adjustment
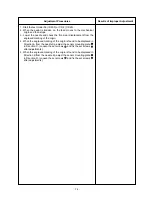
o If the tension is excessive, it will
cause timing belt
breakage.
o If the tension is too low, it will
cause failure of the feed.


