– 94 –
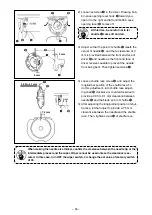
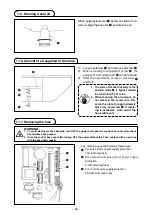
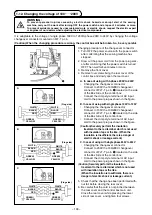
1-1. adjusting the height of the needle bar (changing the length of the needle)
* turn oN the power once, and turn oFF the power again after making the intermediate press-
er in the lowered state.
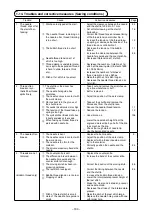
1) Brng needle bar
1
down to the lowest poston of ts stroke. Loosen needle bar connecton screw
2
and adjust so that the upper marker lne
3
engraved on the needle bar algns wth the bottom end of
the needle bar bushng lower
4
.
2) As illustrated in the above figure, change the adjusting position in accordance with the needle count.
after the adjustment, turn the pulley to check for an extra load.
1. MaINtENaNcE
5
: Market line for DP x 17
(with needle count higher than #22)
6
: Marker line for DP x 17
(with needle count lower than #22)
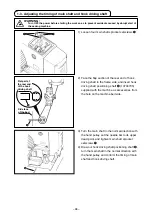
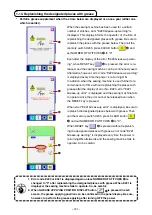
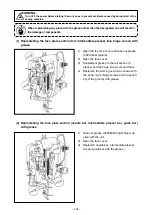
1-2. adjusting the needle-to-shuttle relation
5
: Marker line for DP x 17
needle (with needle count
higher than #22)
6
: Marker line for DP x 17
needle (with needle count
lower than #22)
3
: When DP x 17 needle (of
which needle count is
lower than #22) is used.
3
: When DP x 17 needle (of
which needle count is
higher than #22) is used.
* turn oN the power once, and turn oFF the
power again after making the intermediate
presser in the lowered state.
1) Turn hook drvng shaft pulley
1
by hand and
adjust lower engraved marker lne
3
to the
bottom end of needle bar lower metal
4
when
needle bar
2
goes up.
#
. MaINtENaNcE oF SaWING MacHINE
WarNING :
turn oFF the power before starting the work so as to prevent accidents caused by abrupt start of
the sewing machine.
WarNING :
turn oFF the power before starting the work so as to prevent accidents caused by abrupt start of
the sewing machine.
1
2
1
4
3
5
6
4
6
3
4
5
2
1
3
4

