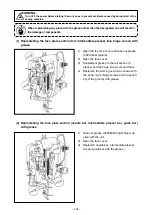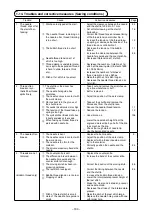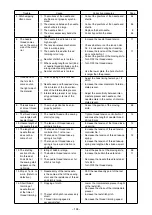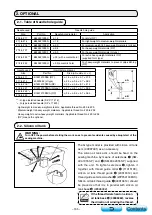
– 98 –
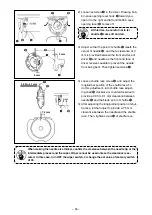
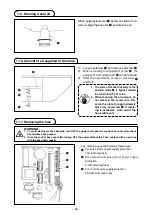
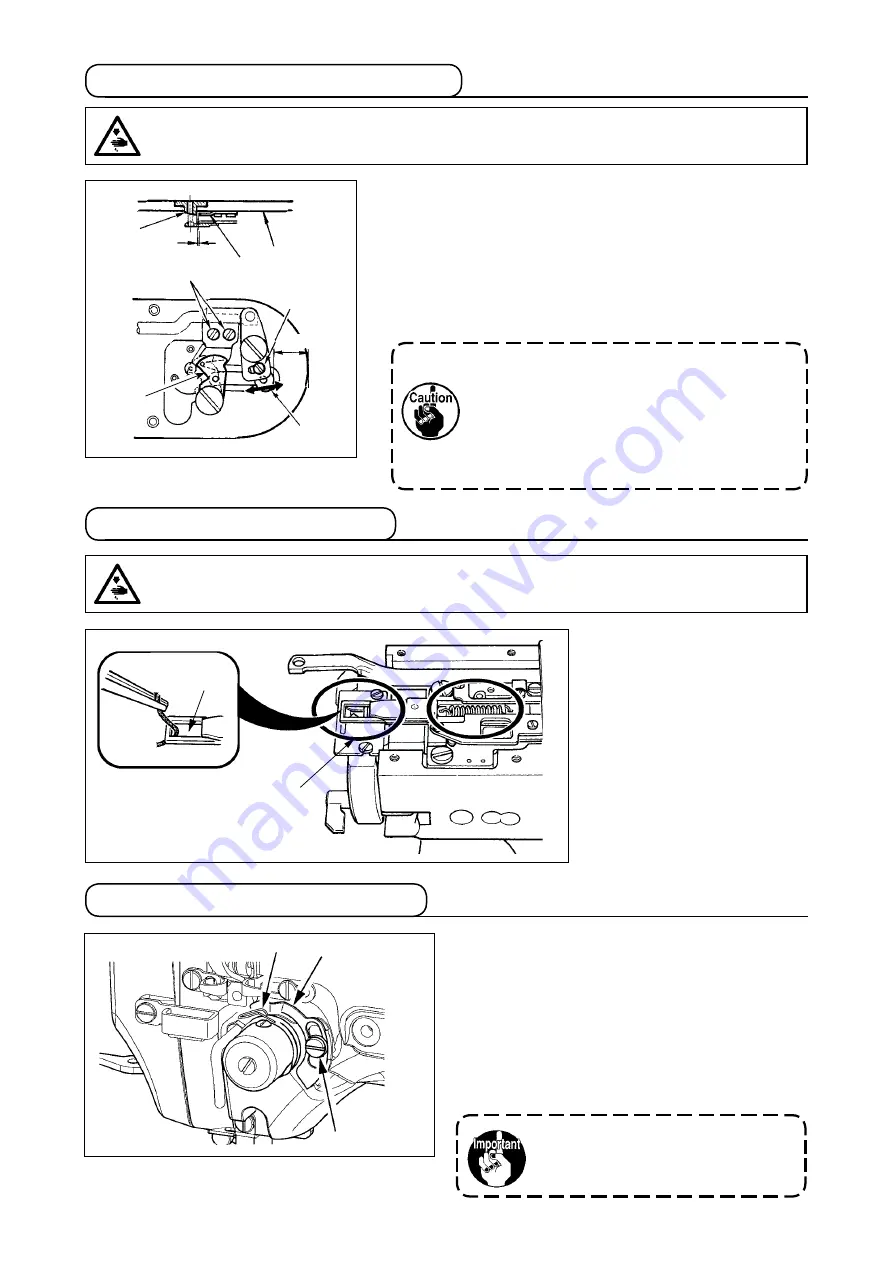
1-7. Needle thread clamp device
1) When thread s caught at top
end
1
of the thread clamp,
thread clamp becomes n-
complete and sewng trouble
at the sewng start wll be
caused. Perodcally remove
and clean the throat plate
snce waste thread or thread
dust s apt to gather n the
places wth crcle mark.
WarNING :
turn oFF the power before starting the work so as to prevent accidents caused by abrupt start of
the sewing machine.
1
1
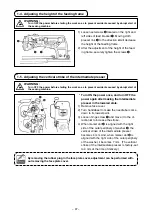
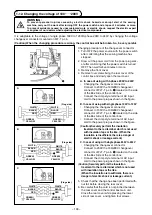
1-8. thread breakage detector plate
1) Adjust so that thread breakage detector plate
1
s always n contact wth thread take-up sprng
2
n the absence of needle thread. (Slack :
approx. 0.5 mm)
2) Whenever the stroke of thread take-up sprng
2
has been changed, be sure to readjust
thread breakage detector plate
1
. To make
ths adjustment, loosen screw
3
.
adjust so that thread breakage de-
tector plate
1
does not touch any
adjacent metallic parts other than
thread take-up spring
2
.
2
3
1
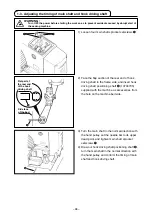
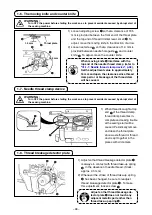
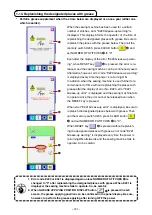
1-6. the moving knife and counter knife
1.0 mm
1) Loosen adjustng screw
1
so that a clearance of 18.5
mm s provded between the front end of the throat plate
and the top end of thread trmmer lever, small
3
. To
adjust, move the movng knfe n the drecton of arrow.
2) Loosen setscrew
5
so that a clearance of 1.0 mm s
provded between needle hole gude
2
and counter
knfe
4
. To adjust, move the counter knfe.
When moving knife
6
interferes with the
top end of the needle thread clamp (refer to
-1-7. Needle thread clamp device", p.98
Set the adjustment value to approximately
18 mm and open the clearance since thread
clamp error or breakage of the thread clam
will be caused.
throat plate
1
2
5
4
3
WarNING :
turn oFF the power before starting the work so as to prevent accidents caused by abrupt start of
the sewing machine.
6
18.5 mm

