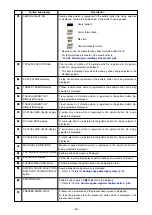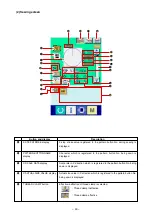
– 29 –
1
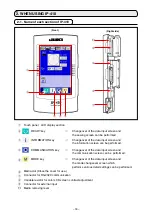
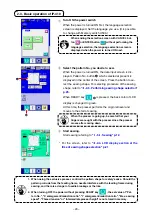
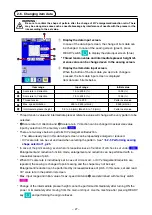
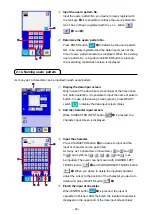
Display the sewing screen.
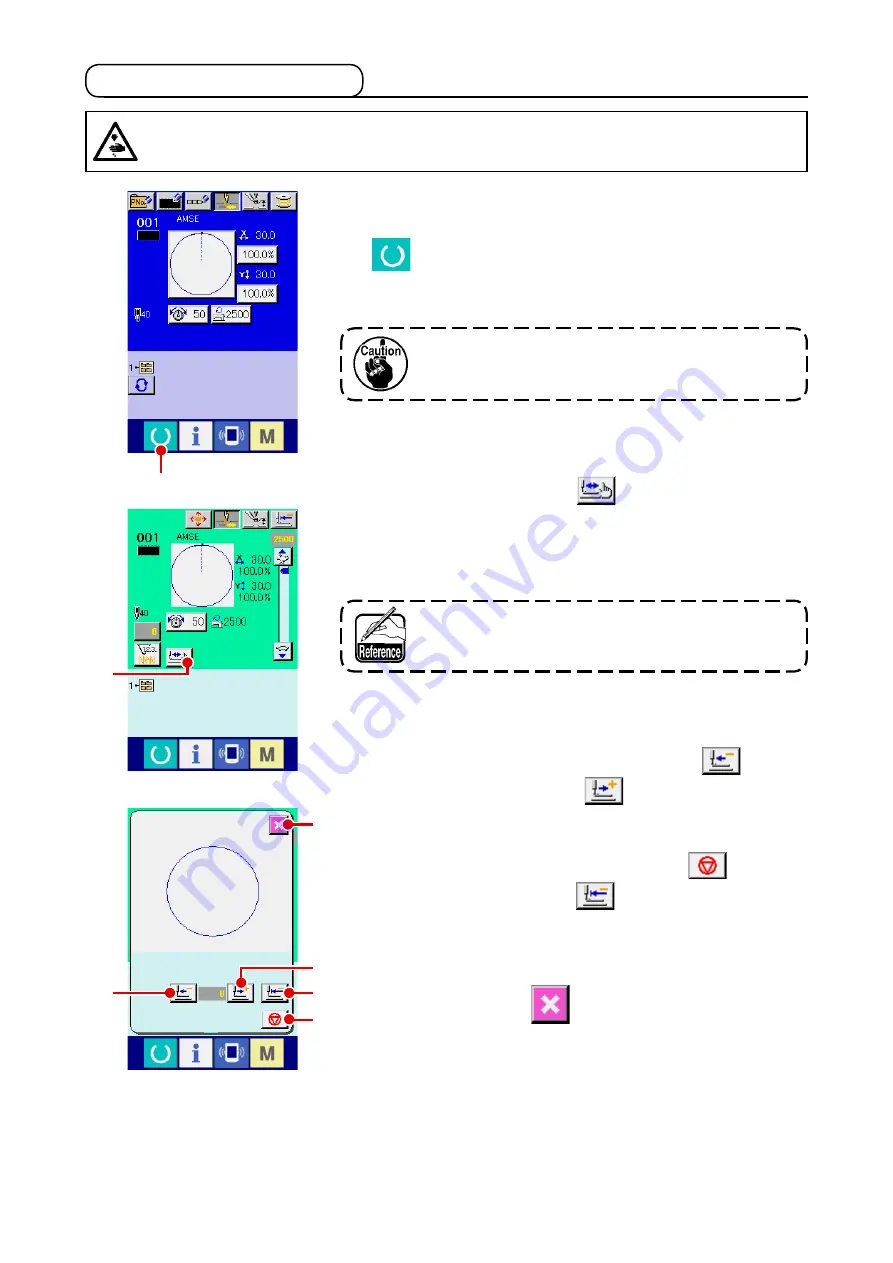
Dsplay the data nput screen (blue) and press READY key
A
. Then the back-lght of LCD changes to green and
sewng s possble. At ths tme, the presser performs the orgn
retreval and moves to the start of sewng.
4
Proceed stitching with the presser lowered.
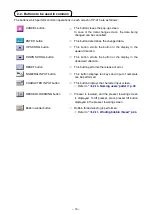
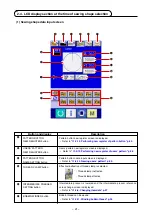
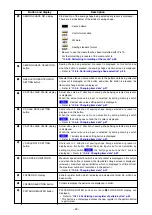
Check the shape wth PRESSER BACK button
C
and
PRESSER FORWARD button
D
. When the button s
held pressed for a fixed period of time, the presser continues
to move even when the button s detached.
When you desre to stop, press STOP button
G
.
Press ORIGIN MOVE button
F
and the needle moves
to the start of sewng poston.
5
Finish checking the shape.
When CANCEL button
E
s pressed, the screen returns
to the sewng screen. When the checkng of the shape s not
n the poston of the start of sewng or that of the end of sew-
ng, press the pedal swtch. Then t s possble to sew from the
mdway of checkng.
the sewing machine does not start even when the pedal
switch is depressed with this mode.
2
Display the step sewing screen.
When STEP SEWING button
B
s pressed, the step
sewng screen s dsplayed.
3
Lower the presser with the pedal switch.
WarNING :
Make sure without fail of the contour of the sewing pattern after selection of the sewing pattern. If the
sewing pattern extends outside the work clamp feet, the needle will interfere with the work clamp.
2-7. checking pattern shape
A
B
E
D
F
G
C
When the presser is going up, be careful not to allow
your fingers to be caught in the presser since the press
-
er moves after coming down.

