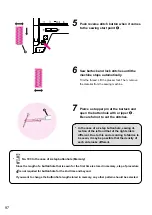
82
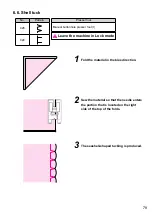
6.9. Decorative stitches
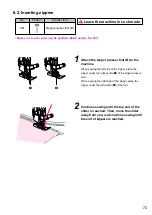
No.
Presser foot
201~240, 301~306, 401~422,
501~512, 6
01~684
,
701~786,
801~837, 901~915, Letters, etc.
Manual buttonhole
presser foot (I)
* Refer to “12. List of stitch patterns” for the types of patterns.
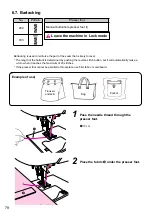
In order to beautifully sew a pattern on light-weight material
❶
, trial stitching is necessary while sticking a piece of inter
-
lining on the wrong side of the material.
Use an iron to attach a fusible interlining to the wrong side of
fabric.
* If stitch length is excessively short, the bobbin thread may
appear on the right side of material or may cause stitch
gathering.
Be sure to adjust the darning and carry out trial stitching.
❶
■
Preparation before sewing
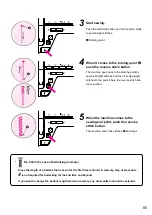
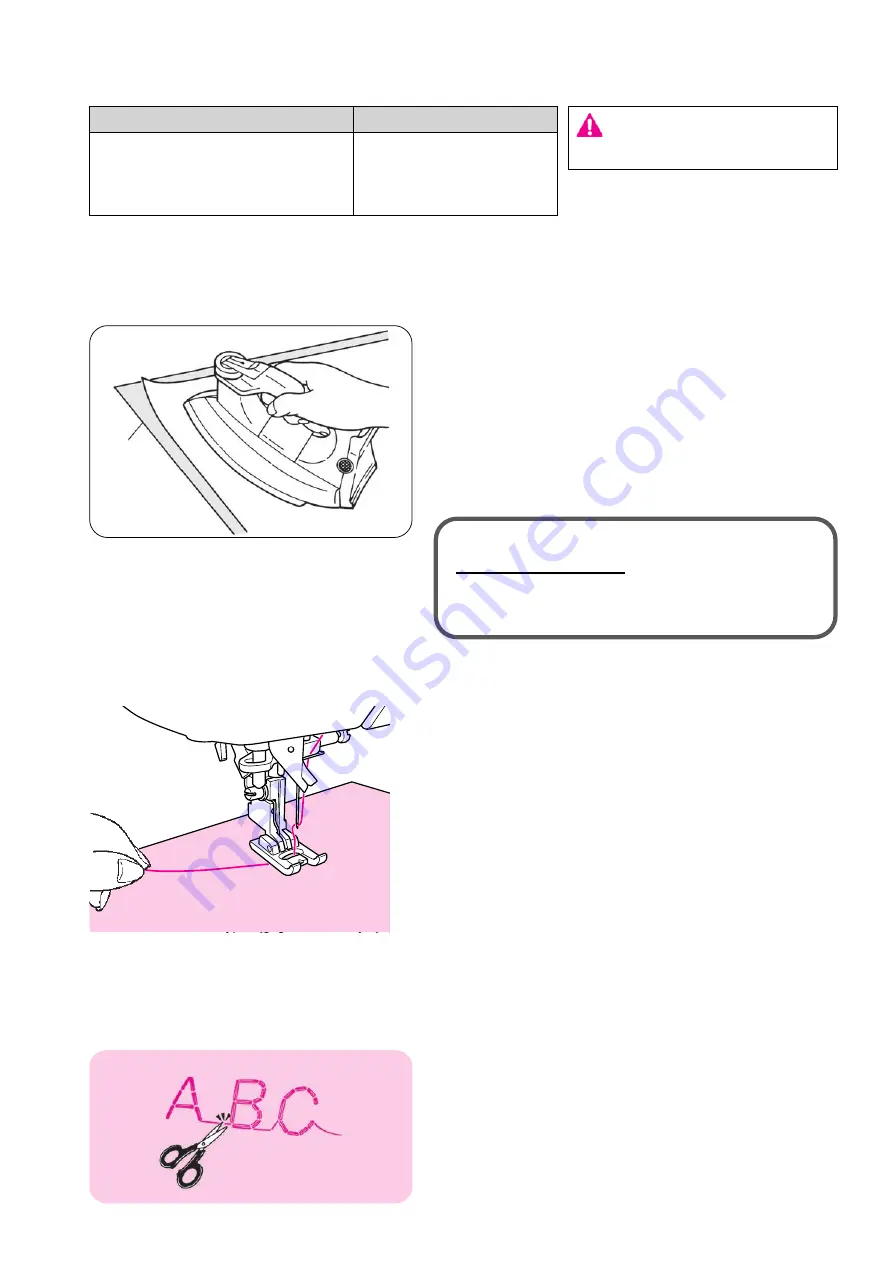
Pass down the needle thread through the
presser foot hole and draw it sideways.
Place the fabric underneath the presser foot
and start.
The machine will stop automatically when sewing is finished.
*
Note that the sewing speed varies according to
stitch patterns (letters) to be sewn.
*
If the automatic thread trimmer is used while sew-
ing, the machine starts to sew from the beginning.
*
In case of condensed sewing, if the stitch length is
too small, the stitches may get stuck.
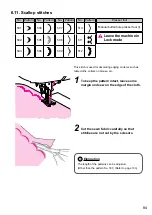
Get rid of unnecessary thread on the front side
of fabric by scissors.
■
Disposing thread ends of jump stitches
■
How to stitch a pattern (letters)
Setting > Darning adjustment
Darning adjustment
Try trial sewing, adjust while checking the pattern.
(Refer to page
109)
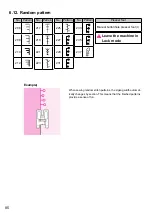
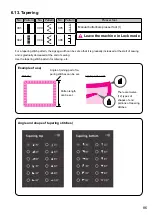
Leave the machine in
Lock mode

