


14
13
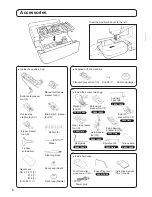
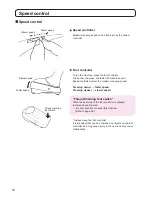
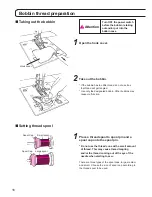
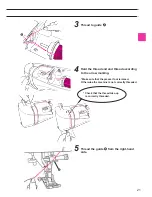
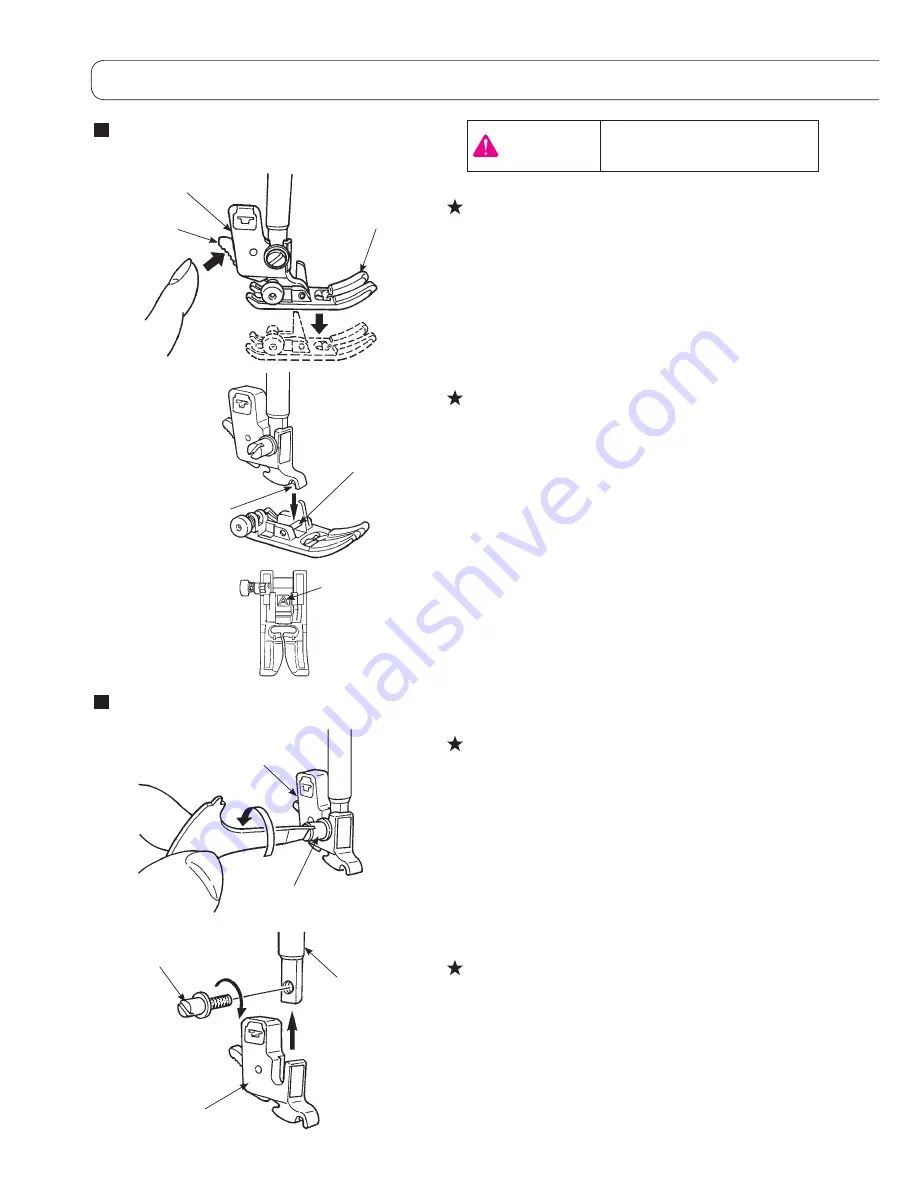
Changing the presser foot
Removing and installing the
presser foot
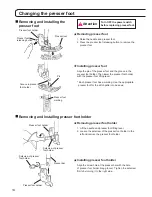
Removing and installing presser foot holder
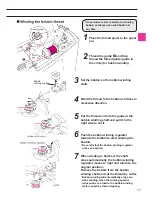
Removing presser foot
1. Raise the needle and presser foot.
2. Press the presser foot releasing button to remove the
presser foot.
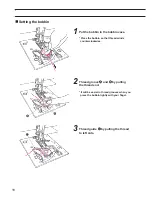
Installing presser foot
Align the pin of the presser foot and the groove in the
presser foot holder. Then lower the presser foot holder
with the presser foot lifting lever.
* Each presser foot has a marking. Use the appropriate
presser foot for the stitch pattern to be sewn.
Presser foot
releasing button
Presser foot holder
Presser foot
Groove in presser
foot holder
Pin
Presser foot
marking
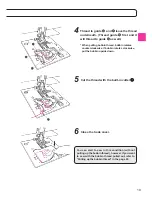
Removing presser foot holder
1. Lift the needle and presser foot lifting lever.
2. Loosen the setscrew of the presser foot holder to the
left and remove the presser foot holder.
Setscrew of presser
foot holder
Presser foot holder
Installing presser foot holder
Align the screw hole at the presser bar with the hole
of presser foot holder (long groove). Tighten the setscrew
firmly by turning it to the right side.
Setscrew of presser
foot holder
Presser foot holder
Presser bar
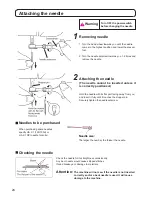
Attention
Turn OFF the power switch
before replacing presser foot.
Summary of Contents for HZL-600
Page 2: ......
Page 12: ...10 ...
Page 75: ...73 ...
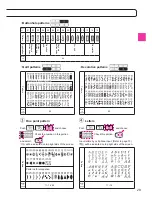
Page 100: ...List of stitch patterns 97 F600 Patterns for crazy quilt 98 ...
Page 101: ...Pattern for elongation 98 Letters numbers signs One point 99 ...
Page 102: ...List of stitch patterns 99 F400 100 ...
Page 103: ...100 One point Pattern for elongation Letters numbers signs 101 ...
Page 104: ...List of stitch patterns 101 F300 102 ...
Page 105: ...102 One point Pattern for elongation Letters numbers signs 103 ...
Page 107: ......


