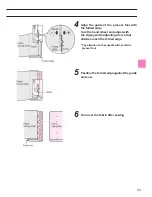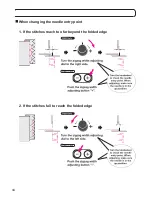
34
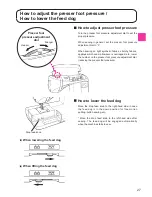
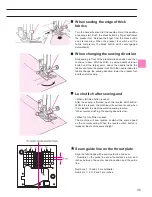
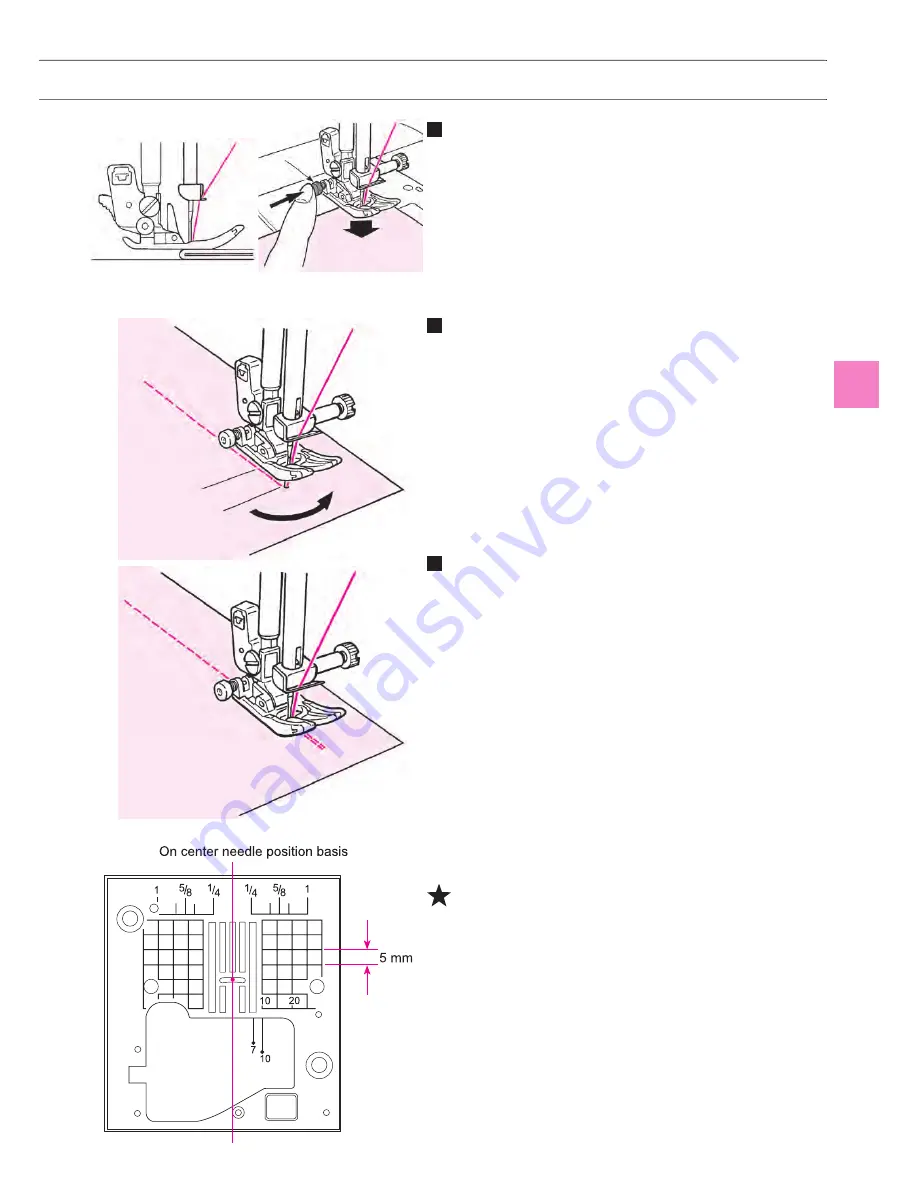
When sewing the edge of thick
fabrics
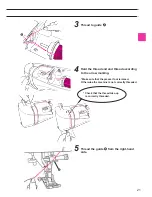
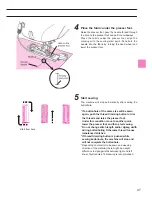
Turn the hand wheel and let the needle enter at the position
of sewing start. Push the black button by finger and lower
the presser foot. Release the finger from the black button
and start sewing. When the presser foot will be on the
fabric completely, the black button will be disengaged
automatically.
When changing the sewing direction
Stop sewing in front of the predetermined position and then
continue to sew, stitch by stitch, by using needle up/down
button until the target point. Leave the needle inside the
fabrics and raise the presser foot. With the needle inside the
fabrics change the sewing direction, lower the presser foot
and then start sewing.
Lock stitch after sewing-end
<When start/stop button is used>
After the sewing is finished, push the reverse stitch button.
While it is pressed, the machine will sew reverse and when
it is released, the machine will stop sewing reverse.
*When reverse stitching, the sewing speed is slow.
<When foot controller is used>
The machine will sew reverse at almost the same speed
as the normal sewing. When the reverse stitch button is
released, the machine sews straight.
Seam guide line on the throat plate
Align the fabric edge with a seam guide line and sew.
* Numbers on the guide line show the distance in mm and
inches between the center needle position and the guide
line.
Numbers, 7, 10 and 20 are millimeter.
Numbers, 1/ 4, 5/ 8 and 1 are inches.
5 8
4
/
/
1
1
10
20
10
7
5 8
4
/
/
1
1
5 mm
On center needle position basis
35
33
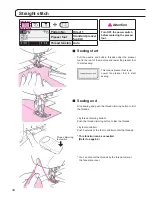
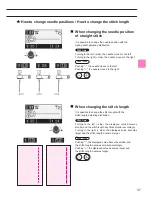
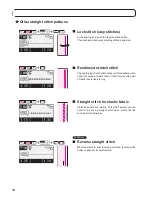
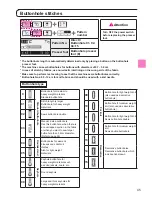
Straight stitch
Attention
Pattern No.
Direct 1
Presser foot
Standard presser
foot (A)
Thread tension Auto
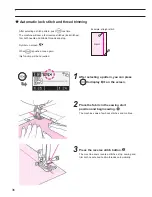
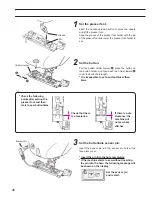
Sewing start
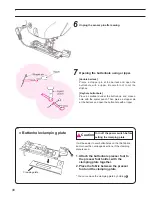
Pull the needle and bobbin threads under the presser
foot to the rear of the machine and lower the presser foot
to start sewing.
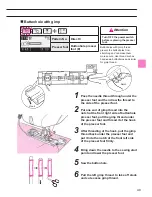
Sewing end
Stop sewing and push the thread trimming button to trim
the threads.
<by thread trimming button>
Push the thread trimming button to trim the threads.
<by foot controller>
Push heel side of the foot controller to trim the threads.
* This function can be cancelled.
(Refer to page 82.)
* You can also cut the threads by the thread cutter at
the face plate cover.
Thread trimming
foot switch
This means presser foot is up.
Lower the presser foot to start
sewing.
Turn OFF the power switch
before replacing the presser
foot.
Summary of Contents for HZL-600
Page 2: ......
Page 12: ...10 ...
Page 75: ...73 ...
Page 100: ...List of stitch patterns 97 F600 Patterns for crazy quilt 98 ...
Page 101: ...Pattern for elongation 98 Letters numbers signs One point 99 ...
Page 102: ...List of stitch patterns 99 F400 100 ...
Page 103: ...100 One point Pattern for elongation Letters numbers signs 101 ...
Page 104: ...List of stitch patterns 101 F300 102 ...
Page 105: ...102 One point Pattern for elongation Letters numbers signs 103 ...
Page 107: ......

