EN
Name and Function of each component
■
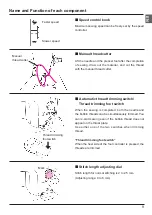
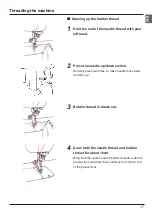
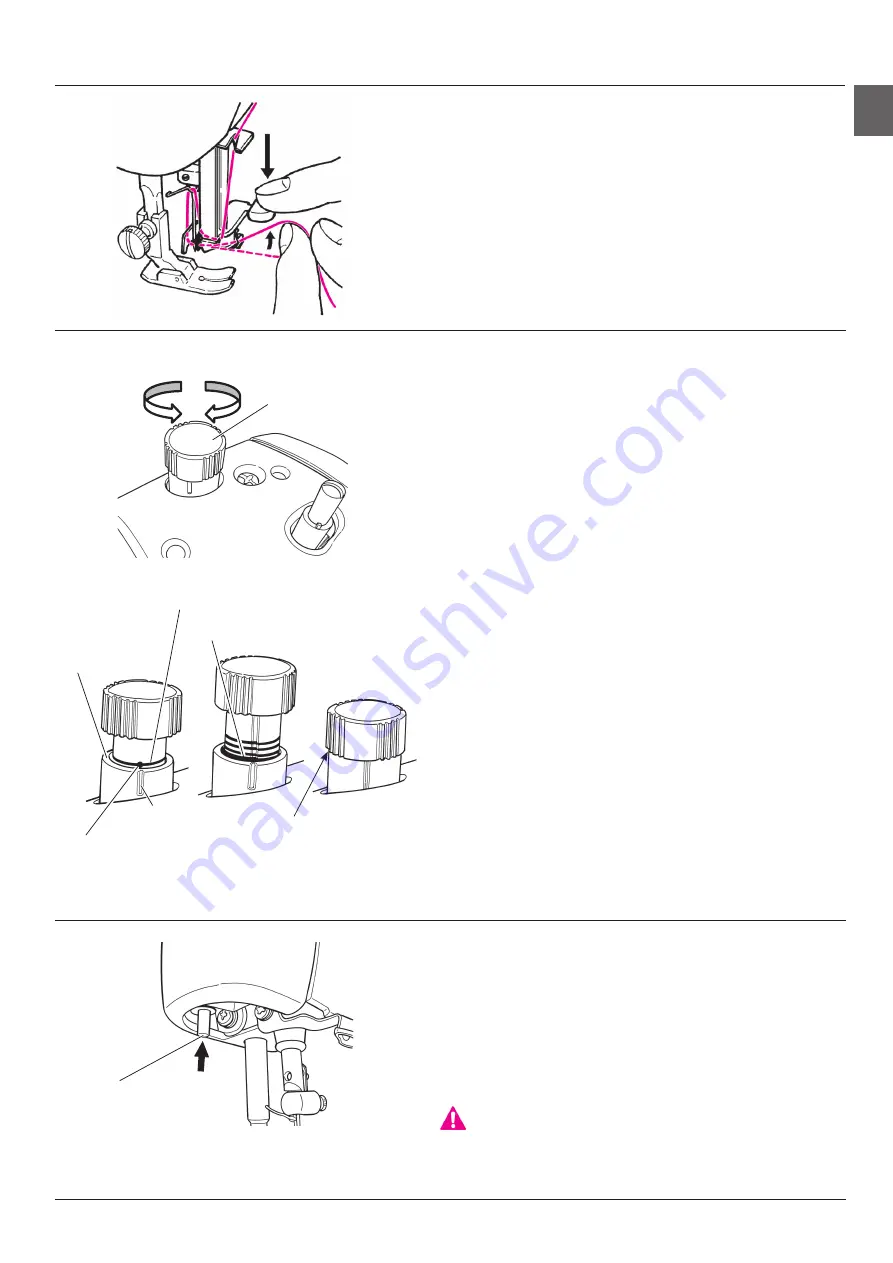
Needle threader lever (Automatic needle
threader)
Lower the threading lever, pass the needle thread
through the lever and pass the thread through the nee-
dle’s eye. (This lever can be used for the needle #11-
#16.)
■
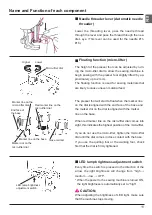
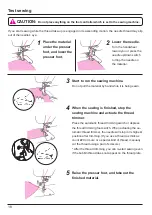
Floating function (micro-lifter)
The height of the presser foot can be adjusted by turn-
ing the micro-lifter dial to allow the sewing machine to
begin sewing with the presser foot slightly lifted (by ap-
proximately up to 2 mm).
The floating function is used for sewing materials that
are likely to cause uneven material feed.
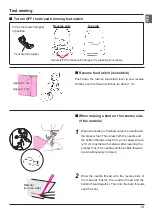
The presser foot will start to float when the marker line
on the dial is aligned with the end face of the base and
the marker dot on the dial is aligned with the marker
line on the base.
When red marker line on the micro-lifter dial comes into
sight, this indicates the highest position of the micro-lifter.
If you do not use the micro-lifter, tighten the micro-lifter
dial until the dial comes in close contact with the base.
If you use the quilting foot or the walking foot, check
first that the dial is firmly tightened.
Higher
Lower
Close contact
Red marker line on the
micro-lifter dial
Marker line on the
micro-lifter dial
End face of
the base
Marker line on the base
Marker dot on the
micro-lifter dial
Micro-lifter dial
■
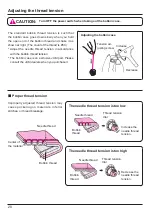
LED lamp brightness adjustment switch
Every time the switch is pressed in the direction of the
arrow, the light brightness will change from “high →
medium → low → OFF”.
* When the power to the sewing machine is turned ON,
the light brightness is automatically set to “high”.
CAUTION:
When adjusting the brightness of LED light, make sure
that the machine stops moving.
LED lamp brightness
adjustment switch
11


