ENGLISH
75
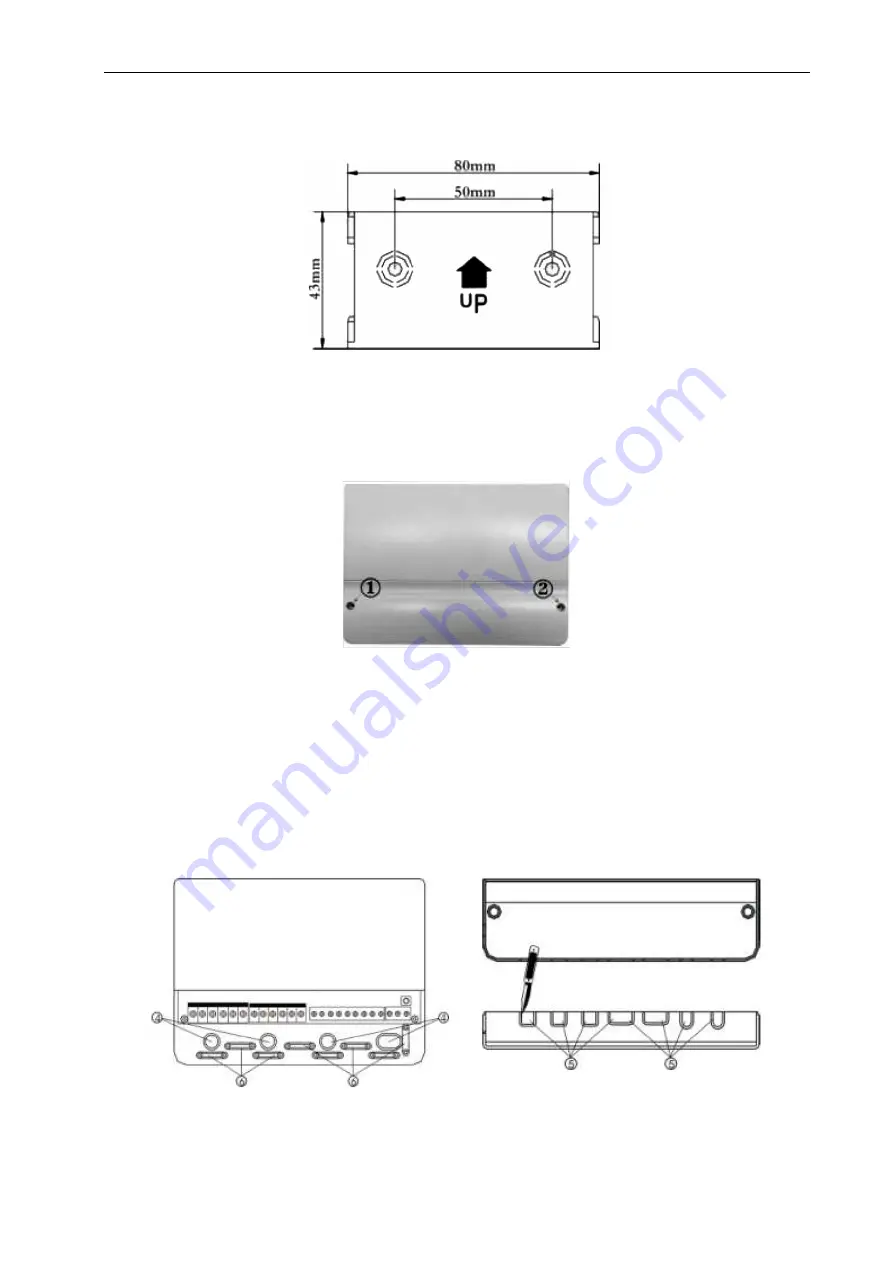
Secure the mounting bracket in place with the screws.
Push the controller onto the mounting bracket.
Preparations for electrical connection
Disconnect the power supply according to current regulations before the opening the controller.
Open the terminal box by loosening screws (1) and (2) and moving the cover upwards.
Close the cover and hook it into position, move it downwards and replace the screws (1) and (2).
Electrical connection
Be sure to maintain the enclosure class of the controller during installation. The power supply must not be
turned on until the controller’s terminal box is closed.
The cables can be routed in through the cable gland at the rear (4) or bottom (5) of the casing depending
on the type of installation.
Open the cable gland ((4) or (5)) you intend to use by removing the plastic cover using a knife or other
appropriate tool.
NOTE:
The cables must be secured in the terminal box using the in-built strain relief clamps.
Terminal connection
Disconnect the power supply according to current regulations before opening the terminal box.


