Installation
Your JUN-AIR compressor is easy to operate. Observe the
instructions and you will get many years service from your
compressor.
Visually inspect unit for shipping damage, contact your
supplier immediately if you think the unit may have been
damaged.
Check that the performance of the compressor matches
the actual air consumption, please refer to Technical
specifications.
Check that the rating plate of the compressor corresponds
with the electrical voltage offered and check that fusing is
adequate.
Placing
Place the compressor in a dustfree, dry and cool, yet frostfree
room.
Sufficient cooling from the surroundings is important.
Ambient temperature: 0°C - 40°C, 2°F - 104°F
Relative humidity: Max 90%
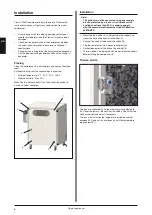
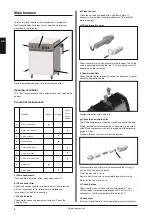
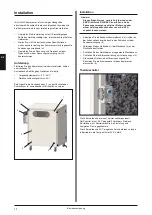
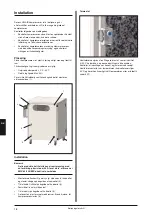
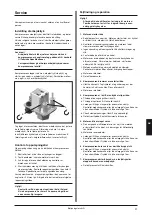
Mount the two distance bolts (1) on the back of the cabinet to
ensure sufficient ventilation.
1
2
5
4
1
•
•
•
•
•
Installation
Note!
This product must be connected to a power supply
branch protected by a fuse or circuit breaker with
a rating of not less than 20 A, in order to comply
with the essential requirements of the EMC directive
89/336/EEC.
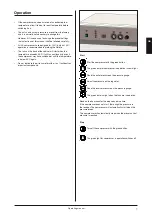
Mount the drain bottle (2) ) visibly outside the cabinet and
mount the hose at the back of the cabinet ().
Connect the cable at the back of the cabinet(5).
Plug the compressor into a standard outlet switch.
Connect equipment at the back of the cabinet (4).
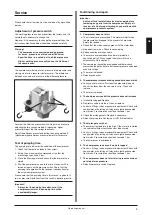
The front wheels are delivered with brakes. Brake the wheels
before starting the compressor ().
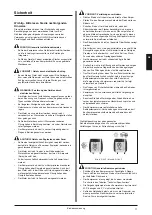
Thermo switch
The fans are controlled by a Stego thermo switch adjusted to
0°C from the factory – do not alter this setting. Check that the
setting is correct and adjust if necessary.
The fans will start when the temperature inside the cabinet
exceeds 0°C and will run continuously until the temperature
drops below 0°C.
•
•
•
•
•
Operating manual
GB
Summary of Contents for 2 OF302-40M Series
Page 4: ......
Page 30: ...30 6072960 Electrical diagram OF301 and 302 M D Diagrams...
Page 31: ...31 6073160 Electrical diagram 2xOF301 and 2x302 M D Diagrams...
Page 32: ...32 Electrical diagram 3x302 M D 6073250 Diagrams...
Page 36: ...36 Spare parts motor OF301 0070000 0080000 Spare parts motor OF302 Spare parts...
Page 37: ...37 Spare parts OF301 4M 0080120 Spare parts...
Page 38: ...38 Spare parts OF301 4MD2 0080121 Spare parts...
Page 39: ...39 Spare parts OF302 4M 0080122 Spare parts...
Page 40: ...40 Spare parts OF302 4MD2 0080123 Spare parts...
Page 41: ...41 Spare parts OF302 25M 0080130 Spare parts...
Page 42: ...42 Spare parts OF302 25MD2 0080131 Spare parts...
Page 43: ...43 Spare parts 2xOF302 40M 0080140 Spare parts...
Page 44: ...44 Spare parts 2xOF302 40MD2 0080141 Spare parts...
Page 45: ...45 0080150 Spare parts 3xOF302 40M Spare parts...
Page 46: ...46 0080151 Spare parts 3xOF302 40MD3 Spare parts...
Page 47: ......


