Art.-No.: 4071.0x LED, 4072.0x LED
Art.-No.: 8471.0x LED W, 8472.0x LED W
2.3 Fitting and electrical connection
Mounting and connecting the device
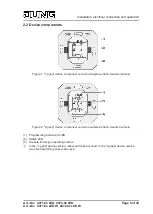
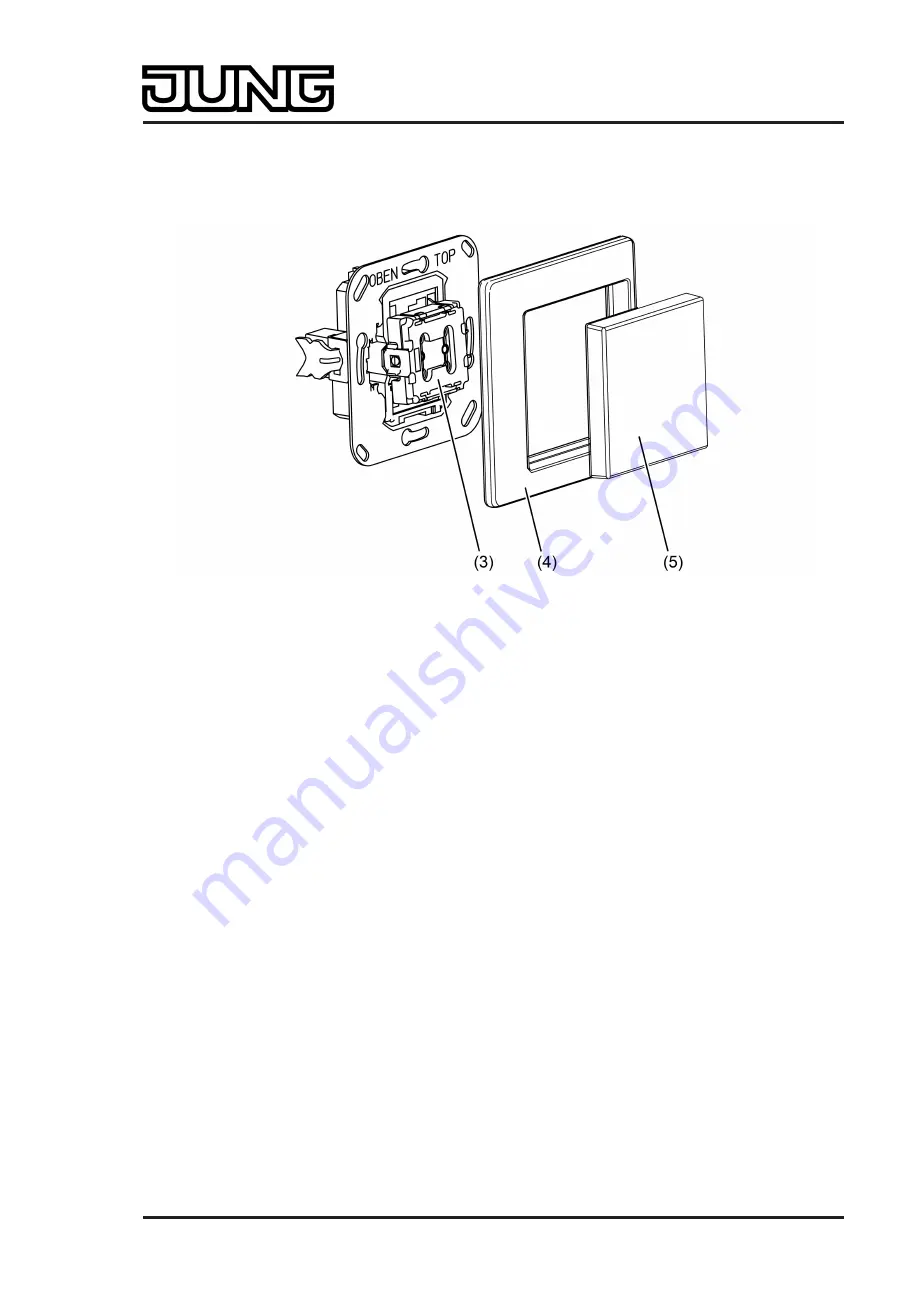
Figure 3: Device fitting using the example of the "1-gang" flush-mounted version.
(3) Socket for design operating rockers
(4) Design frame
(5) Design rocker cover
i
The figure shows, by way of example, the mounting of the flush-mounted 1-gang device
version. Other device versions (SM, 2-gang) are mounted basically the same.
With flush-mounted device version:
o
Use connecting terminal to connect bus cable to the bus connection at the back of the
device.
o
Install the device in the right orientation on an appliance box. Observe the marking OBEN /
TOP.
With SM device version (no figure):
o
Install the SM appliance box on the wall. Insert the bus line into the appliance box and
connect to the bus connection at the back of the push-button insert using the terminal.
o
Insert the push-button insert carefully into the SM appliance box. When doing so, ensure
that no cables are squashed.
o
Fit the SM appliance box cover and fasten with screws.
All device versions:
i
Before final fitting of the rocker covers, the physical address has to be loaded into the
device (see page 7).
o
Attach design-frame (4) and rocker switches (5) to the sockets (3).
Page 6 of 34
Installation, electrical connection and operation


