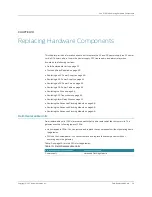
CHAPTER 10: Replacing Hardware Components
68
Replacing the Advanced Clocking Module
Copyright © 2010, Juniper Networks, Inc.
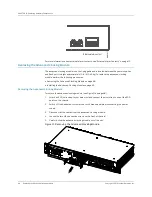
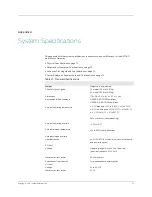
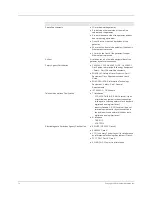
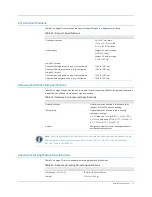
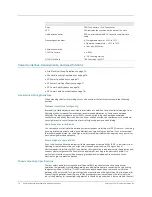
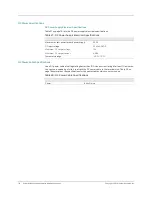
For more information about external alarm contacts, see “External Alarm Contacts” on page 12.
Replacing the Advanced Clocking Module
The advanced clocking module is not hot-pluggable and is located between the power supplies
and flash port. It weighs approximately 1.014 lb (0.45 kg). To replace the advanced clocking
module, perform the following procedures:
z
Removing the Advanced Clocking Module on page 68
z
Installing the Advanced Clocking Module on page 69
Removing the Advanced Clocking Module
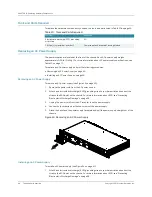
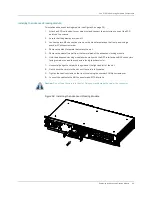
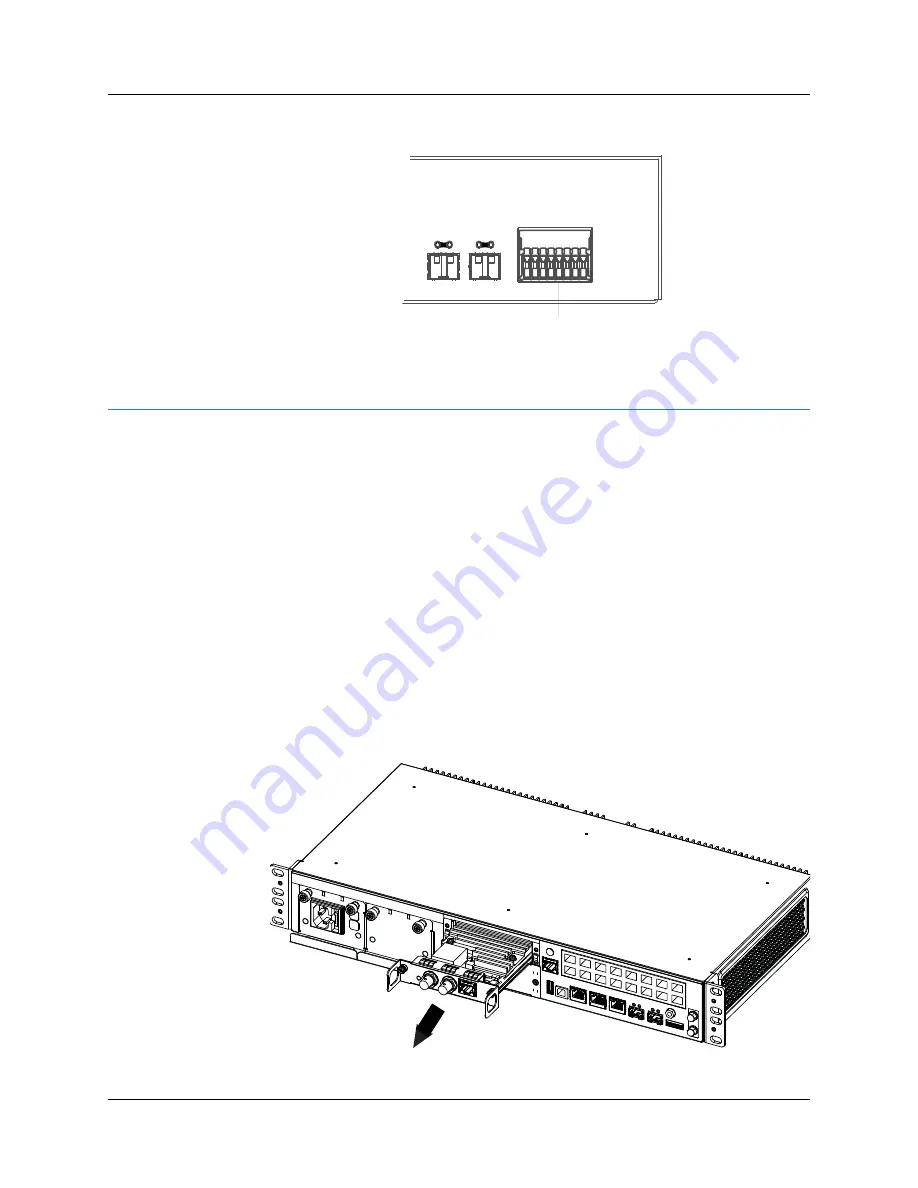
To remove the advanced clocking module (see Figure 31 on page 68):
1.
Attach an ESD wrist strap to your bare wrist and connect the wrist strap to one of the ESD
points on the chassis.
2.
Switch off the dedicated customer site circuit breakers before disconnecting the power
supply.
3.
Disconnect all the cables from the advanced clocking module.
4.
Loosen the two M3 size captive screws on the front of the card.
5.
Carefully slide the advanced clocking module out of the slot.
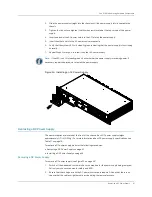
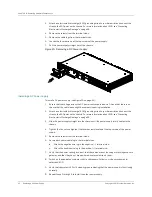
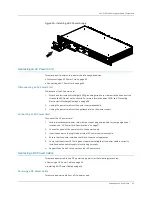
Figure 31: Removing the Advanced Clocking Module
External alarm contact
g002911
Summary of Contents for BX7000
Page 10: ... x Copyright 2010 Juniper Networks Inc ...
Page 12: ... xii Copyright 2010 Juniper Networks Inc ...
Page 18: ...About This Guide xviii Requesting Support Copyright 2010 Juniper Networks Inc ...
Page 20: ... 2 Copyright 2010 Juniper Networks Inc ...
Page 66: ... 48 Copyright 2010 Juniper Networks Inc ...
Page 90: ... 72 Copyright 2010 Juniper Networks Inc ...
Page 122: ... 104 Hardware Compliance Copyright 2010 Juniper Networks Inc ...
Page 131: ...Copyright 2010 Juniper Networks Inc 113 Appendix E Declaration of Conformity ...
Page 132: ... 114 Copyright 2010 Juniper Networks Inc ...
Page 133: ...Copyright 2011 Juniper Networks Inc 115 PART 4 Index z Index on page 117 ...

