i.
Pull the inner rail out of the outer rail until it is fully extended as illustrated. Press the
locking tab down to release the inner rail, as shown in
. Each inner rail
has a locking tab that secures the chassis when completely extended from the rack.
ii.
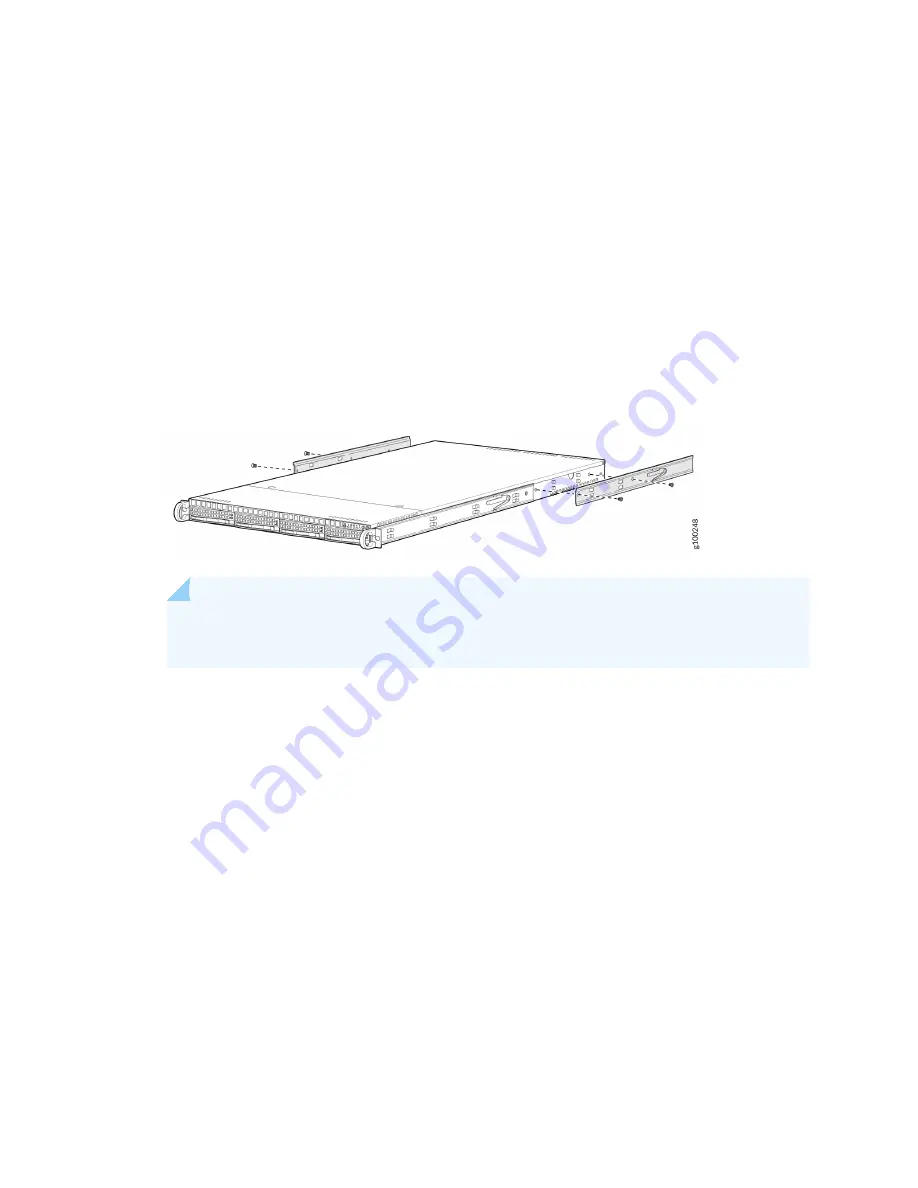
Place the inner rails against the sides of the chassis, aligning the chassis hooks with the
holes in the inner rails, as shown in
iii.
Slide the inner rail toward the front of the chassis until the inner rail clicks into the locked
position.
iv.
Secure the inner rails to the chassis with the screws provided.
Figure 7: Installing the Inner Rails
NOTE: Each inner rail of the JATP400 appliance has a locking tab. The locking tabs secure
the chassis when either it is installed or completely extended from the rack.
b. Install the outer rails:
i.
Press the locking tabs upward at the rear of the middle rails, and slide the middle rails into
the outer rails.
30
Summary of Contents for JATP400
Page 1: ...JATP400 Appliance Hardware Guide Published 2021 05 17...
Page 8: ...1 CHAPTER Overview JATP400 System Overview 2 JATP400 Chassis 4...
Page 64: ...The hard drive pops partially out of the slot 57...
Page 65: ...Figure 24 Removing a Drive Carrier g100245 58...
Page 67: ...5 CHAPTER Troubleshooting Hardware Contacting Juniper Networks Technical Assistance Center 61...
Page 69: ...6 CHAPTER Returning the Chassis or Components Returning the JATP400 Chassis or Components 63...
Page 72: ...Maintaining the JATP400 Hard Disk Drive 56 65...


