NetScreen-5000 Series Hardware Installation and Configuration Guide
26
Installing and Wiring a DC Power Supply
6.
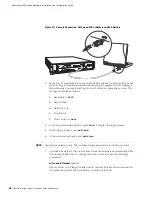
Turn the power switches on.
Installing and Wiring a DC Power Supply
To install and connect the DC power supply to the NetScreen-5000 Series system:
1.
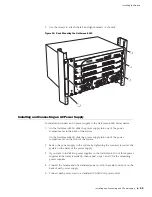
On the NetScreen-5200, slide the power supply into one of the power
compartments in the back of the system.
On the NetScreen-5400, slide the power supply into one of the power
compartments on the front of the system.
2.
Fasten the power supply to the system by tightening the corner screws into the
eyelets on the sides of the power supply.
3.
If you want to install two power supplies in the NetScreen-5200 or three power
supplies in the NetScreen-5400, then repeat steps 1 and 2 for the remaining
power supplies.
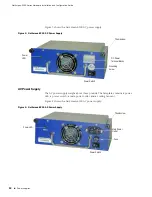
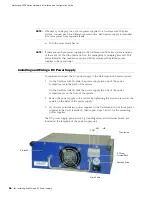
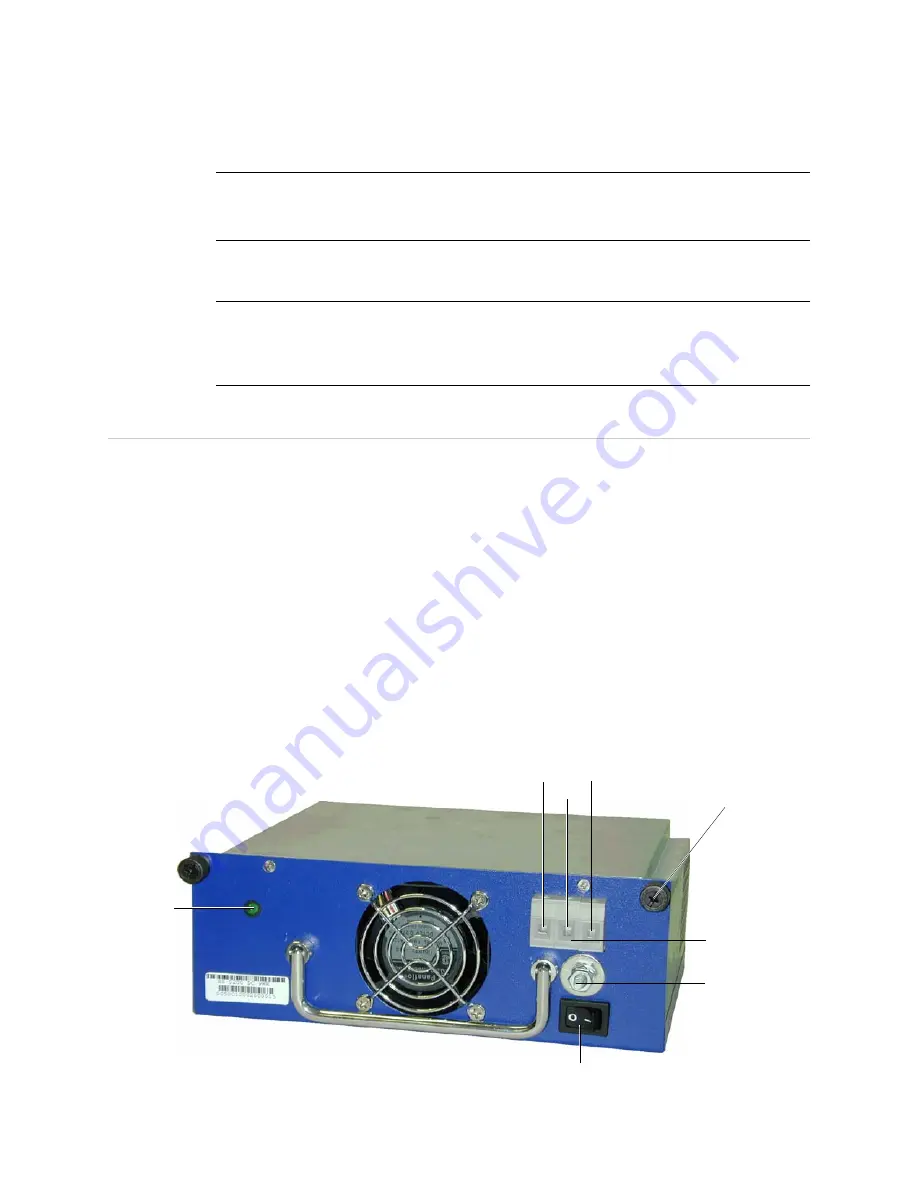
The DC power supply, power switch, grounding screw, and terminal blocks, are
located on the faceplate of the power supply unit.
NOTE:
Whenever you deploy two or more power supplies to a NetScreen-5000 Series
system, connect each to a different power source. Each power supply is intended
to receive power from separate feeds.
NOTE:
If there are multiple power supplies in the NetScreen-5000 Series system and any
of them are off, then the Alarm LED on the management module glows red. This
alarm indicates that maximum system stability requires all installed power
supplies to be operational.
Thumbscrew
Power LED
DC Power
Terminal Block
Power Switch
Grounding Screw
-48V
-48V
COM

