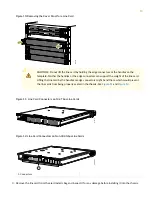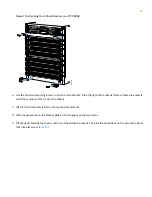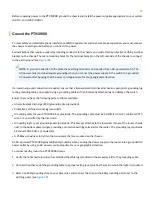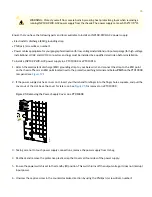
Figure 19: ESD Point for the PTX10008
g050562
1
1
—
Grounding point
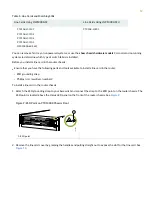
4. Remove the two screws on the chassis using a Phillips screwdriver.
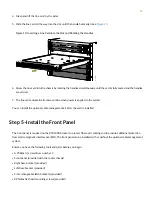
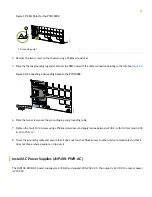
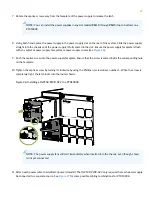
5. Place the chassis grounding lug and cable over the PEM nuts with the cable connection pointing to the left. See
Figure 20: Connecting a Grounding Cable to the PTX10008
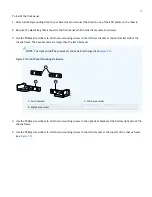
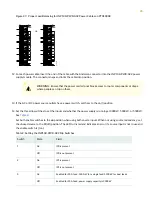
6. Place the two screws over the grounding lug and grounding cable.
7. Tighten the two 10-32 screws using a Phillips screwdriver and apply torque between of 30.1 in.-lb (3.4 N-m) and 42.04
in.-lb (4.75 N-m).
8. Dress the grounding cable and ensure that it does not touch or block access to other device components and that it
does not drape where people can trip over it.
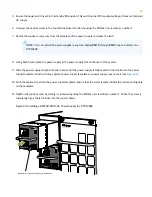
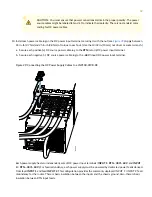
Install AC Power Supplies (JNP10K-PWR-AC)
The JNP10K-PWR-AC power supplies are 2700-W and support 200–240 VAC. The output is 12 VDC; the output power
is 2700 W.
21

