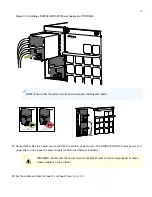
WARNING:
Protect yourself from severe burns by wearing heat-protective gloves when removing a
running JNP10K-PWR-AC2 power supply from the chassis. The power supply can reach 158°F (70°C).
Ensure that you have the following parts and tools available to install an JNP10K-PWR-AC2 power supply:
•
Electrostatic discharge (ESD) grounding strap
•
Phillips (+) screwdriver, number 1
•
Power cables appropriate for your geographical location (for low-voltage installations) or input amperage (for high-voltage
installations). HVAC and HVDC connectors and lugs must be installed by a qualified electrician before installation.
To install a JNP10K-PWR-AC2 power supply in a PTX10008 or a PTX10016:
1. Attach the electrostatic discharge (ESD) grounding strap to your bare wrist, and connect the strap to the ESD point
on the chassis. There is an ESD point located next to the protective earthing terminal and below PSU5 on the PTX10008
rear panel (see
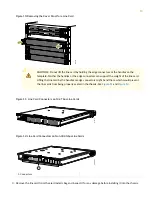
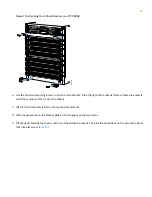
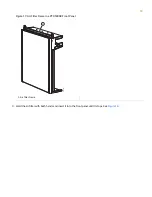
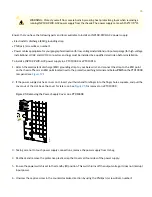
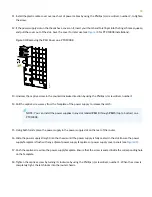
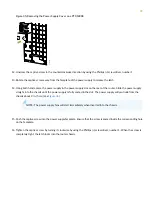
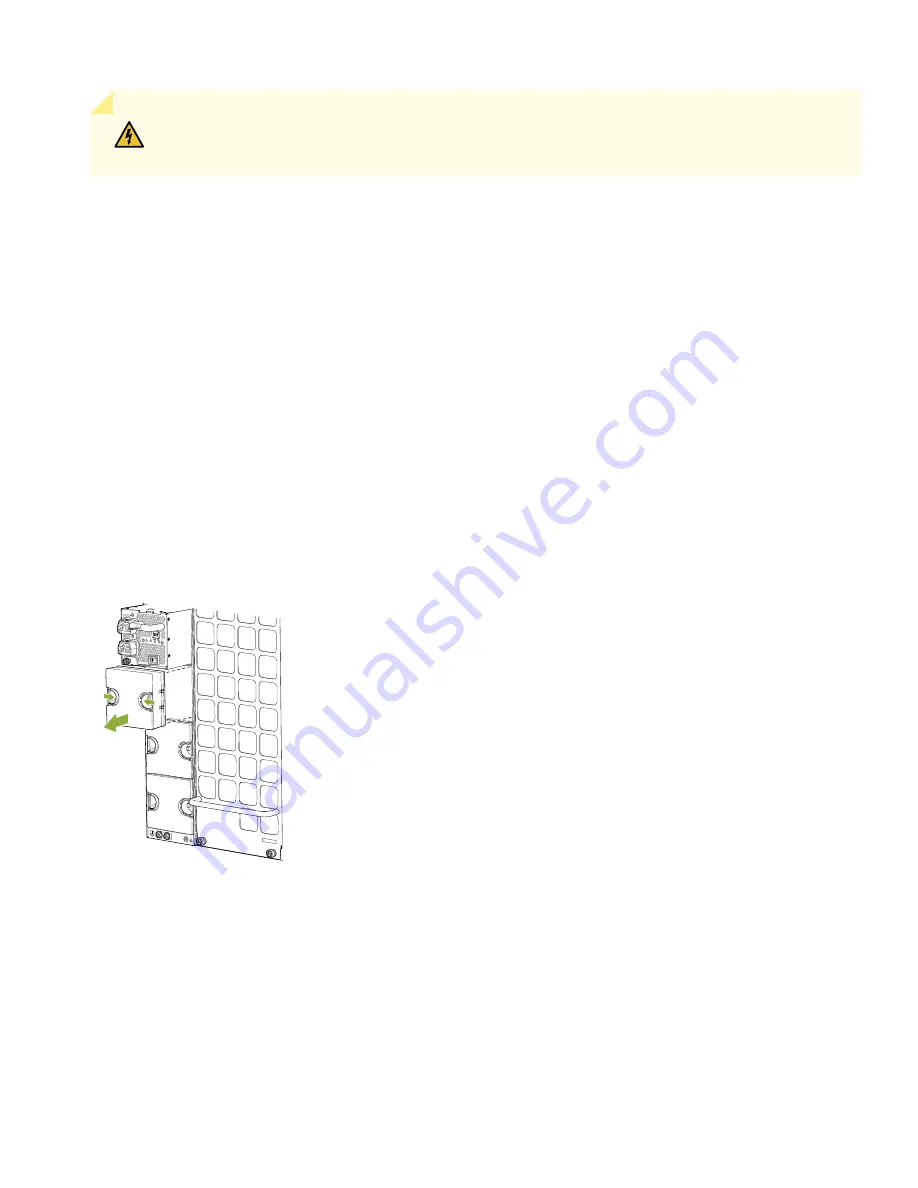
2. If the power supply slot has a cover on it, insert your thumb and forefinger into the finger holes, squeeze, and pull the
cover out of the slot. Save the cover for later use. See
for removal on a PTX10008 .
Figure 25: Removing the Power Supply Cover on a PTX10008
g100613
3. Taking care not to touch power supply connections, remove the power supply from its bag.
4. Peel back and remove the protective plastic wrap that covers all four sides of the power supply.
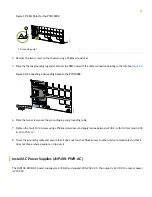
5. Ensure the power switch is set to the standby (O) position. This switch turns off the output voltage; it does not interrupt
input power.
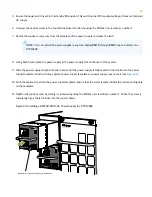
6. Unscrew the captive screw in the counterclockwise direction by using the Phillips (+) screwdriver, number 1.
26

