JA94-001A Dual Audio Controller
Installation and Operating Manual
Rev
B
Page 7
c)
Unusual buzzes, hums or other background audio are symptomatic of multiple grounds, or noisy external
systems such as blowers or pumps sharing wiring with the audio system. If a transmitter fails to key or
correctly modulate it is often the result of not connecting all required grounds to the radio or external audio
system.
d) Check the ICS operation and Emergency operation.
e) Plug in the Left user headset. Check for correct ICS operation. Check yoke or cyclic switch functions.
f)
Plug in any remaining headsets, and check for correct ICS operation. Note that an incorrect cordset (drop cord)
or improper jack wiring may cause a wide range of problems, from loss of audio to a tone heard in the headset.
g) Check that all configurations settings are correct.
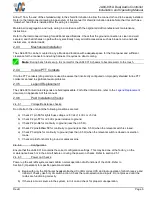
When all performance checks are satisfied, complete the necessary regulatory documentation before releasing the
aircraft for service. Refer to
2.5
Adjustments and Configuration using ProCS™
All the JA94-001A internal adjustments are set from the
Product Configuration Software ProCS™
. Configuration data
is sent to the JA94-001A via the front panel connector (
♫
/io), using the Configuration Cables and a computer running
the ProCS™ software. For configuration requirements, see section 2.5.1.
For full information on the configuration process, and for installation of ProCS™ on your computer, refer to the
on the Jupiter Avionics website -
www.jupiteravionics.com/productsoftware.
2.5.1
Configuration Cabling Requirements
To configure the JA94-001A, it is necessary to load the
Product Configuration Software ProCS™
onto a Windows-
based computer as described in the
The cables required to configure the JA94-001A are not included with the unit.
Cabling option 1:
Quantity
Description
JAC Part #
1
USB A to RS232 9-Pin Cable
CAB-USB-0002
1
Configuration Cable
JA99-001
Cabling option 2:
Quantity
Description
JAC Part #
1
USB A Male to RS232 3.5mm Plug
CAB-USB-0006
2.5.2
ProCS™ Setup
The ProCS™ JA94-001A menu item 'ProCS Setup' provides Setup drawings showing the cabling
arrangement for connecting the JA94-001A to a computer running the ProCS™.
2.5.3
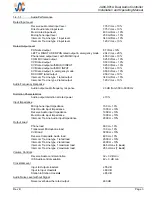
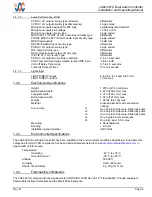
Configurable Settings
A standard unit is shipped from the factory with all internal adjustments configured to the default levels. At installation,
it may be desirable to change some of these settings to suit the local operating environment.
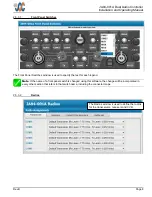
Note
: To properly configure the JA94-001A, power must be applied, and the left TX Select switch must be in
the COM1 to COM6 position.
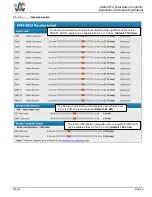
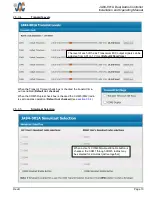
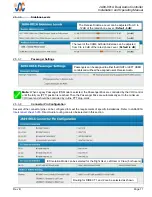
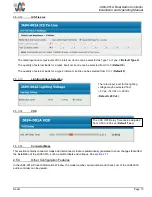
Within ProCS™, the configurable settings are grouped together into the following sections:


