Operation SeaSkim
Connect the power cable in such a manner that your SeaSkim (protein skimmer) is
ready for use.
First, open the airflow controller at the end of the air hose. Now, turn the air pressure
controller until the foam rises half way up the foam collector. The normal foam
production will only be reached after a run-in period that may take from a few hours
up to 3 days.
The foam is rather light and watery during the run-in period of the saltwater aquarium.
The foam production depends on the contamination of the aquarium water. We
recommend to open the air controller completely and to adjust the foam production
with the air pressure controller, in order to utilise the entire capacity of the SeaSkim.
Maintenance JUWEL SeaSkim
Weekly:
Check the foam production and readjust the air controller and air pressure controller if
necessary.
Remove the foam collector, empty and clean it with clear water only and possibly a
brush.
Do not touch the inside of the foam collector with your fingers, as this substantially
reduces the foam production.
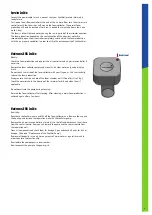
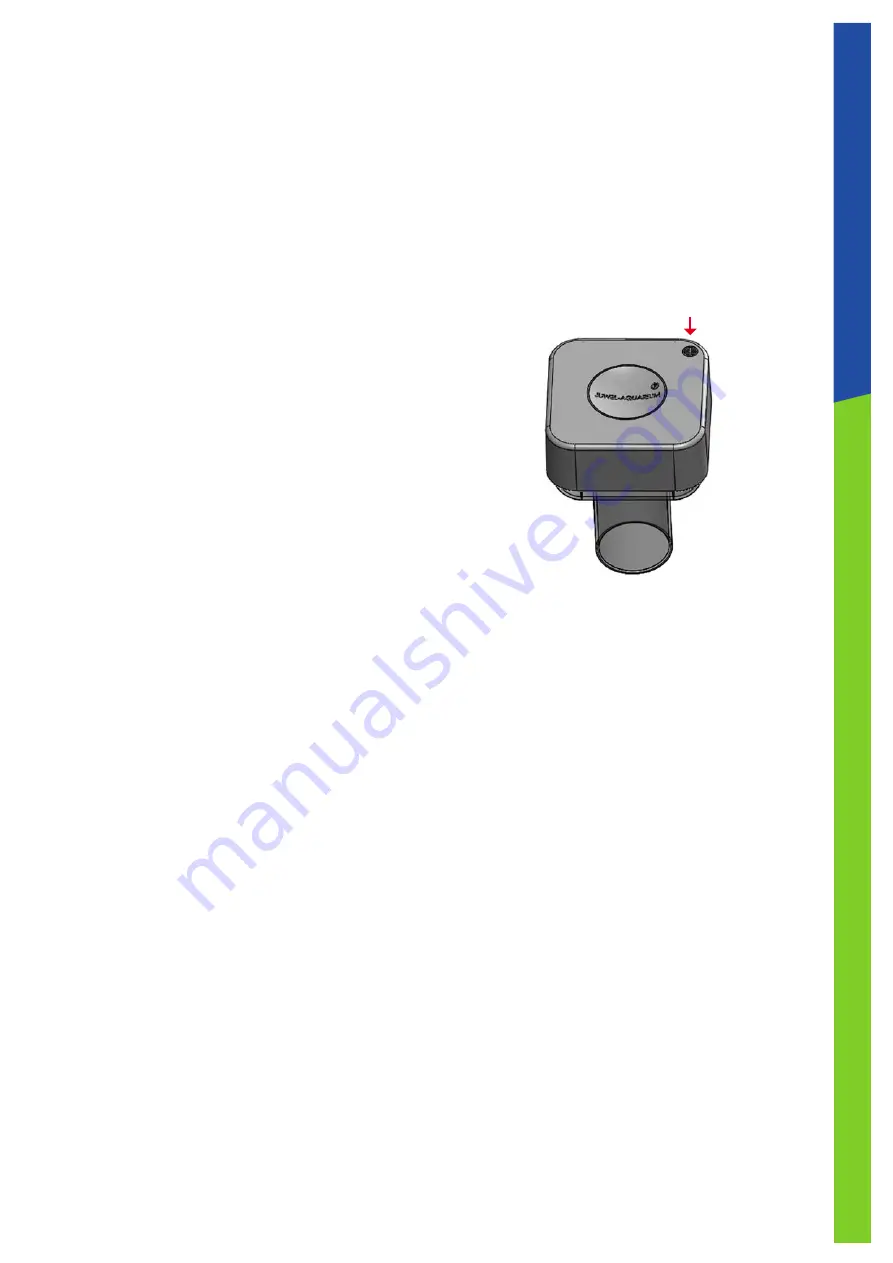
Always ensure that the air hole of the foam chamber unit is free of dirt (ref. fig.).
Check the waterintake in the housing of the skimmer for dirt and clean them if
applicable.
Do not deactivate the pump during cleaning!
Reinsert the foam collector after cleaning. After cleaning, normal foam production is
achieved again after a few hours.
Keep clean!
Maintenance JUWEL SeaSkim
Quarterly:
Deactivate the SeaSkim pump and lift off the foam collector unit. Remove the cap and
the housing and retrieve the separation wall with the SeaSkim pump.
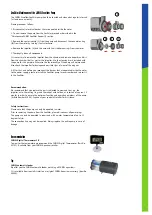
Remove the air pressure controller by turning it to the left and disconnect the air hose
from the venturi nozzle. Now, you can remove the pump and the venturi nozzle from
the separation wall.
Clean all components and check them for damage. Open and check all parts for dirt or
damage. (Also read "Maintenance of the SeaSkim Pump")
Remove salt deposits in the air hose by means of warm water at regular intervals in
order to ensure the functionality.
Reassemble the components in reverse order.
Now reconnect the pump to the power grid.
6


