26
Onscreen Menus
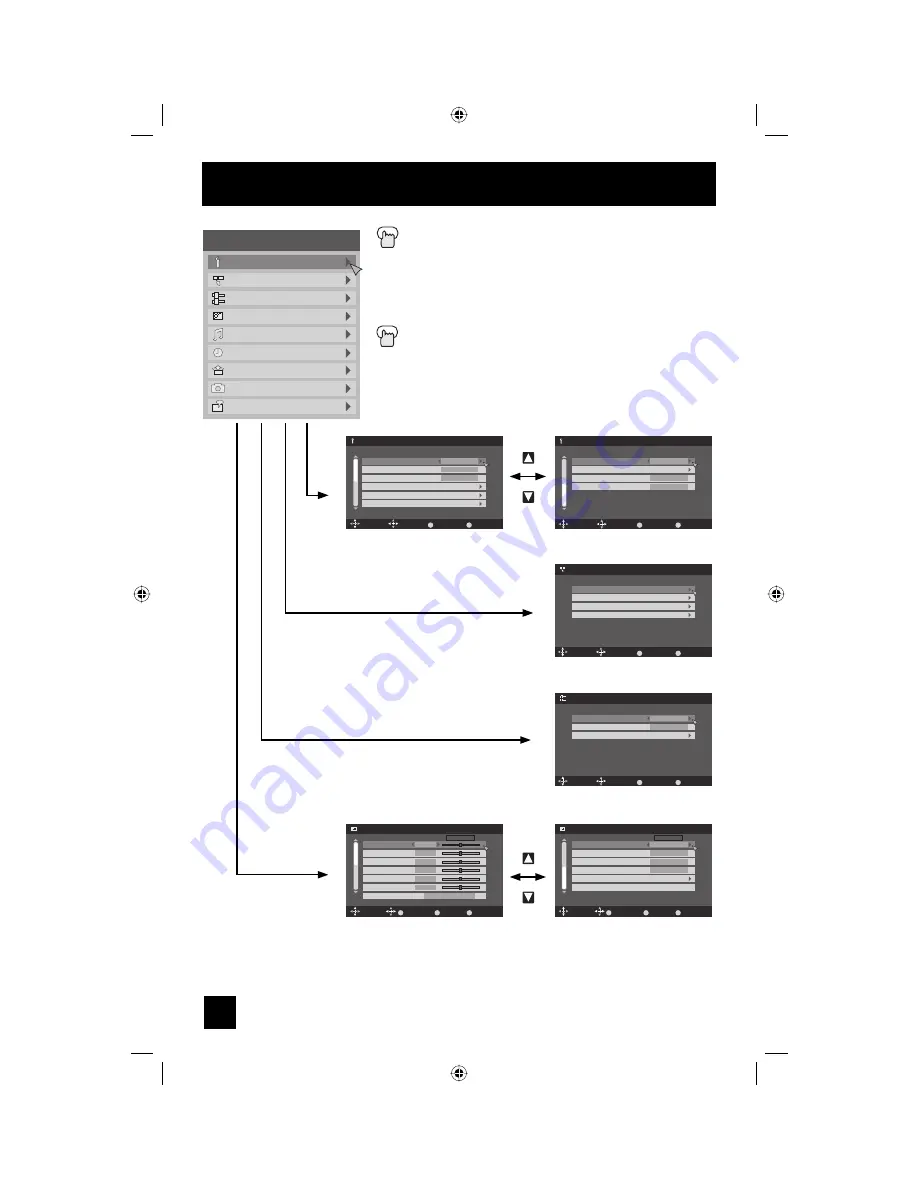
Press the M
ENU
button
The left main menu will appear
π
†
To select a menu from the main menu
√
®
To enter
The following menu you selected will appear
Press the B
ACK
button to return to the previous menu
screen
Initial Setup
Tuner Setup
External Input
Picture Adjust
Sound Adjust
Clock/Timers
Interactive Plug-in Menu
Photo Viewer
Auto Demo
Menu
–
+
Initial Setup
Auto Shut Off
Software Version
Power Indicator
Quick Start-up
Select
Operate
BACK
MENU
Back
Exit
On
Low
On
2/2
Initial Setup 2/2
Initial Setup 1/2
Initial Setup
Noise Muting
Language
Front Panel Lock
V-Chip
Set Lock Code
Closed Caption
Select
Operate
BACK
MENU
Back
Exit
On
English
Off
1/2
Tuner Setup
Auto Tuner Setup
Channel Summary
Find Channel
Digital Antenna Level
Select
Operate
BACK
MENU
Back
Exit
–
+
Tuner Setup
External Input
HDMI Size
Video-1 Audio
Video Input Label
Select
Operate
BACK
MENU
Back
Exit
Auto
Digital
External Input
Picture Adjust
Select
Operate
BACK
MENU
Back
Exit
High
Tint
Color
Picture
Bright
Detail
Energy Saver Mode
Color Temperature
0
0
0
0
0
0
Standard
1/2
Video Status
OK
Picture Adjust 1/2
Picture Adjust
Select
Operate
BACK
MENU
Back
Exit
Color Management
Dynamic Gamma
Noise Reduction
Natural Cinema
Position Adjustment
Reset
Standard
On
Off
Off
Off
2/2
Video Status
OK
Picture Adjust 2/2
Note:
• The HDMI Size menu can only be displayed when a 480p picture signal is input to the HDMI
terminal and the picture is being displayed on the screen.
LCT2224-001A-A English.indd 26
LCT2224-001A-A English.indd 26
1/18/07 9:14:37 AM
1/18/07 9:14:37 AM


