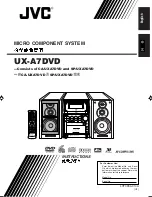

INSTRUCTIONS
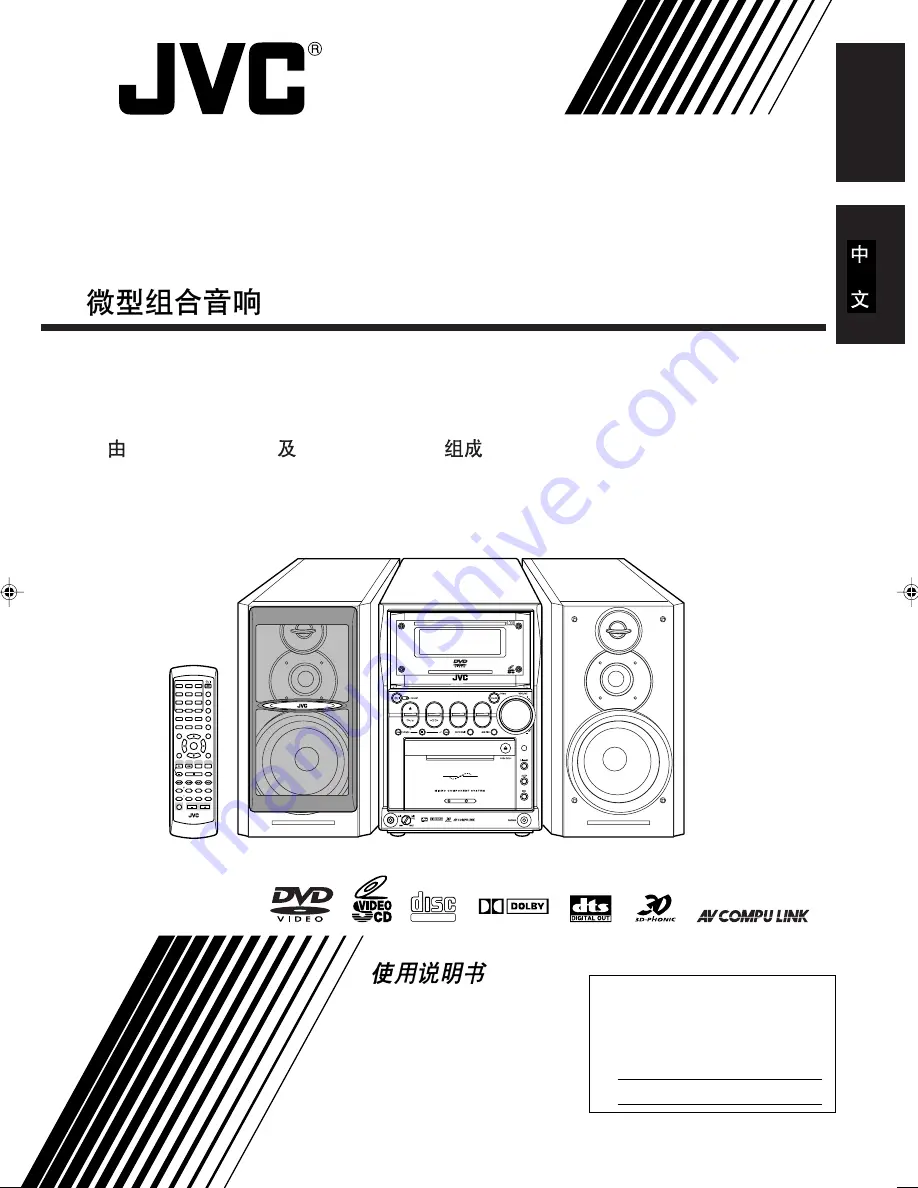
UX-A7DVD
—Consists of CA-UXA7DVD and SP-UXA7DVD
For Customer Use:
Enter below the Model No. and Serial
No. which are located either on the rear,
bottom or side of the cabinet. Retain this
information for future reference.
Model No.
Serial No.
LVT0954-010A
[UF]
MICRO COMPONENT SYSTEM
D
V
D
/
S
U
P
E
R
V
C
D
/
V
C
D
/
C
D
DVD
A
U
T
O
R
E
V
E
R
S
E
COMPACT
SUPER VIDEO
U X - A 7 D V D
D I G I T A L
TAPE
AUX/MD
REV.MODE
BASS
FM/AM
TREBLE
M U L T I C O L O R D I S P L A Y
3 • W A Y S P E A K E R S Y S T E M
3 • W A Y S P E A K E R S Y S T E M
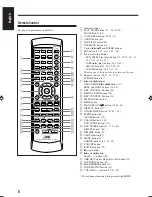
ANGLE
AUDIO
1
2
3
4
5
6
7
8
9
10
0
+10
DIMMER
CANCEL
TOP MENU
SET
STROBE
PREV.
FADE
MUTING
BASS/
TREBLE
FM MODE
DIGITAL
ECHO
KEY
CONTROL
KEY
CONTROL
3D PHONIC AHB PRO
NEXT
RETURN
SLOW
RM-SUXA7DVDU REMOTE CONTROL
GROUP SKIP
–
+
SLOW
AUX/MD
DVD
SELECT
FM/AM
VOLUME
SHIFT
TAPE
ENTER
MENU CHOICE
COLOR
ON SCREEN
PLAY MODE
ZOOM
SUB TITLE
REV. MODE
DIGEST
CLOCK/TIMER
STANDBY/ON
DISPLAY
SLEEP
DVD
LEVEL
AP
OFF
CA-UXA7DVD
SP-UXA7DVD
—
English
D I G I T A L
COMPACT
SUPER VIDEO
UX_A7DVD[UF]COVER.pm6
02.12.16, 9:44 PM
1


