35
Reco
rdin
g
EN
9
Press [VCR PLAY
P
] on the unit, and
then press [PAUSE
p
] at the point
you wish to start recording.
10
Press [DUBBING].
VCR to DVD duplication will start.
11
Press [STOP
S
] to stop the
recording.
Note For VCR to DVD duplication:
• After starting VCR to DVD duplication, the picture
may be distorted because of the auto tracking
function. This is not a malfunction. Be advised to
play back the tape until the picture is stabilized, then
set the starting point which you wish to start
recording, and start VCR to DVD duplication.
• If the playback sound mode of VCR is set to
“STEREO,” “LEFT” or “RIGHT,” the sound mode
upon dubbing is automatically switched to
“STEREO.” If the playback sound mode is set to
“MONO,” the sound mode upon dubbing is also
“MONO.”
• If you set “External input Audio” to “Stereo,” the
sound is recorded in “Stereo” (both Video mode and
VR mode.)
• While in video mode, if you set “External input
Audio” to “Bilingual,” “Bilingual Recording Audio”
mode is recorded.
While in VR mode, if you set “External input Audio”
to “Bilingual,” bilingual audio is recorded.
• The main and sub audio will be simultaneously
recorded (VR mode.) You can select audio modes
during playback.
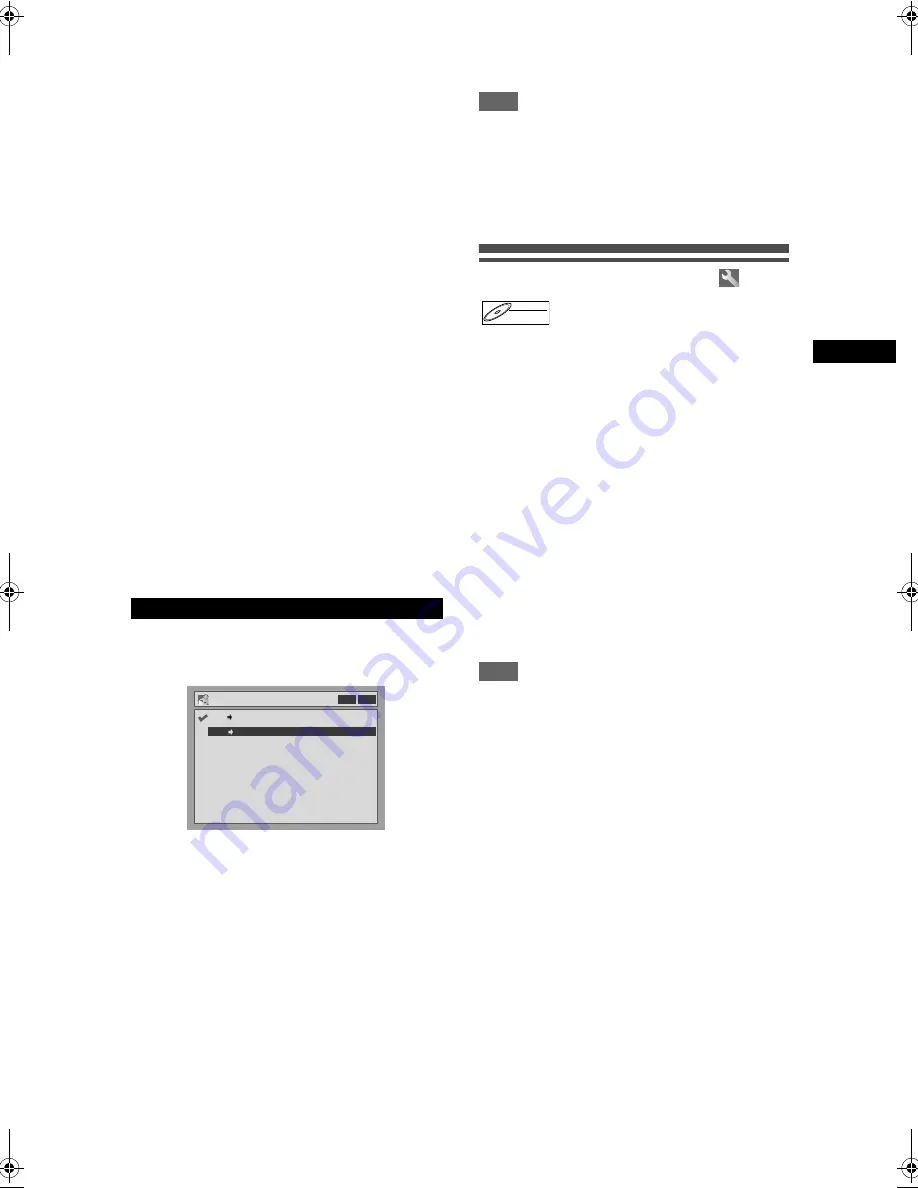
5
Select “DVD
→
VCR” using
[Cursor
U
/
D
], then press [ENTER].
6
Press [SET UP] to exit the setting
menu.
7
Press [VCR].
Make sure to select a recording speed using
[REC SPEED]
. (See page 64.)
Rewind or fast forward the tape to the point where
you want to start recording.
8
Press [DVD].
9
Press [DVD PLAY
P
] on the unit, and
then press [PAUSE
p
] at the point
you wish to start recording.
10
Press [DUBBING].
DVD to VCR duplication will start.
11
Press [STOP
S
] to stop the
recording.
Note
• When you turn off the unit after setting the Dubbing
Mode to DVD
→
VCR, the setting will be set to
VCR
→
DVD automatically.
• Dubbing Mode is available only if the tape or disc is
not copy protected.
• You cannot change the output mode during VCR to
DVD or DVD to VCR duplication.
Setting a Disc to Protect
To prevent accidental over-recording, editing or
erasing of recordings, you can protect them using the
Setting menu.
Insert a recordable disc.
1
In stop mode, press [SET UP].
“Easy Setting Menu” or “Advanced Setting Menu”
will appear.
2
Select “Disc” using [Cursor
U
/
D
],
then press [ENTER].
3
Select “Disc Protect OFF
→
ON”
using [Cursor
U
/
D
], then press
[ENTER].
4
Select “Yes” using [Cursor
U
/
D
],
then press [ENTER].
The disc is protected.
Note
• The Disc Protect setting is available only when a
disc recorded in VR mode is inserted.
• You can select only “Disc Protect ON
→
OFF” when
a protected disc is inserted.
To cancel the disc protect:
• Select “Disc Protect ON
→
OFF” at step 3, then
select “Yes.”
• If you insert a disc protected with this unit, “Disc
Protect ON
→
OFF” will appear instead of “OFF
→
ON.”
DVD to VCR
Dubbing Mode
VCR DVD
VCR DVD
DVD VCR
DVD-RW
DVD-RW
VR
23_36_Recording_EN.fm Page 35 Monday, September 5, 2005 2:00 PM
Summary of Contents for 0905TNH-FN-FN
Page 74: ...74 EN ...
Page 75: ...75 EN ...
Page 76: ...EN DR MV2SEU cov_H9770ED_EN fm Page 1 Tuesday July 26 2005 5 07 PM ...


