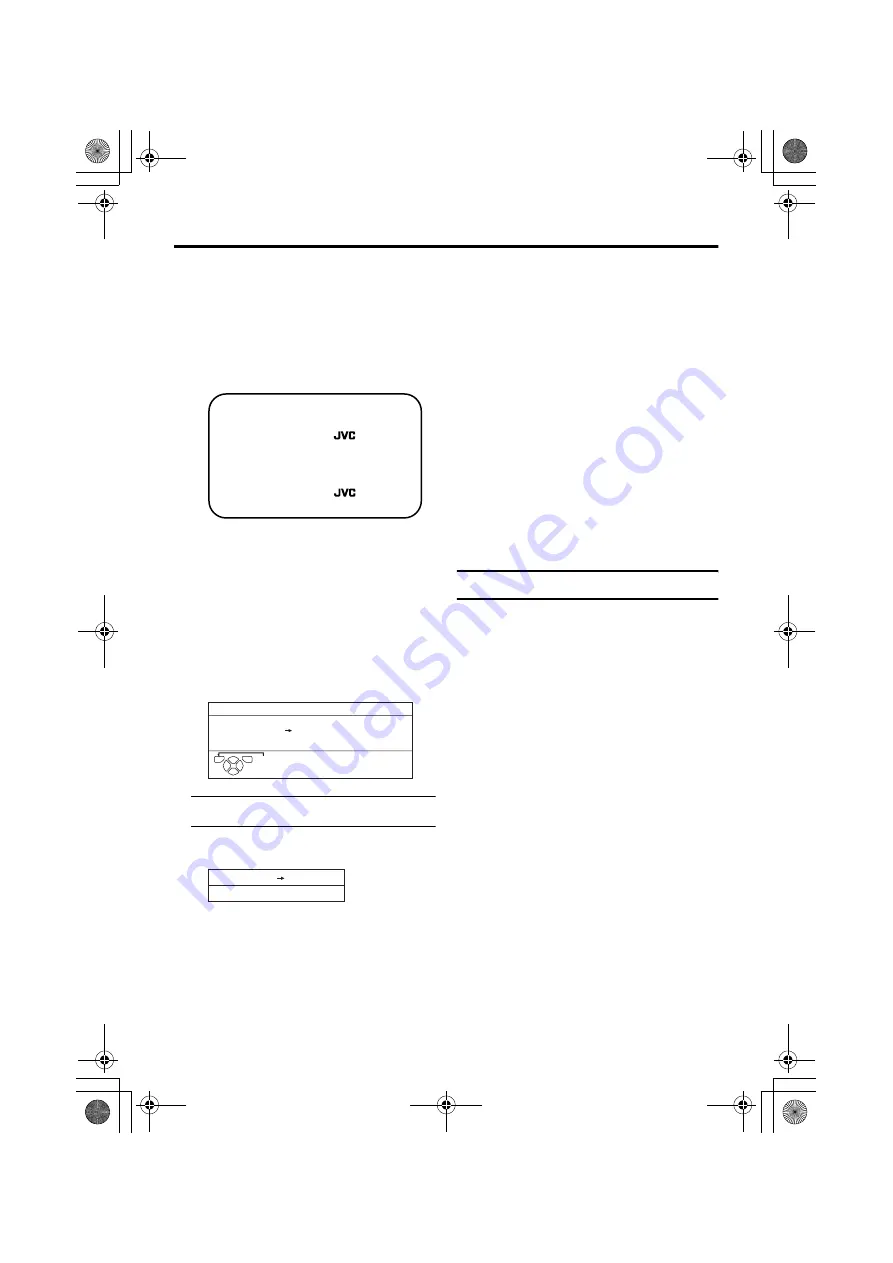
background image

8

Setting up your TV

AV-32T4SK/SR/28T4SK/BK/SR/BR / LCT1568-001B-U / ENGLISH

• In some areas you may get TV reception 

from more than one transmitter, for 
example different ITV regions. In this 

case each TV channel could be set twice. 
If this happens, the first set of channels 
will have the stronger signal. If you want 

to delete the second set of channels, you 
will have to do it manually (see page 26).

„

Downloading the data to VCR

You can transmit to the latest Programme 
numbers (PR) data to a VCR with the T-V 

LINK function.

Caution

• This only works when a T-V LINK 

compatible VCR is connected to the 

EXT-2 terminal.

• This only works when the T-V LINK 

menu is being displayed.

1 Turn on the VCR

2 Press the 

a

a

a

a

 button

The data transmission begins.

The T-V LINK menu disappears once the 
data transmission ends.

When the T-V LINK menu is 

changed over to another menu:

The TV has finished its menu. This new 

menu is operated from the VCR. See the 
VCR instruction manual for what to do 
next.

If “FEATURE NOT AVAILABLE” 

appears at the T-V LINK menu:

Check the following three items. Then 
press the 

2

2

2

2

 button to retry data 

transmission.

• Has a T-V LINK compatible VCR 

been connected to the EXT-2 

terminal?

• Has the VCR power been turned on?
• Does the SCART cable that is 

connected to the EXT-2 terminal to T-

V LINK compatible VCR have all its 
proper connections?

T-V LINK functions

When you have a T-V LINK compatible 
VCR connected to the EXT-2 Terminal on 
the TV, it is easier to set up the VCR and to 

view videos. T-V LINK uses the following 
features:

To use T-V LINK functions:

A “T-V LINK compatible VCR” means a 
JVC video cassette recorder with the T-V 
LINK logo, or with one of the following 

logos. However, these VCRs may support 
some or all of the features described earlier. 
For details, see your VCR instruction 

manual.

“Q-LINK” (a trademark of Panasonic 

Corporation)

“Data Logic” (a trademark of Metz 

Corporation)

“Easy Link” (a trademark of Phillips 

Corporation)

“Megalogic” (a trademark of Grundig 

Corporation)

“SMARTLINK” (a trademark of Sony 

Corporation).

For users in the UK:

If you have any problems setting up your 

new TV, please call the 

Helpline on 0870 330 5000.
For users in the Republic of Ireland:

If you have any problems setting up your 

new TV, please call the 

Helpline on 1890-582500.

D0005-EN

DOWNLOAD TV 

VCR

T-V LINK

TV

OK

EXIT

D0037-EN

TRANSFER. . . . . 

DOWNLOAD    TV 

VCR

AV-32&28T4SKSR_Eng.book  Page 8  Friday, February 27, 2004  11:58 AM

Summary of Contents for AV-28T4BK

Page 1: ...BK SR BR LCT1568 001C U All Cover Cover01 COLOUR TELEVISION INSTRUCTIONS AV 32T4SK AV 32T4BK AV 28T4SK AV 28T4BK AV 32T4SR AV 32T4BR AV 28T4SR AV 28T4BR LCT1568 001C U_Cover fm Page 1 Tuesday April 27 2004 11 06 AM ...

Page 2: ...ust be taken to ensure optimal results and operational safety Before attempting to use this equipment read the operating instructions thoroughly Ensure that all electrical connections including the mains plug extension leads etc have been made in accordance with the manufacturer s instructions If ever in doubt about the installation operation or safety of this equipment consult your dealer Handle ...

Page 3: ...nings If water or liquid is allowed to enter this equipment fire or electric shock may be caused DO NOT place any naked flame sources such as lighted candles on the TV WARNING TO PREVENT FIRE OR SHOCK HAZARD DO NOT EXPOSE THIS APPLIANCE TO RAIN OR MOISTURE CAUTION Operate only from the power source specified AC 220 240 V 50 Hz on the unit Avoid damaging the AC plug and power cord When you are not ...

Page 4: ...on 13 HYPER SOUND function 14 Return to TV channel instantly 15 Operating a JVC brand VCR or DVD player 15 Teletext function 16 Basic operation 16 Using the List Mode 16 Hold 17 Sub page 17 Reveal 17 Size 17 Index 17 Cancel 18 Using the TV s menu 19 Basic operation 19 PICTURE menu 20 PICTURE MODE 20 CONTRAST 20 BRIGHT 20 SHARP 20 COLOUR 20 HUE 20 COLOUR TEMP 20 FEATURES 21 SOUND menu 23 STEREO I I...

Page 5: ...al on the TV For details about T V LINK functions see T V LINK functions on page 8 You can watch a video using the VCR without doing C For details see your VCR instruction manual To connect more equipment please see Connecting external equipment on page 35 If you connect a decoder to a T V LINK compatible VCR set the DECODER EXT 2 function to ON For details see DECODER EXT 2 on page 31 Otherwise y...

Page 6: ...ace the batteries Initial settings When the TV is first turned on it goes into the initial settings mode and you will see the JVC logo Follow the instructions on the screen display to make the initial settings 1 Press the main power button on the TV The power lamp lights red and the JVC logo appears If the JVC logo does not appear this is because your TV has already been turned on for the first ti...

Page 7: ...For UK model AV 32T4SK AV 32T4BK AV 28T4SK AV 28T4BK BBC1 BBC2 ITV Channel 4 and Channel 5 are automatically set to the programme numbers PR1 to PR5 If the TV doesn t receive one of these TV channels that programme number PR will not be set Programme number PR6 is not normally set For Ireland model AV 32T4SR AV 28T4SR AV 32T4BR AV 28T4BR If your TV can detect the TV channel name from the TV channe...

Page 8: ...y data transmission Has a T V LINK compatible VCR been connected to the EXT 2 terminal Has the VCR power been turned on Does the SCART cable that is connected to the EXT 2 terminal to T V LINK compatible VCR have all its proper connections T V LINK functions When you have a T V LINK compatible VCR connected to the EXT 2 Terminal on the TV it is easier to set up the VCR and to view videos T V LINK ...

Page 9: ... are watching on the TV For details read the manual for your VCR Use your VCR controls VCR IS RECORDING is displayed In the following situations the VCR will stop recording if the TV is turned off if the TV channel or input is changed or if the menu is displayed on the TV when recording images from an external device connected to the TV for example a camcorder when recording a TV channel after it ...

Page 10: ...goes off Caution The main power button on the TV does not fully isolate the TV from the AC supply If you are not going to use the TV for a long period be sure to disconnect the AC plug from the AC socket Turn the TV on from standby mode Press the P p p p p buttons to turn the TV on from standby mode When the TV is turned on the power lamp dims slightly Choose a TV channel Press the P p p p p butto...

Page 11: ...r buttons 0 a button 6 buttons VCR DVD Teletext control button VCR P DVD switch g text button Turn the TV on or off from standby mode Press the standby button to turn the TV on or off When the TV is turned on the power lamp dims slightly The power can be turned on by pressing the b button 6 buttons or number buttons 1 4 7 2 5 8 0 3 6 9 P AV TV OK MENU P TV F T L AV 32 28T4SKSR_Eng book Page 11 Fri...

Page 12: ... which can automatically change over the input according to a special signal output from an external device The EXT 4 terminal does not support this function To return to a TV channel Press the b button the 6 buttons or the number buttons To use the programme number PR 0 AV When the TV and VCR are connected only by the aerial cable choosing the programme number PR 0 AV allows you to view images fr...

Page 13: ...e screen size according to the picture aspect ratio Choose the optimum one from the following ZOOM modes AUTO When a WSS Wide Screen Signalling signal which shows the aspect ratio of the picture is included in the broadcast signal or the signal from an external device the TV automatically changes the ZOOM mode to 16 9 ZOOM mode or FULL mode according to the WSS signal If a WSS signal is not includ...

Page 14: ...e cut off you can adjust the visible area of the picture manually 1 Press the c button The ZOOM menu appears 2 Press the a button to display the ZOOM mode indicator The indicator appears 3 While it is displayed press the 6 6 6 6 buttons to change the position of the picture You cannot adjust the visible area in REGULAR or FULL mode HYPER SOUND function You can enjoy sounds with a wider ambience Pr...

Page 15: ... switch to the VCR position DVD When you are using a DVD player set the switch to the DVD position P text When you are viewing teletext programmes set the switch to the P text position 2 Press the VCR DVD Control Button to control your VCR or DVD player If your device is not made by JVC these buttons will not work Even if your device is made by JVC some of these buttons may not work depending on t...

Page 16: ...dealer or the teletext station The ZOOM function will not work in the TV and text mode or Text mode You cannot operate menus when viewing a teletext programme Using the List Mode You can store the numbers of your favourite teletext pages in memory and call them up quickly using the colour buttons To store the page numbers 1 Press B B B B button to go into the List mode The page numbers you have st...

Page 17: ... sub page or view it at any time 1 Press the D D D D Sub page button to operate the sub page function 2 Press the number buttons to enter a sub page number Example 3rd sub page press o o o and 3 To cancel the sub page function Press the D Sub page button again Reveal Some teletext pages include hidden text such as answers to a quiz You can display the hidden text Each time you press the E E E E Re...

Page 18: ...umber or press a colour button The TV searches for a teletext page 2 Press H H H H Cancel button The TV programme appears 3 Press H H H H Cancel button to return to a teletext page when the page number is on the screen The TV mode cannot be resumed by pressing the H Cancel button To return to the TV mode press b AV 32 28T4SKSR_Eng book Page 18 Friday February 27 2004 11 58 AM ...

Page 19: ...on For details of the functions in the menus see the following pages 4 Press the 5 5 5 5 buttons to choose the setting of that function If you want to operate a function which appears only with its name follow the descriptions of that function on the following pages The display appearing at the bottom of a menu shows you a button on the remote control that you can use when you operate a chosen fun...

Page 20: ... You can adjust the picture tint 2 reddish 3 greenish You can change the HUE setting picture hue when the colour system is NTSC 3 58 or NTSC 4 43 COLOUR TEMP You can select one of three COLOUR TEMP modes three tones of white to adjust the white balance of the picture Since white is the colour which is used as a reference for all the other colours changing the COLOUR TEMP mode affects the appearanc...

Page 21: ...ective of the state of the picture When you set the mode to AUTO but still notice some noise change the mode to MAX However this may reduce the sharpness of the picture COLOUR SYSTEM The colour system is chosen automatically However if the picture is not clear or no colour appears choose the colour system manually 1 Choose COLOUR SYSTEM Then press the a a a a or 3 3 3 3 button The sub menu of the ...

Page 22: ...des REGULAR PANORAMIC or 14 9 ZOOM as the ZOOM mode for the normal picture 4 3 aspect ratio 1 Choose 4 3 AUTO ASPECT then press the a a a a button 2 Press the 6 6 6 6 buttons to choose a ZOOM mode D0017 EN 4 3 AUTO ASPECT PANORAMIC REGULAR 14 9 ZOOM TV OK AV 32 28T4SKSR_Eng book Page 22 Friday February 27 2004 11 58 AM ...

Page 23: ...ker s volume level up HYPER SOUND You can enjoy sounds with a wider ambience ON This function is turned on OFF This function is turned off The menu disappears The HYPER SOUND function does not work properly with mono sound You can turn the HYPER SOUND function on or off with a single press For details see HYPER SOUND function on page 14 Notes for Ireland model AV 32T4SR AV 28T4SR AV 32T4BR AV 28T4...

Page 24: ...e to OFF BLUE BACK You can set the TV to automatically change to a blue screen and mute the sound if the signal is weak or absent or when there is no input from an external device ON This function is turned on OFF This function is turned off CHILD LOCK When there is a TV channel you do not want your children to watch you can use the CHILD LOCK function to lock out the TV channel Even when a child ...

Page 25: ... button to display ID NO ID No input screen 3 Press the number buttons to enter the ID number The lock is temporarily released so you can view the TV channel If you have forgotten the ID number Perform step 1 of To set the CHILD LOCK function After confirming the ID number press the b button to exit the menu Even if you reset the lock temporarily it does not mean that the CHILD LOCK function set f...

Page 26: ...a TV channel INSERT This function adds a new TV channel in the current programme numbers PR list by using the CH number You cannot use the INSERT function if you do not know the channel number of a TV channel Use the MANUAL function to register a TV channel in the programme number PR DELETE This function deletes a TV channel you do not want to list MANUAL This function manually stores a new TV cha...

Page 27: ... to choose a TV channel Every time you press the 6 buttons the programme number PR changes and the picture of the TV channel stored in the programme number PR appears on the screen 2 Press the 3 3 3 3 button to start the MOVE function 3 Press the 6 6 6 6 buttons to choose a new programme number PR To cancel the MOVE function Press the h Information button 4 Press the 2 2 2 2 button to change the p...

Page 28: ...register the channel name ID to the TV channel Before performing INSERT or MANUAL operation A CH CC number unique to this TV and corresponding to the Channel number of a TV channel is required Find the corresponding CH CC number from the table CH CC NUMBER on page 30 based on the Channel number of the TV channel INSERT 1 Press the 6 6 6 6 buttons to choose a programme number PR for which you will ...

Page 29: ... CH CC number a no signal picture appears MANUAL 1 Press the 6 buttons to choose a programme number PR for a new TV channel 2 Press the blue button to activate the MANUAL function To cancel the MANUAL function Press the h Information button 3 Press the green or red button to search for a TV channel Scanning stops when the TV finds a TV channel Then the TV channel is displayed 4 Press the green or ...

Page 30: ...0 E30 CH 31 E31 CH 32 E32 CH 33 E33 CH 34 E34 CH 35 E35 CH 36 E36 CH 37 E37 CH 38 E38 CH 39 E39 CH Channel CH 40 E40 CH 41 E41 CH 42 E42 CH 43 E43 CH 44 E44 CH 45 E45 CH 46 E46 CH 47 E47 CH 48 E48 CH 49 E49 CH 50 E50 CH 51 E51 CH 52 E52 CH 53 E53 CH 54 E54 CH 55 E55 CH 56 E56 CH 57 E57 CH 58 E58 CH 59 E59 CH 60 E60 CH 61 E61 CH 62 E62 CH 63 E63 CH 64 E64 CH 65 E65 CH 66 E66 CH 67 E67 CH 68 E68 CH ...

Page 31: ...ears You can send the programme numbers data to a VCR with the T V LINK function 6 Turn on the VCR and then press the a a a a button to transmit the data to VCR The T V LINK menu disappears once the data transmission ends 7 If you have another TV channel capable of being unscrambled with a Decoder repeat steps 2 to 6 If the DECODER EXT 2 function has been set to ON but the TV channel cannot be uns...

Page 32: ... 6 6 buttons to choose an EXT terminal 2 Press the yellow button and set the y y y y S VIDEO input Then press the a a a a button An y S VIDEO input mark is displayed You can view an S VIDEO signal Y C signal instead of the regular video signal composite signal To cancel the y y y y S VIDEO input setting Press the yellow button and turn off y S VIDEO input mark The regular video signal composite si...

Page 33: ...ess the 5 5 5 5 buttons to choose the arrow from the menu 2 Press the 6 6 6 6 buttons to choose an EXT terminal or TV Then press the a a a a button The arrow in the menu represents a signal flow The left side of the arrow shows a signal source output from the EXT 2 terminal EXT 1 EXT 3 EXT 4 The output signal of the device connected to an EXT terminal passes through the TV and is output from the E...

Page 34: ...e picture tilt or make unnatural colours appear in the corner of the screen If this happens you can correct it 1 Choose PICTURE TILT then press the a a a a or 3 3 3 3 button The sub menu of the PICTURE TILT function appears 2 Press the 6 6 6 6 buttons until the picture becomes level Then press the a a a a button D0018 EN PICTURE TILT TV OK Body_Eng fm Page 34 Friday April 23 2004 2 12 PM ...

Page 35: ...k cover give the details of the EXT terminals If you are connecting equipment not listed in the following connection diagram see the table to choose the best EXT terminal Connecting cables are not supplied 1 VCR composite signal 2 VCR composite signal S VIDEO signal 3 T V LINK compatible VCR composite signal S VIDEO signal 4 Decoder 5 DVD player composite signal S VIDEO signal 6 DVD player composi...

Page 36: ...or the programme number PR to ON to unscramble a scrambled TV channel For details see EXT SETTING on page 32 Connecting headphones Connect the headphones with a stereo mini jack 3 5 mm diameter to the headphone socket at the TV rear panel No sound comes from the TV speakers when the headphones are connected Video or sound signal output from the EXT 2 terminal You can change over the output of the ...

Page 37: ...T MANUAL on page 26 to use the MANUAL function to try to change the SYSTEM setting Poor picture If noise snow totally blocks out the picture there may be a problem with the aerial or aerial cable Check the following to try to solve the problem Have the TV and aerial been connected properly Has the aerial cable been damaged Is the aerial pointing in the right direction Is the aerial itself faulty I...

Page 38: ...EEP TIMER function operates the TV is automatically turned off If the TV suddenly turns off try to press the standby button to turn on the TV once again If the TV goes back to normal there is no problem When the TV is receiving a wide screen signal WSS or a signal from an external device affecting the screen size the ZOOM mode automatically changes When you want to resume the previous ZOOM mode pr...

Page 39: ...2 7 W 115 W Standby 2 7 W Picture tube size Viewable area 76 cm measured diagonally Viewable area 66 cm measured diagonally Audio output Rated Power output 10 W 10 W Speakers 13 cm 6 5 cm oval 2 EXT 1 terminal Euroconnector 21 pin SCART Video input Audio L R inputs and RGB inputs are available TV broadcast outputs Video and Audio L R are available EXT 2 terminal Euroconnector 21 pin SCART Video in...

Page 40: ... Hz Power consumption 115 W Standby 2 7 W 115 W Standby 2 7 W Picture tube size Viewable area 76 cm measured diagonally Viewable area 66 cm measured diagonally Audio output Rated Power output 10 W 10 W Speakers 13 cm 6 5 cm oval 2 EXT 1 terminal Euroconnector 21 pin SCART Video input Audio L R inputs and RGB inputs are available TV broadcast outputs Video and Audio L R are available EXT 2 terminal...

Reviews: