1-20 (No. 52197)
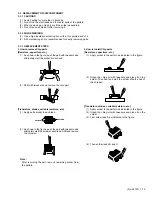
Item
Measuring
instrument
Test point
Adjustment part
Description
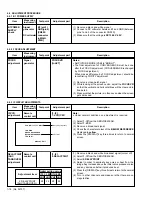
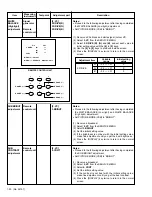
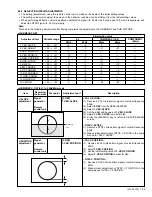
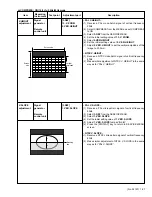
SUB BRIGHT
adjustment
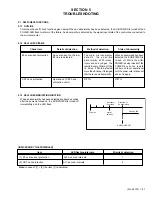
Notes:
•
Proceed to the following adjustment after having completed
the WHITE BALANCE (Low light) and WHITE BALANCE
(High light) adjustment.
•
Set PICTURE MODE (VSM) to “BRIGHT”.
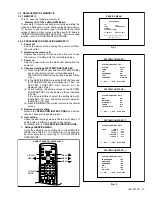
(1) Receive a broadcast.
(2) Select
2. VC
from the SERVICE MENU.
(3) Select
3. BRIGHT
.
(4) Set the initial setting value.
(5) If the brightness is not best with the initial setting value,
make fine adjustment until you get the best brightness.
(6) Press the [DISPLAY] key twice to return to the normal
screen.
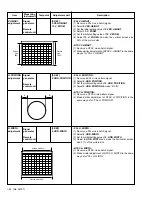
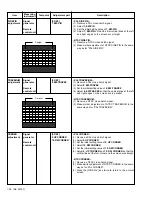
SUB
CONTRAST
adjustment
Remote
control unit
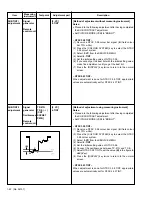
Notes:
•
Proceed to the following adjustment after having completed
the SUB BRIGHT adjustment.
•
Set PICTURE MODE (VSM) to “BRIGHT”.
(1) Receive a broadcast.
(2) Select
2. VC
from the SERVICE MENU.
(3) Select
4. CONT
.
(4) Set the initial setting value.
(5) If the contrast is not best with the initial setting value,
make fine adjustment until you get the best contrast.
(6) Press the [DISPLAY] key twice to return to the normal
screen.
[2. VC]
4. CONT
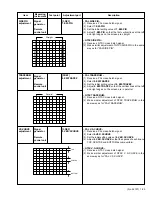
WHITE
BALANCE
(High light)
adjustment
Signal
generator
Remote
control unit
[2. VC]
2.DRIVE (R)
2.DRIVE (G)
2.DRIVE (B)
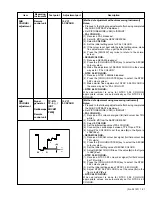
Notes:
•
Proceed to the following adjustment after having completed
the WHITE BALANCE (Low light) adjustment.
•
Set PICTURE MODE (VSM) to “BRIGHT”.
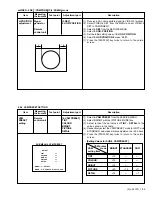
(1) Receive a PAL black and white signal (colour off).
(2) Select
2. VC
from the SERVICE MENU.
(3) Select
2. DRIVE (R)
,
(G)
and
(B)
, and set each value to
initial setting value with the
[4]
to
[9]
keys.
(4) Use the
[4]
to
[9]
keys to produce a white screen.
(5) Press the [DISPLAY] key twice to return to the normal
screen.
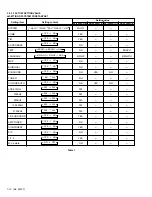
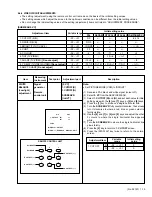
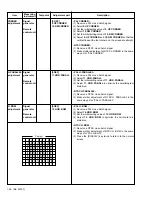
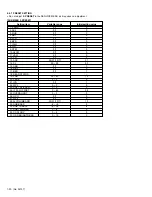
Adjustment Item
Variable
Initial setting
range
value
R
–32 –– +31
0
2. DRIVE
G
–32 –– +31
0
B
–32 –– +31
0
PAL
2. DRIVE
50 Hz
(R)
(G)
**
**
(B)
**
V/C
MENU
: SELECT
MENU - /+ : OPERATE DISPLAY : EXIT
Remote
control unit
[2. VC]
3. BRIGHT
G DRIVE (
)
1
2
3
4
7
8
9
5
6
R DRIVE (
)
B DRIVE (
)
B DRIVE (
)
R DRIVE (
)
G DRIVE (
)
REMOTE CONTROL UNIT

