14
Preview mode
By using the preview mode, you can adjust zoom and focus on the preview monitor before outputting the picture to the main presenta-
tion screen. This makes it possible for you to make a smooth, professional presentation because material changes and screen adjust-
ments are not shown. The following example describes how to transfer an image to the main projector.
䡵
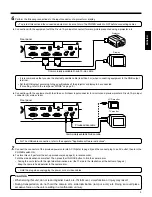
Connection and setting
1.
Connect the RGB OUTPUT 1 or RGB OUTPUT 2 connector to the input connector of the projector.
2.
Connect the VIDEO OUTPUT or S-VIDEO OUTPUT connector to the input connector of the preview monitor.
3.
Turn the power on.
4.
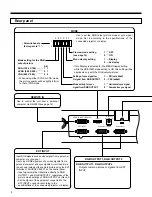
Set the DIP switch F on the rear panel to 0 to engage the preview mode.
PRESENTATION (APPLICATION)
• For cable connection, refer to page 5.
• It is recommended to use the optional LCD monitor (TA-AV-Z7U) as a preview monitor. For connections, refer to the LCD
monitor's instruction manual.
䡵
Operating procedure
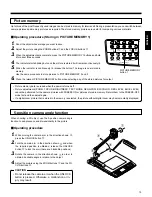
1.
Place an object on the stage.
2.
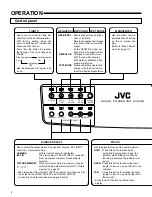
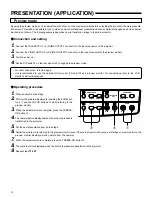
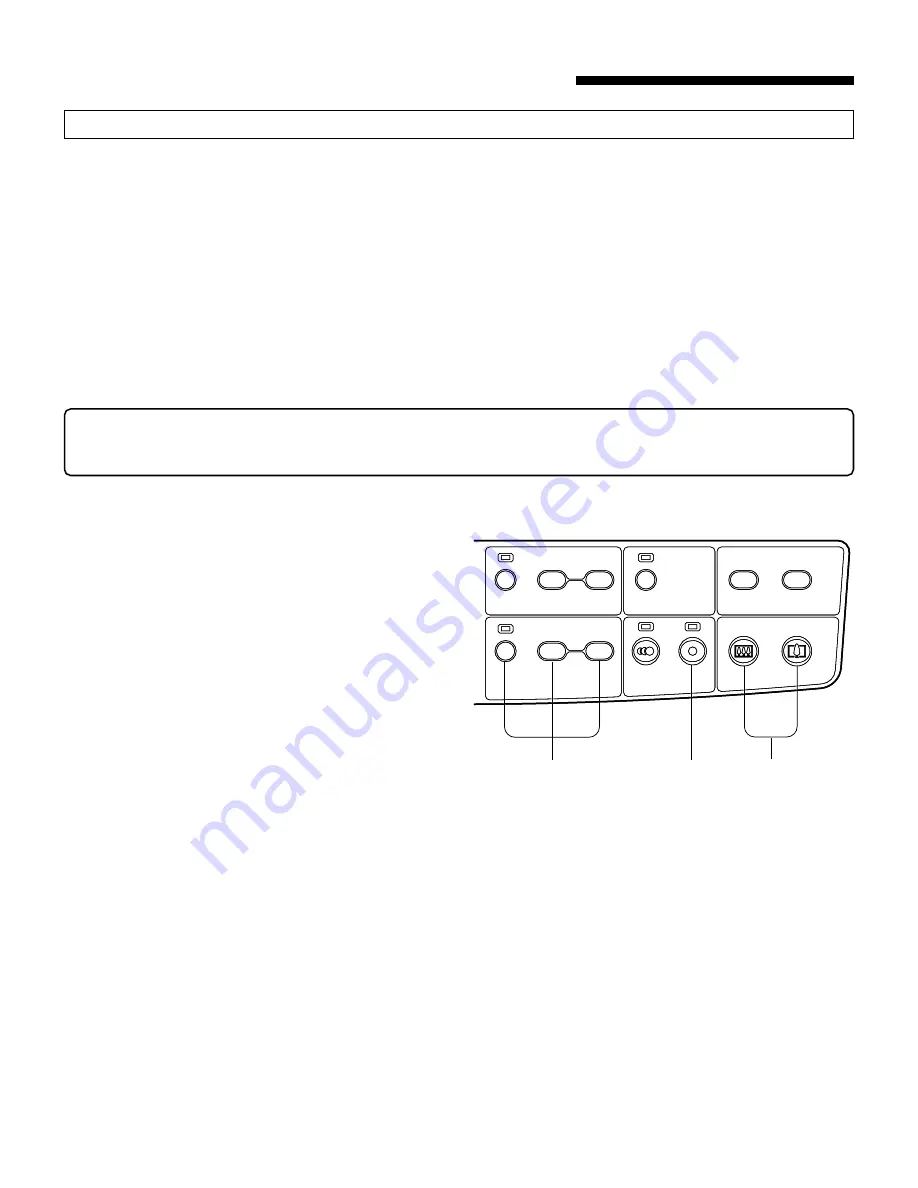
Perform the picture adjustments including the ZOOM but-
tons
1
and the FOCUS buttons
2
while referring to the
preview monitor.
3.
When the adjustments are complete, press the FREEZE-
ON button
3
.
4.
The camera picture displayed when the button is pressed is
transferred to the projector.
5.
Put the next presentation item on the stage.
6.
Adjust the picture while referring to the preview monitor (even if the main projector is showing a still image or memory picture, the
preview monitor displays a motion picture from the camera).
7.
When the adjustments are complete, press the FREEZE-ON button
3
.
8.
The camera picture displayed when the button is pressed is transferred to the projector.
9.
Repeat steps
5
to
8
.
IN
OUT
ON
FAR
NEAR
BRIGHTER
DARKER
BRIGHTNESS
AUTO
AUTO
A5
A4/LETTER
FOCUS
ZOOM PRESET
ZOOM
OFF
AUTO WHITE
SET
2
1
3
IN
OUT
ON
FAR
NEAR
BRIGHTER
DARKER
BRIGHTNESS
AUTO
AUTO
A5
A4/LETTER
FOCUS
ZOOM PRESET
ZOOM
OFF
AUTO WHITE
SET

