65
79
#
EXWWRQV
#
DQG
#
SDUWV
79
#
EXWWRQV
#
DQG
#
SDUWV
79
#
EXWWRQV
#
DQG
#
SDUWV
79
#
EXWWRQV
#
DQG
#
SDUWV
■
■
■
■
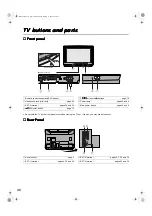
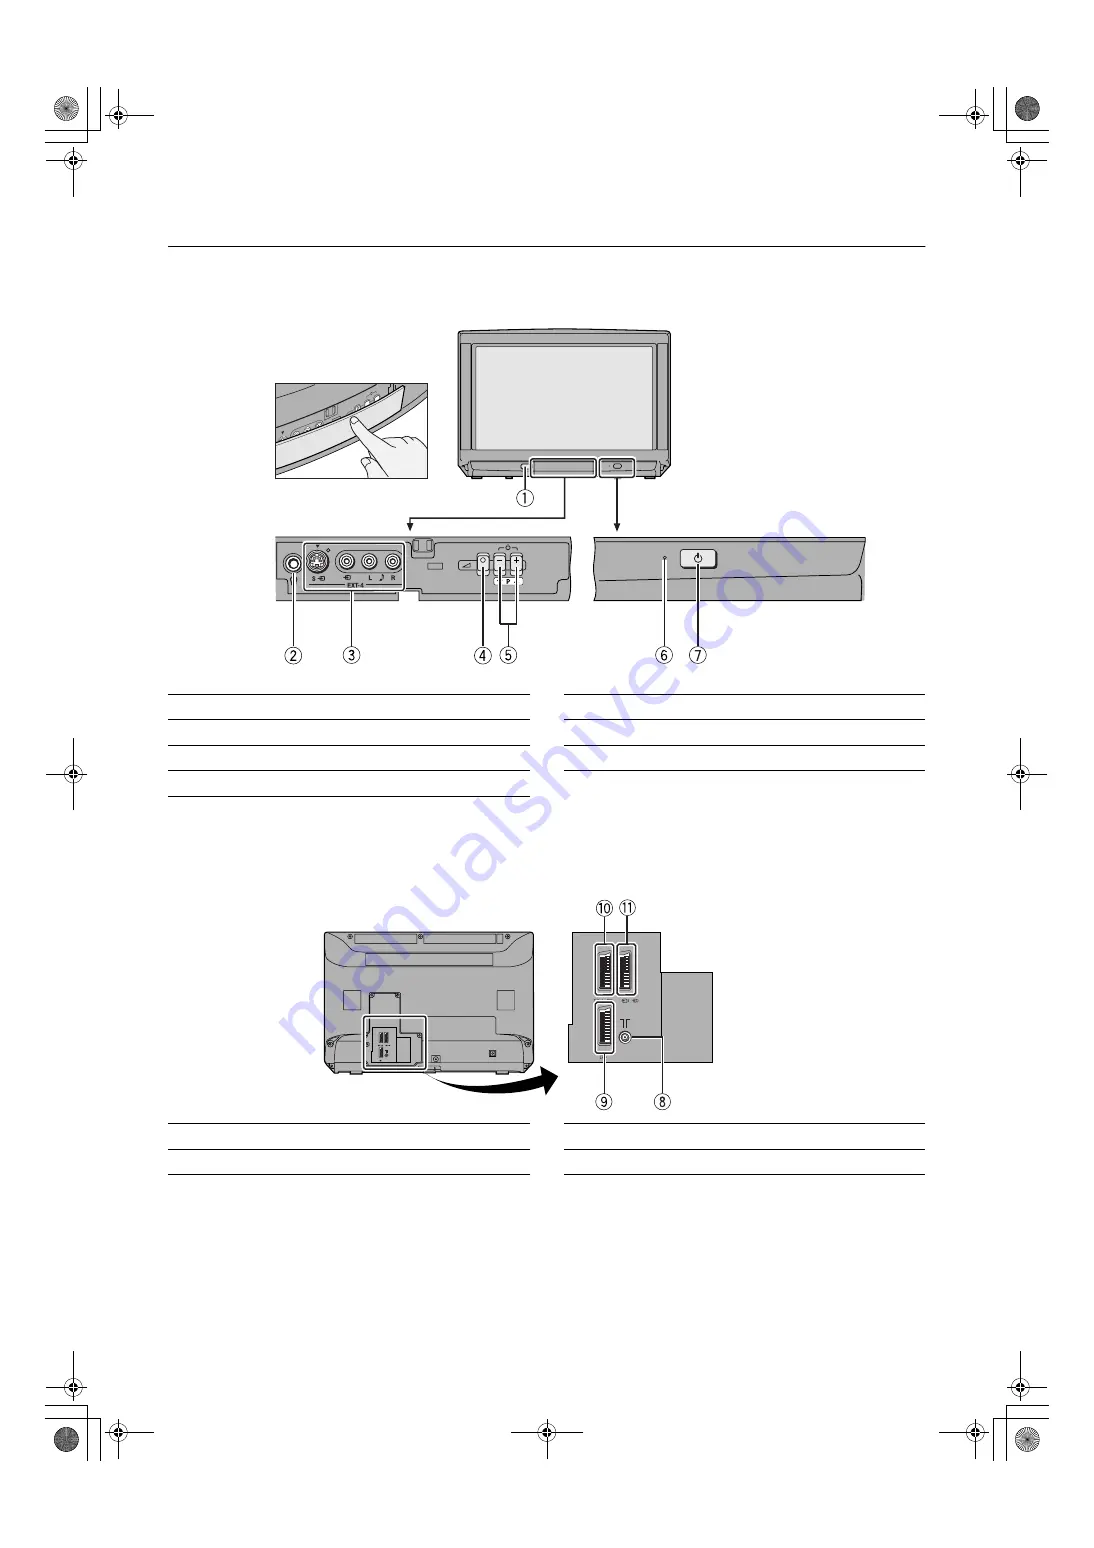
)URQW
#
SDQHO
)URQW
#
SDQHO
)URQW
#
SDQHO
)URQW
#
SDQHO
l
•
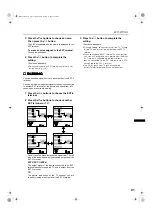
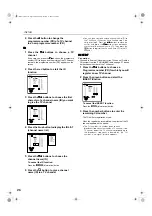
Do not hold the TV by the front panel cover when moving the TV set. If you do, you may break the cover.
■
■
■
■
5HDU
#
3DQHO
5HDU
#
3DQHO
5HDU
#
3DQHO
5HDU
#
3DQHO
1
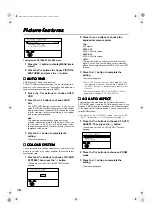
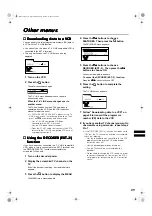
Remote control sensor and ECO sensor
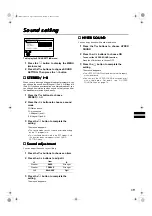
5
P
∨∨∨∨
/
∧
∧
∧
∧
buttons /
C
C
C
C
buttons
page 10
2
Headphone jack (mini jack)
page 30
6
Power lamp
pages 5 and 8
3
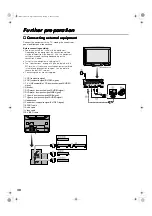
EXT-4 terminal
pages 20 and 30
7
Main power button
pages 5 and 8
4
D
D
D
D
(Volume) button
page 10
8
Aerial socket
page 4
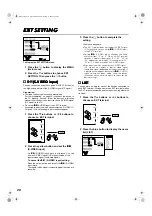
0
EXT-2 terminal
pages 4, 7, 20 and 30
9
EXT-1 terminal
pages 4, 20 and 30
-
EXT-3 terminal
pages 20 and 30
Push to open
(Behind the cover)
EXT-
1
EXT-
2
EXT-
3
S
S
EXT-
1
EXT-
2
EXT-
3
S
S
WFT1EK_E3.fm Page 32 Wednesday, January 17, 2001 9:30 AM


