No. 51944
AV28CH1EUS
AV28CH1EUB
10
REPLACEMENT OF MEMORY ICs
1. Memory ICs
This TV us e memory ICs. In the memory ICs, there are memorized data
for correctly operating the video and deflection circuits . When replacing
memory ICs, be s ure to us e ICs written with the initial values of data.
2. Procedure for replacing memory ICs
PROCEDURE
(1)
Power off
Switch the power off and unplug the power cord from the outlet.
(2)
Replace ICs
.
Be sure to use memory ICs written with the initial data values.
(3)
Power on
Plug the power c ord into the outlet and switch the power on.
(4)
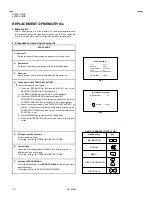
Check and set SYSTEM CONSTANT SET :
****
It mus t not adjust without signal.
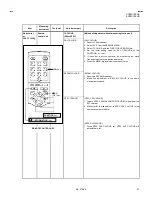
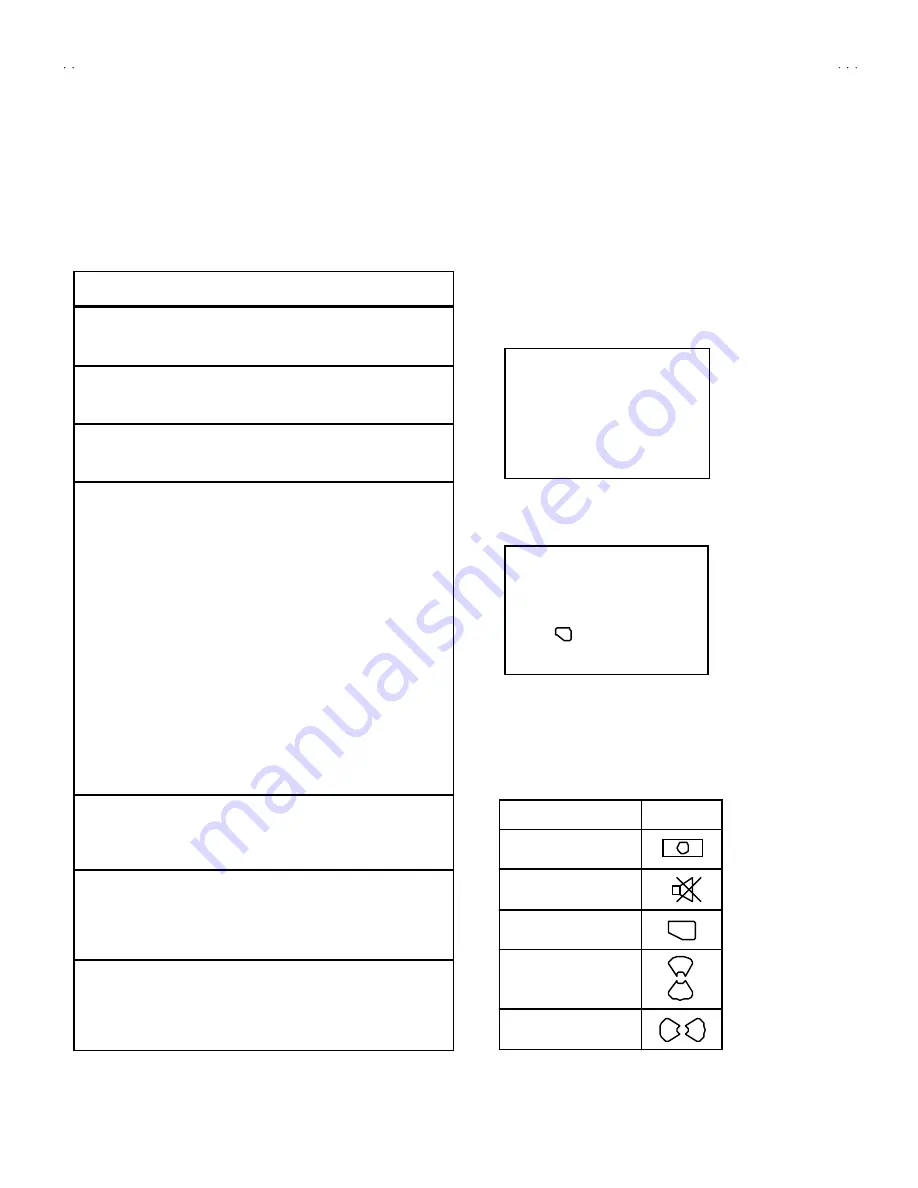
1) Press the INFORMATION key and the MUTING key of the
REMOTE CONTROL UNIT simultaneous ly.
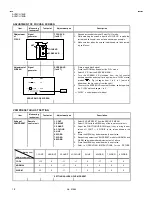
2) The SERVICE MENU screen of Fig. 1 will be displayed.
3) While the SERVICE MENU is dis played, pres s the
INFORMATION key and MUTING key s imultaneously, and the
SYSTEM CONSTANT SET screen of Fig. 2 will be display ed.
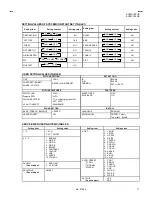
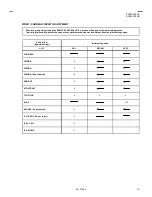
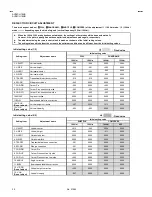
4) Check the setting values of the SYSTEM CONSTANT SET of
Table 1. If the value is different, select the s etting item with the
FUNCTION UP/DOWN key, and s et the c orrect value with the
FUNCTION -/+ key.
5) Press the MENU key to memorize the setting value.
6) Press the INFORMATION key twice, and return to the normal
screen.
(5)
Setting of receive channels
Set the rec eive channel.
For setting, refer to the OPERATING INSTRUCTIONS.
(6)
User settings
Check the us er setting values of Table 2, and if setting value is
different, set the c orrec t value.
For setting, refer to the OPERATING INSTRUCTIONS.
(7)
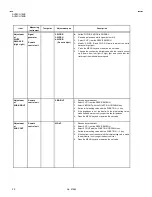
Setting of SERVICE MENU
Verify the setting items of the
SERVICE MENU
of Table 3, and reset
where necessary.
For setting, refer to the SERVICE ADJUSTMENTS.
Names of key
i
i
i
i
▼
▼
▼
▼
INFORMATION
MUTING
FUNCTION UP/DOWN
MENU
FUNCTION -/+
key
OK
NAME OF REMOTE CONTROL KEY
SE RV ICE MENU
1
. IF
2. V/C
3. AUDIO
4. DEF
5. VSM PRESET
6. STATUS
7. P IP
8.
---
9. SHIPPING (OFF) 0. BUS FREE
1-9 : SELECT
i
: EXIT
Fig.1
SY STE M CONST ANT S ET
1. DESTINATION EU
- /+
: STORE i : EXIT
OK
Fig.2


