
COMPACT DISC/TUNER
CASSETTE DECK
For Customer Use:
Enter below the Model No. and Serial
No. which are located either on the rear,
bottom or side of the cabinet. Retain this
information for future reference.
Model No.
Serial No.
LVT0705-003A
[B]
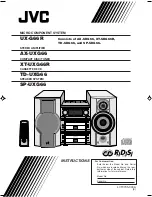
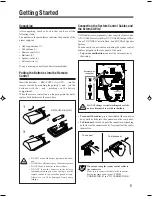
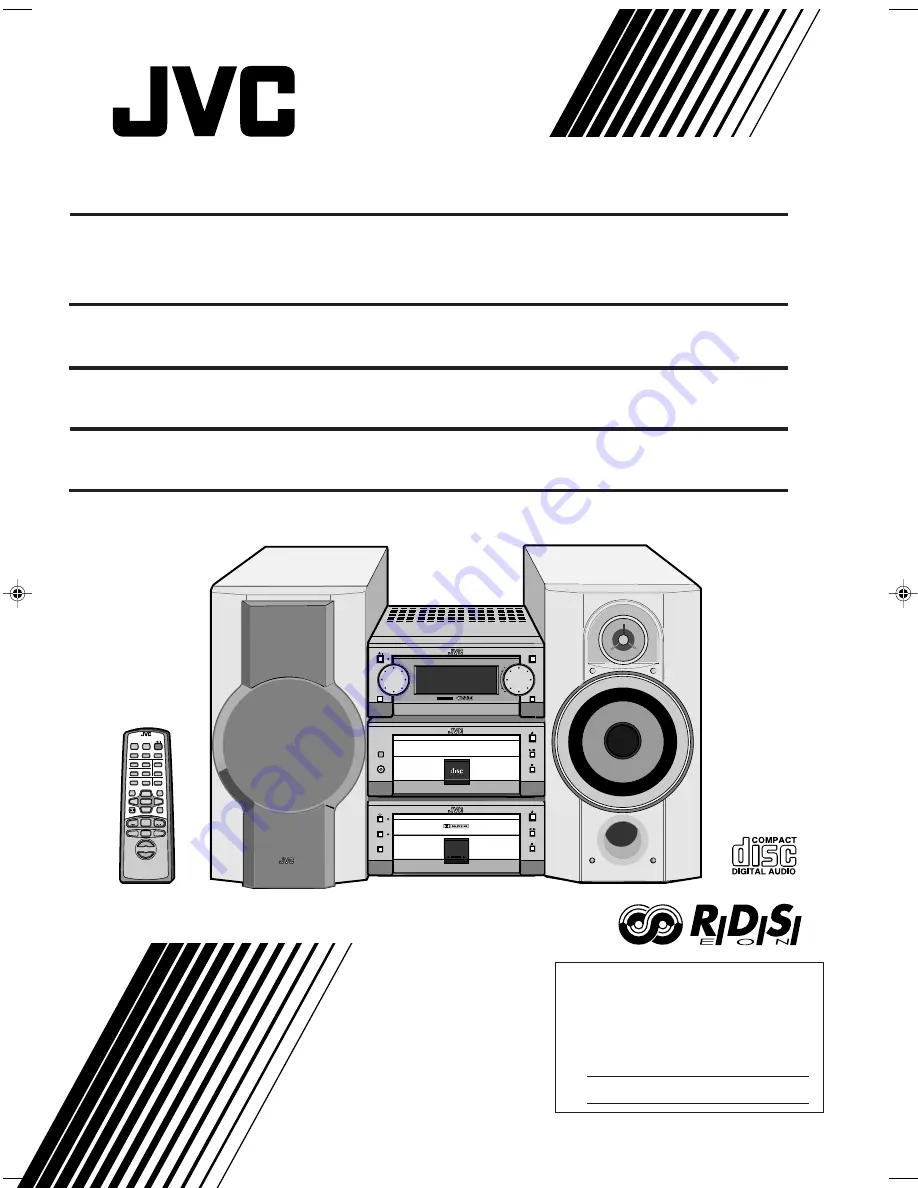
UX-G66R
Consists of AX-UXG66, XT-UXG66R,
TD-UXG66, and SP-UXG66.
MICRO COMPONENT SYSTEM
INSTRUCTIONS
STEREO AMPLIFIER
AX-UXG66
XT-UXG66R
TD-UXG66
SP-UXG66
SPEAKER SYSTEM
M I C R O
C O M P O N E N T
S Y S T E M
U X - G 6 6 R
MOS - FET
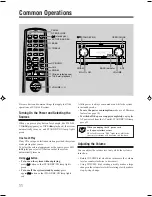
OPEN/CLOSE
AUX
VOLUME
MULTI
FM/AM
STANDBY/ON
JOG
1 B I T
P • E • M
D • D • C O N V E R T E R
PHONES
COMPACT
DIGITAL AUDIO
REC PAUSE
DOLBY B NR
AUTO
REVERSE
REC
>
<
MD
DOWN
SET
UP
ENTER
AUTO PRESET
PLAY MODE
FM MODE
CANCEL
BASS
SLEEP
PANEL
OPEN/CLOSE
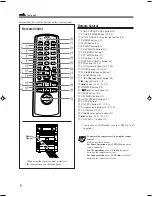
REMOTE CONTROL RM-SUXG6R
AUX
TITTLE/EDIT
REPEAT
TREBLE
DIMMER
CLOCK/TIMER
DISPLAY
/CHARA.
ACTIVE
BASS EX.
PTY/EON
VOLUME
FM/AM
4
7
¢
+
–
CD
TAPE
cover[B]f
12/14/00, 9:54 AM
1


