
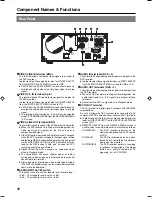

OPERATE
PHONES
REV
STOP
PLAY
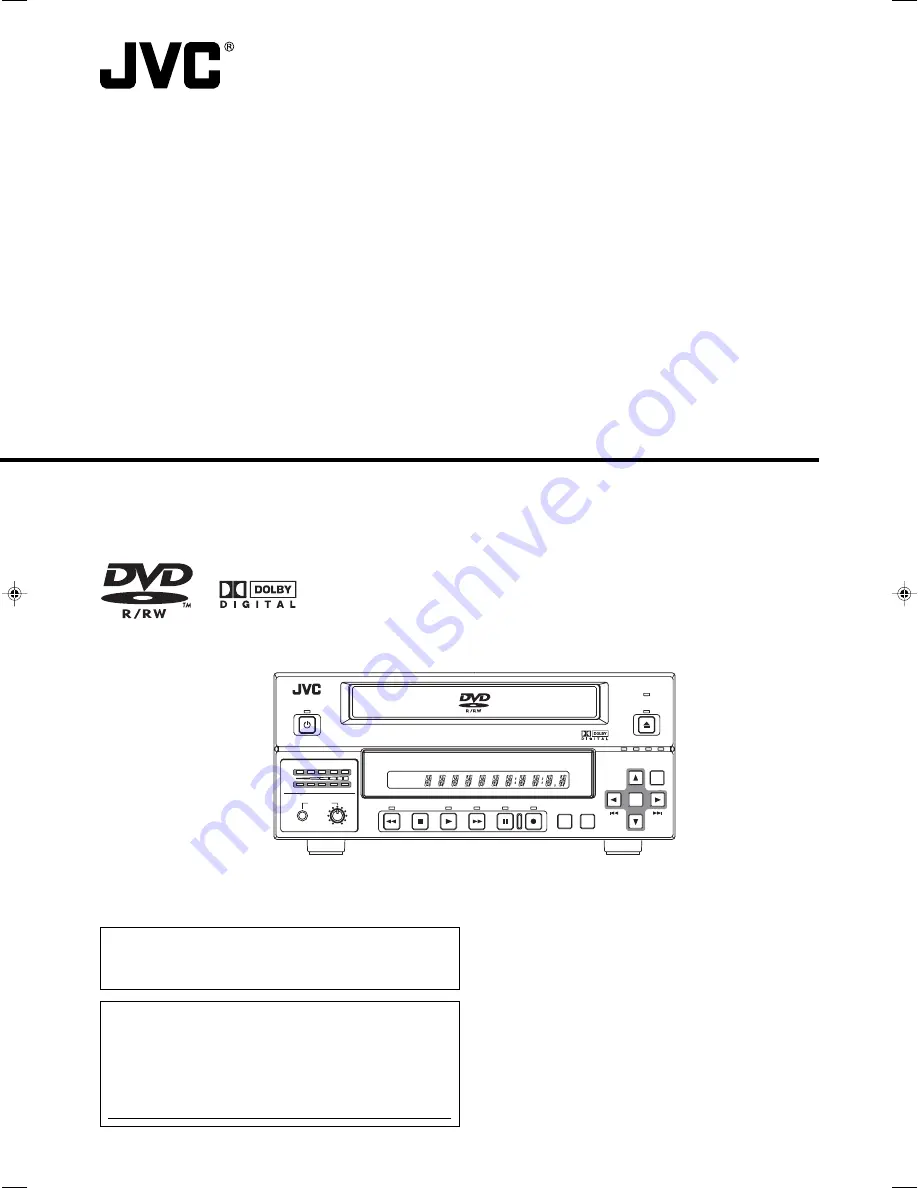
DVD RECORDER BD-X200
FWD
PAUSE
REC
BUSY
OPEN/CLOSE
TOP
MENU
MENU
OPTION DV
Y/C LINE
SET UP
AUDIO
CH1
CH2
TITLE
DOLBY DIGITAL
LPCM MPEG
CHAPTER
SET
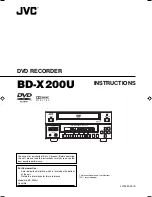
BD-X200U
INSTRUCTIONS
DVD RECORDER
LLT0060-001A
This instruction manual is made from
100% recycled paper.
For Customer Use :
Enter below the Serial No. which is located on the bottom
of the unit.
Retain this information for future reference.
Model No. BD-X200U
Serial No.
Thank you for purchasing this JVC product. Before operating
this unit, please read the instructions carefully to ensue the
best possible performance.


