background image

2

  1. Read all of these instructions.
  2. Save these instructions for later use.
  3. All warnings on the product and in the operating instructions should be adhered to.
  4. Unplug this appliance system from the wall outlet before cleaning. Do not use liquid cleaners or aerosol cleaners.

Use a damp cloth for cleaning.

  5. Do not use attachments not recommended by the appliance manufacturer as they may cause hazards.
  6. Do not use this appliance near water – for example, near a bathtub, washbowl, kitchen sink, or laundry tub, in a wet

basement, or near a swimming pool, etc.

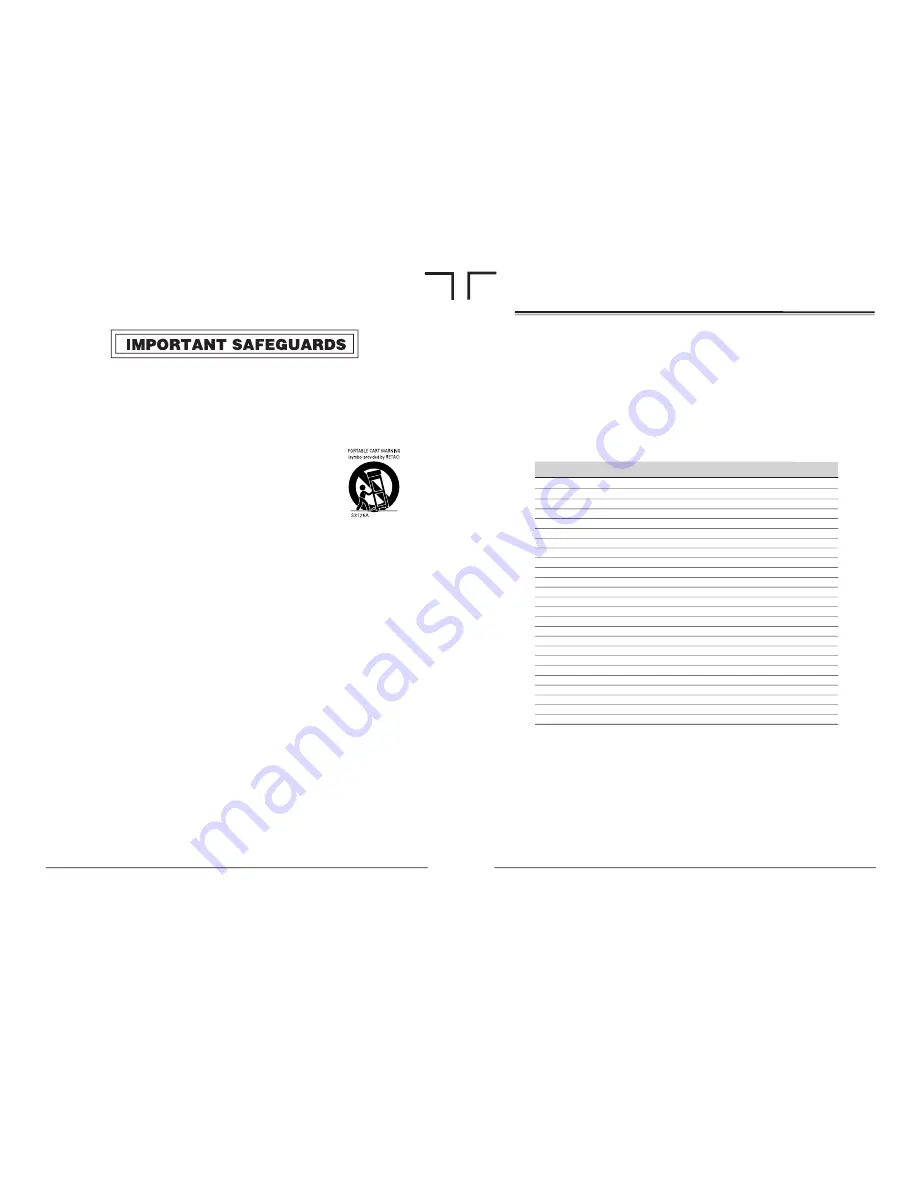
  7. Do not place this appliance on an unstable cart, stand, or table. The appliance may fall, caus-

ing serious injury to a child or adult, and serious damage to the appliance.
Use only with a cart or stand recommended by the manufacturer, or sold with the appliance.
Wall or shelf mounting should follow the manufacturer’s instructions, and should use a mount-
ing kit approved by the manufacturer.
An appliance and cart combination should be moved with care. Quick stops, excessive force,
and uneven surfaces may cause the appliance and cart combination to overturn.

  8. Slots and openings in the cabinet and the back or bottom are provided for ventilation, and to

insure reliable operation of the appliance and to protect it from overheating, these openings
must not be blocked or covered. The openings should never be blocked by placing the appliance on a bed, sofa,
rug, or other similar surface. This appliance should never be placed near or over a radiator or heat register. This
appliance should not be placed in a built-in installation such as a bookcase unless proper ventilation is provided.

  9. This appliance should be operated only from the type of power source indicated on the marking label. If you are not

sure of the type of power supplied to your home, consult your dealer or local power company. For appliance
designed to operate from battery power, refer to the operating instructions.

10. This appliance system is equipped with a 3-wire grounding type plug (a plug having a third (grounding) pin). This

plug will only fit into a grounding-type power outlet. This is a safety feature. If you are unable to insert the plug into
the outlet, contact your electrician to replace your obsolete outlet. Do not defeat the safety purpose of the ground-
ing plug.

11. For added protection for this product during a lightning storm, or when it is left unattended and unused for long

periods of time, unplug it from the wall outlet and disconnect the antenna or cable system. This will prevent dam-
age to the product due to lightning and power-line surges.

12. Do not allow anything to rest on the power cord. Do not locate this appliance where the cord will be abused by

persons walking on it.

13. Follow all warnings and instructions marked on the appliance.
14. Do not overload wall outlets and extension cords as this can result in fire or electric shock.
15. Never push objects of any kind into this appliance through cabinet slots as they may touch dangerous voltage

points or short out parts that could result in a fire or electric shock. Never spill liquid of any kind on the appliance.

16. Do not attempt to service this appliance yourself as opening or removing covers may expose you to dangerous

voltage or other hazards. Refer all servicing to qualified service personnel.

17. Unplug this appliance from the wall outlet and refer servicing to qualified service personnel under the following

conditions:
a. When the power cord or plug is damaged or frayed.
b. If liquid has been spilled into the appliance.
c.

If the appliance has been exposed to rain or water.

d. If the appliance does not operate normally by following the operating instructions. Adjust only those controls

that are covered by the operating instructions as improper adjustment of other controls may result in damage
and will often require extensive work by a qualified technician to restore the appliance to normal operation.

e. If the appliance has been dropped or the cabinet has been damaged.
f.

When the appliance exhibits a distinct change in performance – this indicates a need for service.

18. When replacement parts are required, be sure the service technician has used replacement parts specified by the

manufacturer that have the same characteristics as the original part. Unauthorized substitutions may result in fire,
electric shock, or other hazards.

19. Upon completion of any service or repairs to this appliance, ask the service technician to perform routine safety

checks to determine that the appliance is in safe operating condition.

U

2U

2E

Supplement

This equipment is in conformity with the provisions and protection requirements of the corresponding
European Directives. This equipment is designed for professional video appliances and can be used in
the following environments:

5

residential area (in houses)

5

commercial and light industry; e.g. office or theatres

5

urban outdoors

This apparatus is designed for rack mounting or is used close to other apparatus.

In order to keep the best performance and furthermore for electromagnetic compatibility we recommend
to use cables not exceeding the following lengths:

The inrush current of this apparatus is 8 amperes.

Caution:

5

Where there are strong electromagnetic waves or magnetism, for example near a radio or TV
transmitter, transformer, motor, etc., the picture and sound may be disturbed. In such a case, please
keep the apparatus away from the sources of the disturbance.

5

When the RM-G800 remote controller is used, the counter, etc. may malfunction due to interference
generated by the peripheral equipment.  In this case, consult your nearest JVC dealer.

Port

Cable

Length

LINE IN

Coaxial Cable

10 meters

LINE OUT

Coaxial Cable

10 meters

VIDEO MONITOR OUT

Coaxial Cable

10 meters

COMPONENT Y IN

Coaxial Cable

10 meters

R-Y IN

Coaxial Cable

10 meters

B-Y IN

Coaxial Cable

10 meters

COMPONENT Y OUT

Coaxial Cable

10 meters

R-Y OUT

Coaxial Cable

10 meters

B-Y OUT

Coaxial Cable

10 meters

Y/C IN

Exclusive Cable

10 meters

Y/C OUT

Exclusive Cable

10 meters

SYNC IN

Coaxial Cable

10 meters

TIMECODE IN

Coaxial Cable

10 meters

TIMECODE OUT

Coaxial Cable

10 meters

AUDIO IN

Exclusive Cable

10 meters

AUDIO OUT

Exclusive Cable

10 meters

AUDIO MONITOR OUT

Exclusive Cable

10 meters

SERIAL REMOTE

Cable with RM-G30

  3 meters

REMOTE1(RS-422)

Exclusive Cable

10 meters

REMOTE2(JVC BUS)

Exclusive Cable

10 meters

DV IN/OUT

Exclusive Cable

  5 meters

MIC

Cable with Microphone

  5 meters

PHONES

Cable with Headphones

  5 meters

AC IN

Exclusive Cable

  5 meters

DC 12V

Exclusive Cable

  5 meters

E

Summary of Contents for BR-DV600EA

Page 1: ...NTER SHIFT A DUB ADVANCE PRESET L CTL TC UB CH 1 2 CH 3 4 R MIX DV Y C CPN LINE MIX REW STOP FF REC PLAY PAUSE ON OFF VIDEO CASSETTE RECORDER BR DV600UA U INSTRUCTIONS VIDEO CASSETTE RECORDER BR DV600EA SL96203 Thank you for purchasing this JVC product Before operating this unit please read the instructions carefully to ensure the best possible performance R PHONES MIC REMOTE LOCAL EJECT OPERATE R...

Page 2: ...urself as opening or removing covers may expose you to dangerous voltage or other hazards Refer all servicing to qualified service personnel 17 Unplug this appliance from the wall outlet and refer servicing to qualified service personnel under the following conditions a When the power cord or plug is damaged or frayed b If liquid has been spilled into the appliance c If the appliance has been expo...

Page 3: ...olée dans le boîtier du produit Cette tension est suffisante pour provoquer l électrocution de personnes Le point d exclamation à l intérieur d un triangle équilatéral est destiné à alerter l utilisateur sur la présence d opérations d entretien importantes au sujet desquelles des renseignements se trouvent dans le manuel d instructions Ces symboles ne sont utilisés qu aux Etats Unis The lightning ...

Page 4: ...and component inputs outputs 5 Sync lock function for audio and video signals There is no lip link shift even during extended recording 5 JVC bus and RS 422 serial remote interfaces 5 RS 232C interface optionally available 5 2 way power supply system AC 120 V DC 12 V U MODEL 2 way power supply system AC 220 V 240 V DC 12 V E MODEL 5 Audio dubbing function 32 kHz sampling rate 5 Compact lightweight...

Page 5: ...mption Safety slide REC SAVE Move the slide to SAVE to prevent erasure Move the slide to REC to allow recording Power supply 5 This unit is provided with both AC and DC power supplies For editing over an extended period it is recommended that you use a stable AC power supply or DC power supply from an AC adapter Using battery power is recommended only as a supplementary power source or for field u...

Page 6: ...ate setting mode SHIFT Use to select the digit whose value is to be changed ADVANCE Use to change the value While pressing the SHIFT button press this button to reset the set data to 0 PRESET Use to enter the changed value and end setting Use as a counter reset button when the COUNTER switch is set to CTL AUDIO DUB button Use to perform audio dubbing when the No 245 SAMPLING RATE menu switch is se...

Page 7: ...wered by a battery and the battery voltage level drops below the specified value this indicator blinks off in normal operation to show that battery voltage is insufficient This indicator will also blink when the Operate Off mode is engaged since voltage output from the battery drops in this mode 4 Cassette mark This mark lights to show that a cassette is loaded This mark is shown even in the Opera...

Page 8: ...owever recording is performed normally When the No 003 SYNC SELECT menu switch is set to EXTERNAL and no signal is input to the SYNC IN connector noise may appear in the playback picture This is not a malfunction Notes 13 DC 12V PGZ01945 TIMER TIME CODE COMPONENT VIDEO SYNC IN REC OFF PLAY DV IN OUT REMOTE AUDIO 2 1 SERIAL CH 1 3 OUT OUT IN IN B Y IN Y C LINE OUT OUT MONITOR CH 2 4 MONITOR OUT R Y...

Page 9: ...COMPONENT VIDEO SYNC IN REC OFF PLAY DV IN OUT REMOTE AUDIO 2 1 SERIAL CH 1 3 OUT OUT IN IN B Y IN Y C LINE OUT OUT MONITOR CH 2 4 MONITOR OUT R Y Y DC 12V PGZ01945 TIMER TIME CODE COMPONENT VIDEO SYNC IN REC OFF PLAY DV IN OUT REMOTE AUDIO 2 1 SERIAL CH 1 3 OUT OUT IN IN B Y IN Y C LINE OUT OUT MONITOR CH 2 4 MONITOR OUT R Y Y IN OUT IN OUT 3 4 Editing system examples 3 CONNECTIONS The BR DV600UA...

Page 10: ...LAY Dolby noise reduction manufactured under license from Dolby Laboratories Licensing Corporation DOLBY and the double D symbol are trademarks of Dolby Laboratories Licensing Corporation OUT IN TIME CODE 9PIN IN OUT Notes Even during the time code editing the editing accuracy of 0 frame cannot be obtained Set the remote control s sync grade to 1 frame During remote control operation be sure to tu...

Page 11: ...T I ME CODE 0 0 ONSCREEN M HOUR METER 3 4 5 H 0 0 AUD I O 2 0 0 SERVO SYSTEM 0 0 0 V I DEO 1 SELECT MENU SET MENU SHIFT U A US RS4 2 TO 2A JVC B 4 1 Menu switch organization Menu switch group select screen Pressing the MENU button with the normal screen displayed brings up the menu switch group select screen Select the desired group with the SHIFT button The selected group number blinks Press the ...

Page 12: ...tch Setting AUDIO 00 The AUDIO MONITOR OUT connector output can be switched with the VIDEO INPUT AUDIO MONITOR switch qVIDEO 01 The VIDEO INPUT AUDIO MONITOR switch functions as VIDEO INPUT switch 21 4 MENU SWITCHES q Factory setting 00 The number in the bracket shows the set value on the counter display 108 VIDEO INPUT SELECT Details Use this to select the input video signal when No 054 SLIDE SW ...

Page 13: ... Recording Standby mode Setting qOFF 00 Playback or recording starts immediately The tape is not rewound ON 01 Playback or recording starts after the tape is rewound to the beginning 362 BACK UP REC TIMING Details For backup recording set this according to the length of the recording on the tape in the source VCR For details refer to Backup recording function on page 36 Setting qOFF 00 Backup reco...

Page 14: ...1 Set the tape counter display to the time display Set the No 516 DISPLAY SELECT menu switch to CLOCK See No 516 DISPLAY SELECT on page 23 2 Set the COUNTER switch to TC or UB To set the time set to TC The time display is shown in the tape counter To set the date set to UB The date display is shown in the tape counter 3 Engage the setting mode Press the HOLD button Clock setting The hour digit sta...

Page 15: ...nals input to the Y C connector Selects component video signals input to the COMPONENT IN connectors Selects digital signals input to the DV IN OUT connector 27 V IN A MONI A OUT COUNTER DV CTL TC UB CH 1 2 CH 3 4 Y C CPN LINE L R MIX MIX PHONES MIC REMOTE LOCAL EJECT OPERATE REC LEVEL CH 2 4 CH 1 3 SHIFT SET SELECT SHIFT MENU HOLD SHIFT A DUB ADVANCE PRESET REW STOP FF REC PLAY PAUSE ON OFF MENU ...

Page 16: ...nector MONITOR AUDIO OUT OUT CH1 3 CH2 4 Menu switch No 211 AUDIO MONITOR AUDIO OUTPUT switch 29 Repeat play 1 Set the No 311 AUTO PLAY and No 312 AUTO REW menu switches to ON See No 311 AUTO PLAY and No 312 AUTO REW on pages 21 to 22 2 Press the PLAY button to start playback At tape end the tape is rewound automatically and playback starts again This operation repeats each time the tape ends 3 To...

Page 17: ...d frame by frame together with the materials to be recorded on the tape With this time code the position of the materials can be precisely specified improving the editing accuracy and working efficiency The editing accuracy of 0 frame may not be obtained even though the time code is used depending on the performance of the VCR and editing controller and influence of editing system With this system...

Page 18: ...SHIFT A DUB ADVANCE PRESET REW STOP FF REC PLAY PAUSE ON OFF MENU OVER OVER H M S F AUD LOCK SP 32k 48k SLAVE PB NDF SERVO RF DEW AUTO OFF HOLD CH 2 4 CH 1 3 VIDEO CASSETTE RECORDER BR DV600UA dB 40 30 20 10 0 9 TIME CODE COUNTER switch REC button PLAY button STOP button Recording 5 Time code recording follows the time code already recorded on the tape Menu switch setting No 413 TCG SOURCE INTERNA...

Page 19: ...TE SELECT menu switch to RS232C IEEE 1394 RS232C JVC BUS RS232C or JVC BUS RS232C 1394 The SSF data recorded on the tape with the GY DV500 DV550 DV700W s Super Scene Finder function can be read out by installing the optional SA K46 RS 232C interface board Consult your JVC dealer for details on installation of the SA K46 RS 232C interface board Super Scene Finder SSF data SSF data includes the foll...

Page 20: ...rds images from the source VCR on this unit When backup recording starts continue shooting with the source VCR 37 12 RS 232C INTERFACE 12 1 Command tables This section provides information on programming VCR operations via the RS 232C interface JVC table 1 Basic table 0 1 2 3 4 5 6 7 8 9 A B C D E F 0 Complete Error Cassette Not ACK NAK Out Target 1 2 3 Play Fwd Shtl Fwd Shtl Fwd Shtl Fwd Shtl Sto...

Page 21: ...PRESET E3 When the tape is cued COMPLETE 01 is returned When the specified point cannot be found NOT TARGET 05 is returned 59 GOTO OUT Cues up the point specified with the OUT ENTRY 51 and OUT DATA PRESET E4 When the tape is cued COMPLETE 01 is returned When the specified point cannot be found NOT TARGET 05 is returned 5B MEMORY SEARCH Cues up the point specified with the MEMORY 5A When the tape i...

Page 22: ...r data D6 PREROLL TIME SENSE Use to check the preroll time 2 byte data is returned showing the seconds tens place and ones place D7 STATUS SENSE Use to check the status Refer to the contents of the STATUS SENSE D8 CURRENT TC SENSE Use to check the time code data The data is returned in the order of hour minute second and frame D9 CURRENT CTL SENSE Use to check the CTL data The uppermost digit show...

Page 23: ...mmand Description 02 ERROR Returned when the VCR receives an invalid command after the second byte of the transmitted command In this case even though commands are sent continuously no commands can be accepted except STATUS SENSE To release this error mode send the following commands 41 CLEAR ERROR Clears the last transmitted byte Use this to release the error mode as well 56 CLEAR All commands ar...

Page 24: ... 1 0 7 0 1 1 1 8 1 0 0 0 502 82 D1 0 0 0 0 0 1 0 0 0 1 2 0 0 1 0 3 0 0 1 1 4 0 1 0 0 5 0 1 0 1 6 0 1 1 0 7 0 1 1 1 8 1 0 0 0 9 1 0 0 1 10 1 0 1 0 11 1 0 1 1 504 82 D2 TIME 0 0 MODE TIME 0 1 505 82 D2 OFF 0 ON 1 514 83 D2 DATE 0 0 0 CLOCK 0 0 1 DATE CLOCK 0 1 0 TC 0 1 1 516 83 D2 TC 0 CLOCK 1 12 RS 232C INTERFACE DATA0 D1 D2 Set value Corresponding bit values Menu switch No 7 6 5 4 3 2 1 0 002 01 D...

Page 25: ...eration stops Operation stops Operation continues Operation stops Operation continues Operation stops about 60 seconds after the fan motor stops with the No 397 FAN STOP SHUTDOWN menu switch set to ENABLE The operation continues 13 TROUBLESHOOTING Turn the power on again In some cases the tape may be damaged so use a different tape If the problem persists consult your JVC dealer Turn the power on ...

Page 26: ...ed DV interface 5 Input output IEEE 1394 Connectors 5 RS 422 interface D sub 9 pin 5 JVC bus connector DIN 12 pin Accessories AC cable x 1 Head cleaning tape x 1 Option SA K46U RS 232C interface board Design and specifications subject to change without notice Dimensions unit mm General 5 Power requirements AC 120 V U MODEL AC 220 V 240 V E MODEL 50 Hz 60 Hz DC 12 V 11 V to 17 V 5 Power consumption...

Reviews: