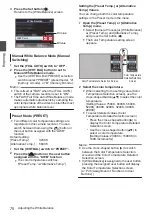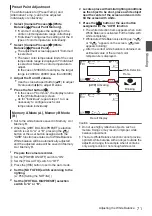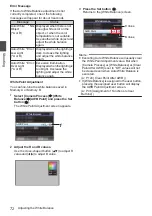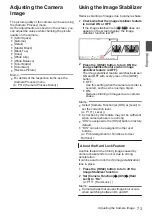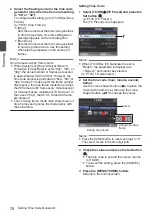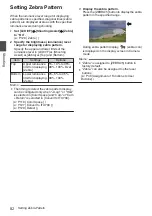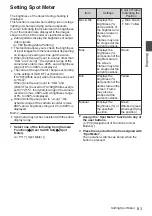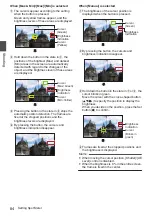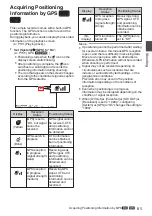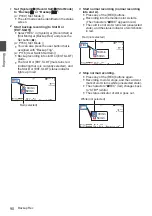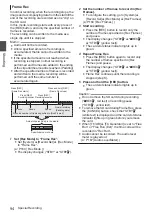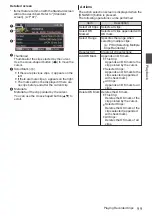
When [Max & Min]/[Max]/[Min] is selected
A
The cursors appear according to the setting
when the button is pressed.
Green and yellow frames appear, and the
brightness levels of these areas are displayed.
.
Cursor
Cursor
Brightness
Indication
(Yellow)
(Green)
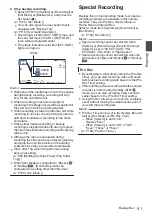
B
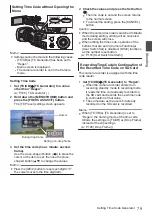
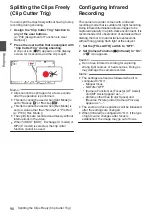
Hold down the button in the state in
A
, the
positions of the brightest (Max) and darkest
(Min) areas in the screen are automatically
detected with regard to the changes of the
object, and the brightness level of these areas
are displayed.
.
(Min: Yellow)
Cursor
(Max: Green)
Cursor
Brightness
Indication
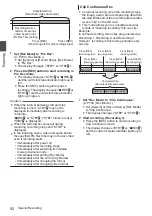
C
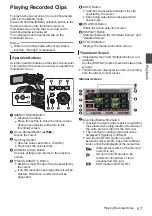
Pressing the button in the state in
B
stops the
automatic position detection. The frames are
fixed at the stopped positions and the
brightness levels are displayed.
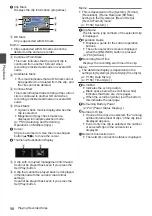
D
By pressing the button, the cursors and
brightness indication disappear.
.
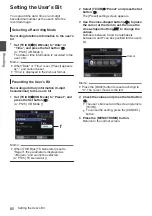
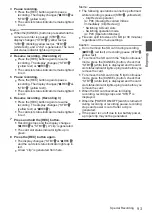
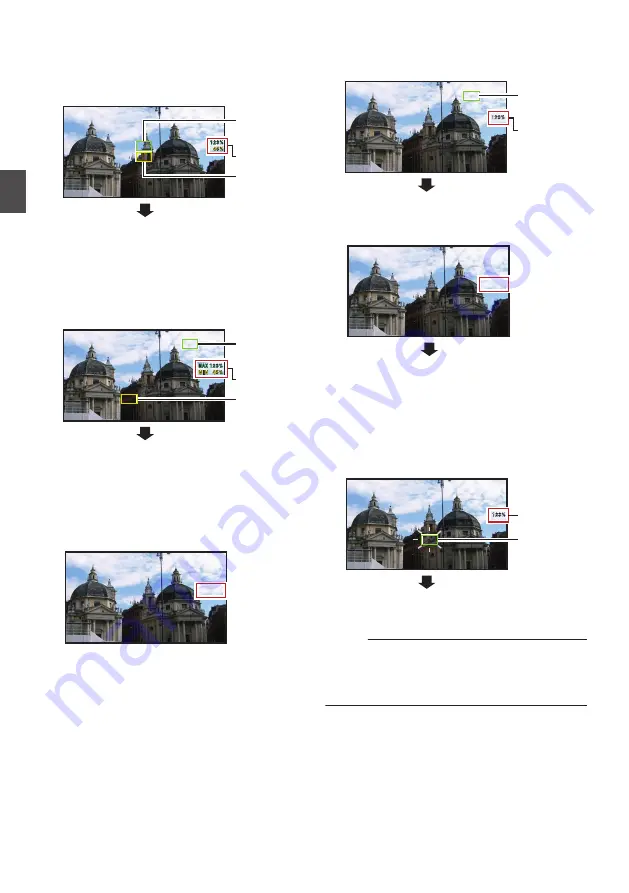
When [Manual] is selected
A
The brightness of the cursor position is
displayed when the button is pressed.
.
Cursor
(Green)
Brightness
Indication
B
By pressing the button, the cursors and
brightness indication disappear.
.
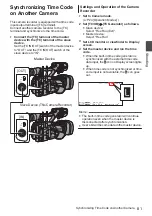
C
Hold down the button in the state in
A
or
B
, the
cursor blinks in green.
Move the cursor with the cross-shaped button
(
JKHI
) to specify the position to display the
brightness.
When you decide on the position, press the Set
button (
R
) to confirm.
.
(Blinks in
green)
Cursor
Brightness
Indication
D
Frames are fixed at the stopped positions and
the brightness is displayed.
Memo :
0
When moving the cursor position, [Shutter]/[AE
Level] control is disabled.
0
When the brightness is 0 % in the entire screen,
the frame is fixed in the center.
84
Setting Spot Meter
Shooting
Summary of Contents for Connected Cam GY-HC500E
Page 2: ...2 ...
Page 267: ...267 ...

