73
ENGLISH
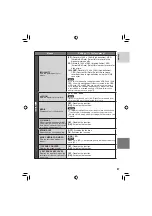
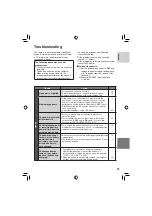
Trouble
Action
P
o
wer
No power is supplied.
•
Connect the AC adapter securely.
•
Detach the battery pack once and re-attach it fi rmly.
•
Replace the dead battery with a fully charged one.
16
16
–
No display appears.
•
If the camera is not operated for 5 minutes while the
power is on, it turns itself off automatically to conserve
power. To turn the camera on again when using the
battery pack, set the power/mode switch to
OFF
, then to
ON
. When using the AC adapter, perform any operation
such as zooming.
•
Adjust the brightness of the LCD monitor.
–
69
The power was turned
off accidentally.
•
Move to a place where not affected by vibration or
excessive sound.
•
The drop detection function operated. Set the power/
mode switch to
OFF
, and to
ON
again. To turn off this
function, set [DROP DETECTION] to [OFF].
–
69
The displayed amount
of remaining battery
power differs from the
actual operating time.
•
Fully charge the battery, and then run it down. If the
problem persists, the battery is worn out and needs to be
replaced. Please purchase a new one.
16
The power does not
turn on, or the battery
operation time is
extremely short even
after the battery is
fully charged.
•
Make sure to use the camera under appropriate operating
temperatures.
•
The battery is worn out and needs to be replaced. Please
purchase a new one.
79
–
The access/charge
lamp on the camera
does not light during
charging.
•
Charging may stop in places subject to extremely
high/low temperatures to protect the battery. It is
recommended to charge it in places with a temperature
of 10°C to 35°C (50°F to 95°F).
•
When the battery is already fully charged, the lamp does
not light. Check the remaining battery power.
–
18
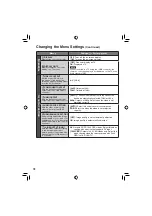
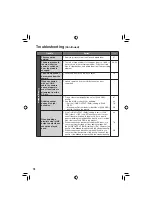
The camera is a microcomputer-controlled
device. External noise and interference (from
a TV, a radio, etc.) might prevent it from
functioning properly.
The following phenomena are not
malfunctions.
•
The camera heats up when it is used for a
long time.
•
The battery heats up during charging.
•
When playing back a video fi le, the
image stops momentarily or the sound is
interrupted at junctions between scenes.
•
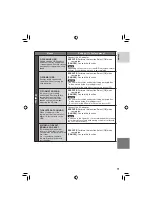
To solve the problem, fi rst follow the
instructions below.
•
If the problem is not solved, reset the
camera. (
below)
•
If the problem persists, please consult your
nearest JVC dealer.
8
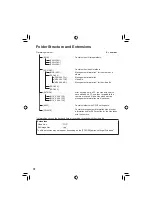
To reset the camera
1) Set the power/mode switch to
OFF
and
remove the power supply (battery pack
or AC adapter) from the camera, then
reattach it.
2) Execute [PRESET] from the menu.
(
pg. 69)
Troubleshooting
Summary of Contents for Everio GZ-HD3
Page 83: ...83 MEMO ...


