

For installation and connections, refer to the separate manual.
INSTRUCTIONS
LVT1997-001A
[A/U/UT/UN/UI]
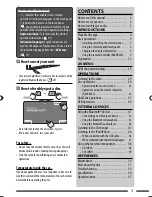
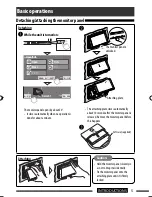
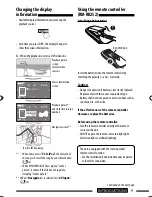
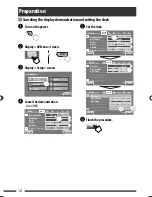
For canceling the display demonstration, see page 12.
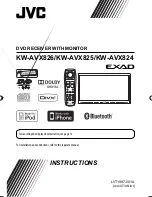
DVD RECEIVER WITH MONITOR
KW-AVX826/KW-AVX825/KW-AVX824
Cover1_KW-AVX826[U].indd 2
Cover1_KW-AVX826[U].indd 2
09.2.3 8:17:35 PM
09.2.3 8:17:35 PM


